Table of Contents
Advertisement
Quick Links
Advertisement
Table of Contents

Summary of Contents for Rotem CO2 Sensor
- Page 1 CO2 Sensor User and Installation Guide P/N: 110227...
- Page 2 In no event will ROTEM be liable to a user or any third party for any direct, indirect, special, consequential or incidental damages, including but not limited to any damage or injury to business...
-
Page 3: Table Of Contents
TABLE OF CONTENTS Introduction ....................5 Features ..........................5 Operating Mode ......................... 6 Installation ....................7 Installing the Sensor ......................7 Controller Connection ....................... 9 Calibrating the Device ..................... 10 Disconnecting the Sensor ....................11 Maintenance and Care ................12 Specifications ..................... -
Page 5: Introduction
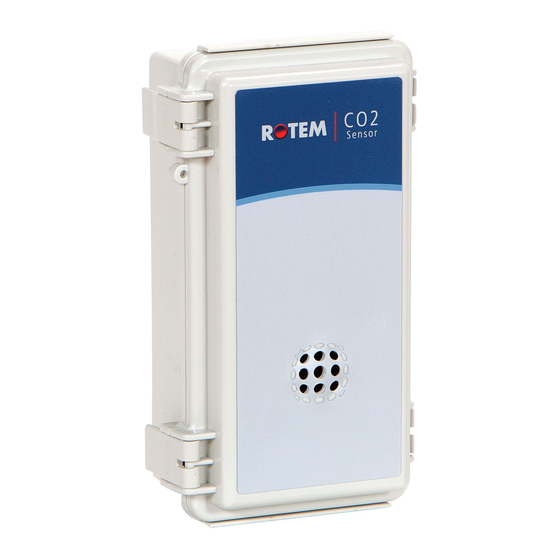
The CO2 Sensor measures CO levels in an agricultural environment. Working in conjunction with a controller, the CO2 Sensor sends a signal when the measured CO levels fall outside the user-defined specifications. This signal activates the controller’s ventilation. Refer to Figure 1. -
Page 6: Operating Mode
O perating Mode The CO2 Sensor operates in a Current Loop mode (4 - 20 milliamps). In this mode, the CO 2 Sensor provides a signal proportional to CO 2 levels. NOTE: Verify that J2 is not shorted (refer to Figure 2). -
Page 7: Installation
Installing the Sensor • Calibrating the Device 2.1 Installing the Sensor The CO2 Sensor comes with an extension cable that is used to: • Connect the sensor to a power source • Connect the sensor to the Platinum Controller (Figure 10, page 9) •... - Page 8 12 V Com (-) Black SIG Out White SIG Com Green Figure 8: Wired Connector 6. Place the wired connector back into the protective cover and place the retaining screw in place (Figure 9). Figure 9: Wired Unit in Protective Cover CO2 Sensor...
-
Page 9: Controller Connection
CO2 output signal to the T5 or T6 terminal 3. Place a jumper on the T5 or T6 pins (sets the 4 – 20 mA mode). Figure 10: Power Supply Wiring CAUTION Connect the shield to the safety ground. CO2 Sensor... -
Page 10: Calibrating The Device
The C02 sensor comes calibrated. In normal conditions fresh air should have approximately 350 - 450 ppm CO2. Calibrate the device if the following conditions are met: • The CO2 sensor is exposed to fresh air or a room with open windows • The sensor reading is above 550 To calibrate the sensor: 1. -
Page 11: Disconnecting The Sensor
2.4 Disconnecting the Sensor Before cleaning the poultry/animal house, disconnect the CO2 sensor. To disconnect the sensor: 1. Dismount the sensor from the wall. 2. Separate the male and female plugs. Figure 13: Plugs Separated 3. Place the plug cap on the female cap. -
Page 12: Maintenance And Care
M AINTENANCE AND CARE The CO2 Sensor requires little or no maintenance. The following are general maintenance rules: • Avoid damaging the CO2 Sensor box • Avoid contact with water or other fluids (when you clean the poultry house, remove the box) •...
Need help?
Do you have a question about the CO2 Sensor and is the answer not in the manual?
Questions and answers