Advertisement
Quick Links
Advertisement

Subscribe to Our Youtube Channel
Summary of Contents for OTC JACK STAND
- Page 1 JACK STAND INSTRUCTIONS (en-US)
- Page 2 The OTC tool you purchased today has been crafted to exacting specifications to provide you with the tool you need, when you need it, for life. All OTC tools are covered by a lifetime warranty, ensuring years of worry-free use. OTC tools are key to getting the job done.
-
Page 3: Safety Information
JACK STAND INSTRUCTIONS Safety Information All Automotive Stands • Study, understand, and follow all instructions before operating these devices. • Wear ANSI Z87.1 and OSHA approved eye protection. • Do not exceed rated capacity. • Use only on a hard, level surface capable of supporting the load. - Page 4 Safety Information (continued) • Use a minimum of four stands to support and stabilize a vehicle, and a minimum of two additional stands for each axle assembly, before starting repairs. • The vehicle shall be raised only once to place vehicle support stands under the entire vehicle.
-
Page 5: Inspection Instructions
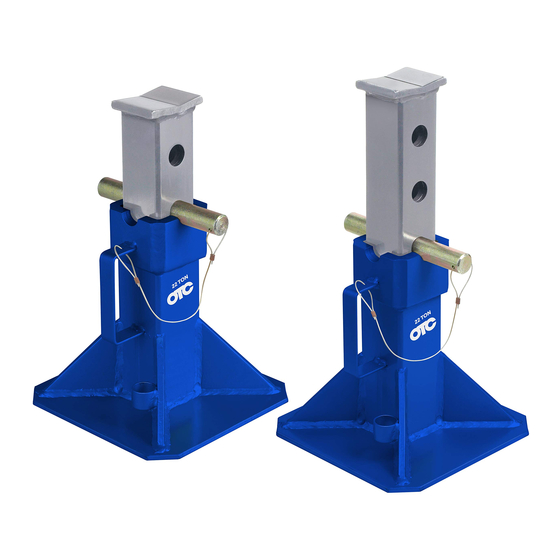
Remove jack stand from carton and assemble following the instructions in this manual. Inspect jack stand for the following: • Inspect paint for chipping, runs, misses or overspray. • Inspect weldments for breaks or spatter. - Page 6 Assembly Instructions Saddle Ratchet and Pawl Style Stand 1. Install the ratchet bar into the frame with the ratchet portion of the bar aligned with the Ratchet locking pawl (stopper). 2. Move the ratchet bar to its lowest position by raising the Locking locking handle (which releases Handle...
- Page 7 JACK STAND INSTRUCTIONS High Reach Under Hoist Auxiliary Stand Saddle 1. Attach post support to base. 2. Insert post into post support, aligning holes. Secure with support tube hardware (clevis pin, [2] Adjusting washers, and cotter pin.) Handle 3. Screw adjusting handle...
- Page 8 Assembly Instructions (continued) Saddle High Reach Supplementary Support Stands Saddle Tube Assembly Base 1. Use bolts to attach saddle to saddle base. Handle 2. Slide screw rod into outer Bearing tube. Install bearing on Assembly outer tube. 3. Install handle and saddle Outer base onto screw rod and Detent...
- Page 9 2. Plan the location of the jack stands in pairs on a smooth, hard, level surface to ensure a balanced load. 3. Position each jack stand so the weight will be exerted on the center of the saddle. 4. Extend the jack up to the load. Insert pins or lock handles in place, depending on the model of jack stand.
- Page 10 Operating Instructions (continued) Supplementary High Reach Support Stands (See Fig. 4) Raise the Load WARNING: To prevent personal injury and/ or property damage, do not attempt to remove the detent pin with a load on the stand. 1. Major adjustments in the height of the stand must be made before putting a load on the stand.
-
Page 11: Lifetime Warranty
Nor does this warranty apply to the following items, which may be incorporated into or sold with OTC Products and which are sold “as-is” with all faults: chains, batteries, electric motors, knives, and cutter blades. (Electric motors are warranted by their manufacturers under conditions stated in their warranties). - Page 12 655 EISENHOWER DRIVE OWATONNA, MN 55060 USA 800-533-6127 TECH SERVICES 800-955-8329 800-533-6127 CUSTOMER SERVICE 800-283-8665 www.otctools.com SP04518826 Rev. 1 © Bosch Automotive Service Solutions Inc. March 31, 2020...

Need help?
Do you have a question about the JACK STAND and is the answer not in the manual?
Questions and answers