Advertisement
SAFETY INSTRUCTIONS
•
Regularly check nuts and bolts attaching the awning to your vehicle to make
sure fastenings are tight and in good condition.
•
If using a commercial car wash, remove awning bag and fixtures to avoid
damage.
•
Do not use awning or storage bag to hoist, lift or support yourself.
•
It is important when mounting the awning to a vehicle, that all the mounting
brackets supplied are adequately spaced to support the weight of the
awning.
•
Products applied to a vehicle roof will alter vehicle handling. The
manufacturer disclaims all responsibility in relation to accidents due to
improper use, incorrect maintenance, or negligence in maintaining fastening
hardware.
•
This awning will support Tuatara accessory walls (KC077-006 - Front Wall
and KC077-005 - Side Wall). Attaching different models, or inappropriate
weight, could damage frame and will not be covered by warranty.
•
Do not attempt to put up in windy conditions.
•
To avoid pooling of water on top of awning, always set up awning with
sufficient angle to allow water to run off.
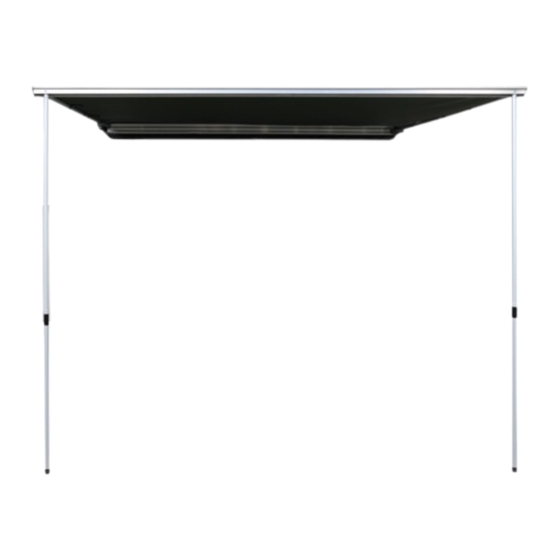
Tuatara 2.5 x 2.5 Awning
Model No. KC077-001
Advertisement
Table of Contents

Related Manuals for Kiwi Camping Tuatara

Summary of Contents for Kiwi Camping Tuatara
- Page 1 • This awning will support Tuatara accessory walls (KC077-006 - Front Wall and KC077-005 - Side Wall). Attaching different models, or inappropriate weight, could damage frame and will not be covered by warranty.
- Page 2 ATTACHMENT INSTRUCTIONS Your Awning includes: 1 x awning and awning bag, 2 x guy ropes and pegs 2 x L-brackets with 4 x bolts, washers and nuts 4 x square U-bolts with 4 x mounting plates with 8 x washers and nuts 4 x 20mmx30mm T-bolts with 4 x washers and nuts You will also need: 1 x adjustable spanner...
- Page 3 SQUARE U-BOLT INSTRUCTIONS Secure the L-Bracket to the Crossbars 1. Place supplied L-Bracket on top of your crossbars, with the vertical end facing away from the vehicle. 2. Place Square U-Bolts on top of the L-Bracket with the mounting plate under the crossbar.
- Page 4 T-SLOT INSTRUCTIONS Secure the L-Bracket to the Crossbars 1. Insert T-Bolts into the channel after removing or depressing rubber strip. Tip – T-Bolt heads should slide back and forth but not fully rotate. 2. Place L-Bracket on both T-Bolts, providing a minimum of 1 empty hole set in between each T-Bolt.
- Page 5 PITCHING INSTRUCTIONS 1. Unzip the storage bag, release the hook and loop tabs. 2. Carefully unroll awning. 3. Release both vertical poles from the U-shape groove at the front of the awning and extend. 4. Twist to lock to desired height. Have someone support the front of the awning.
- Page 6 COLLAPSING INSTRUCTIONS 1. Carefully remove pegs, roll-up the guy ropes, remove excess soil from the pegs and store them in their bag. Unfasten hook and loop tabs from side poles. 2. Have someone support the front of the awning.Twist to unlock the side poles and take out from the front hole, then put it back in the U-shape groove.
- Page 7 CARE INSTRUCTIONS PLEASE READ ALL OF THE CARE INFORMATION AND INSTRUCTIONS INCLUDED WITH THIS AWNING BEFORE USING IT FOR THE FIRST TIME. Never store your awning away damp. Should mildew spots appear, brush them off before they become attached. Mildew damage of any kind is not covered by our warranty.
- Page 8 WARRANTY INFORMATION THE WARRANTY PERIOD FOR THIS TENT IS FOUND ON THE PACKAGING AND FULL DETAILS ARE ON THE KIWI CAMPING WEBSITE - WWW.KIWICAMPING.CO.NZ. The original purchaser of this product is offered a warranty if during this time period the product fails due to a fault in either materials or workmanship. Service under this warranty is available by returning the product, with your proof of purchase, to where it was purchased.
Need help?
Do you have a question about the Tuatara and is the answer not in the manual?
Questions and answers