Advertisement
Quick Links
Designed by Andy Whitehead
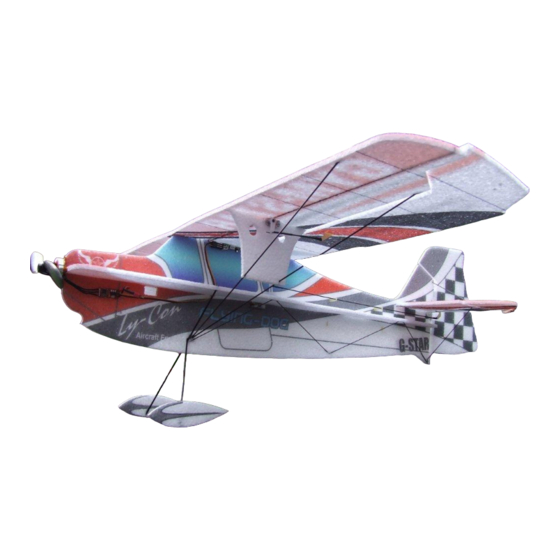
Thank you for purchasing the Gym-Star from
and
. The Gym-
Star is intended as both a high-wing trainer and also a 3D model for someone who wants
something a little different from the usual 'Shockflyer' and can perform all the usual 3D
tricks, from hovering (prop-hanging) to knife edge, etc.
The Gym-Star can be flown both indoors or out in calm conditions, however, if you are
intending on flying mainly indoors, please pay special attention to keeping the weight as
low as possible.
All models fly slower with a lower wing loading, so consider carefully the radio equipment
to be used.
Advertisement

Summary of Contents for Flying Dog Grape Gym-Star
- Page 1 Designed by Andy Whitehead Thank you for purchasing the Gym-Star from . The Gym- Star is intended as both a high-wing trainer and also a 3D model for someone who wants something a little different from the usual 'Shockflyer' and can perform all the usual 3D tricks, from hovering (prop-hanging) to knife edge, etc.
- Page 2 Equipment Many servos and motor/ESC combinations are perfect for this model, but listed below are some recommendations of gear that the design team have tried and know to work well: Either: 1 x 9g servo for ailerons – e.g. Hexatronic HXT9 or Inolab HD201HB Or…...
- Page 3 Locate each wing panel and its corresponding Wait 5-10 minutes for the glue to go tacky, then aileron. Apply a small bead of POR to the bevelled on a flat surface, press the two together to form a edge of both. Go easy though, as too much glue will surprisingly durable hinge.
- Page 4 150mm 165mm Cut two pieces of 1mm carbon rod into roughly Cut the 2mm carbon rod into 200mm lengths. Slit 130mm lengths and insert into slits cut with a scalpel the foam and insert the rods to form the under-cart. starting from the under-cart.
- Page 5 Hinge End of CF horn 90° Taken from another airframe, this picture shows Two Servo option: The RX was placed on the the correct orientation of servo horn , push rods, underside of the wing and the servo wires pushed hinge line and aileron horn.
- Page 6 before fixing with CA. Glue on the tailplane, check for alignment, then Attach the rudder and upper 1mm bracing. attach the 1mm bracing. Elevator/rudder pushrod assembly. Carbon cut Equally space each guide, cutting a slit for each in to align with the hinge line and heatshrunk to horn. the foam.
- Page 7 Set-up Dual-rates: Expo: Ailerons 50-100% (±45° max.) Ailerons 25-50% • • Rudder 70-100% (±45° max.) Rudder 10-25% • • Elevator 50-100% (±55° max.) Elevator 15-30% • • If using 2 servos in the wing, we found 20-25% differential improved the rolls axially. A flap mix may be set-up with about 55% of down flap mixed to about 35% down elevator.
- Page 8 Credits Designer Andy Whitehead Artwork & Manual Kev Cross Gaz Holland Production & Manufacture Adam Osinski Marcin Traczyk Rob Piechulski Test Pilots Gaz Holland Kev Cross...
Need help?
Do you have a question about the Grape Gym-Star and is the answer not in the manual?
Questions and answers