Advertisement
Advertisement
Table of Contents

Summary of Contents for FLUIDX XTR-96
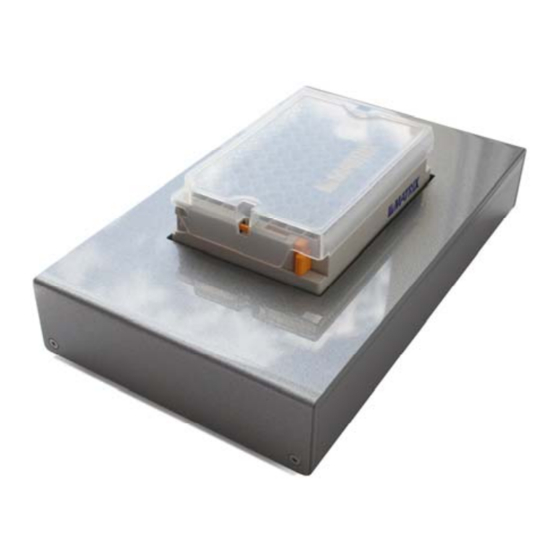
- Page 1 XTR-96 96 Tube Rack Scanner Manual Version 2.205...
- Page 2 August 2006...
-
Page 3: Table Of Contents
Index ......................... 2 Welcome ........................3 Introduction ......................4 Installation ........................ 5 Getting started ......................7 Running XTR-96 ..................... 11 Results configuration .................... 15 System settings ..................... 19 Using the Winsock interface ................. 21 Setting up a ‘HyperTerminal’ session ..............23... -
Page 4: Welcome
Welcome The XTR-96 Reader is the latest member of a family of sophisticated 2D Data Matrix code readers capable of reading standard 96 way racks of pre coded tubes from a variety of manufacturers provided that they adhere to the ISO 16022 Data Matrix Two Dimensional Bar Code format. -
Page 5: Introduction
Introduction The XTR-96 is a high performance reader of SBS format racks containing industry standard coded tubes. It is based upon a specially modified flat bed scanner with a USB2 interface delivering high speed operation. As the system uses a unique method of operation and algorithms that do not rely on custom chips, the decode speed and overall performance is directly related to the power of the PC that is running the software. -
Page 6: Installation
USB Cable • USB Dongle • XTR-96 Software CD-ROM Unlock the Scanner by placing a small screw driver into the slot at the read and moving the slider switch to the right (towards the USB and Power connectors) see below. Un-lock Illustration showing rear of unit. - Page 7 3. Select Fujitsu fi-60F as the scanner type. 4. Restart the computer to complete the installation process. 5. Connect the USB dongle and USB Scanner Cable.
-
Page 8: Getting Started
To execute from the start menu, single click the left mouse button on the start button and select Programs then move to the entry that says XTR-96 finally move to the entry that says XTR-96 and single click the left mouse button. - Page 9 After a few second this screen will be displayed. This screen is displayed on the first execution of the software, the software will automatically scan and a progress bar will be shown as in the screenshot above (ensure that FUJITSU fi- 60F is the scanner selected).
- Page 10 The system will now scan again, this time it will only scan the area that was within the yellow box that you have just configured. Once the scan has completed the screen display should look like this: The green boxed grid of 12 columns and 8 rows should surround each of the 96 coded tubes.
- Page 11 OK button to the right hand side of this dialog. This concludes the first execution of the XTR-96 Software this sets up the system ready for use. Now left mouse click the Exit button on the bottom right hand corner of the main...
-
Page 12: Running Xtr-96
Running XTR-96 Once you have started the XTR-96 software as described in the getting started section of this manual you will see the following screen. To scan a rack of tubes place the rack in the scanner housing and left click the mouse on the Scan and Decode button, the software will now perform a scan of the rack and then decode image of coded tubes. - Page 13 The software will now display a screenshot similar to the one above. As you move the mouse pointer over the tubes a small text box indicates the cell ID and the tube number, you will also see that the row and column numbers highlighted. If you left mouse click the Zoom In button the screen will magnify and you will see the image in more detail.
- Page 14 This is a screen shot of a zoomed image. The Min Zoom / Max Zoom button zoom has two effects, in Min Zoom mode it shows the whole rack of tubes in the Max Zoom mode it shows two tubes. The Zoom In and Zoom Out buttons progressively reduce, or enlarge, the image between minimum and maximum zoom positions.
- Page 15 We are now going to take a look at some of the other features of the software. Move the mouse pointer to the file menu and left click the mouse, you will see a list of commands some of which are grey in colour and some that are black.
-
Page 16: Results Configuration
ODBC standard. By default XTR-96 saves two copies of decoded data: once in a file with an unchanging name, known as the “OLE Link File” and once in a file with a configurable name composed... - Page 17 • A sequence number of a specified length which starts with a defined value when XTR-96 is started, or will continue from the last number used irrespective of restarts. The sequence number is incremented each time a rack is read.
- Page 18 The Results Destination panel allows the setting of: • The storage path for data - this is the name of the folder where all generated data is saved. • OLE Link File - a fixed name file where the last set of results are saved.
- Page 19 Header Information - a number of lines of control information may be specified at the top of each results file: • Date and Time - when checked this will cause the date and time of the read cycle to be inserted at the top of the results file.
-
Page 20: System Settings
The default Port Number (201) may be changed if, for example, you have another system that uses Port Number 201. It is not usually necessary to change this value, which is needed when configuring a client Winsock session to interface with XTR-96. •... - Page 21 • The name of the currently selected scanner is displayed in the first field. • Select Scanner - will display a list of all the usb imaging drivers installed on your PC. Put a rack of tubes on the scanner you want to use and select it from the list. A new scan will be done and the left hand side of the display will be updated.
-
Page 22: Using The Winsock Interface
Essentially this provides a network interface for client programs to communicate with XTR- 96. To gain familiarity with the interface a HyperTerminal session can be set up and used to send commands to XTR-96. The next section describes how to set up a HyperTerminal session. - Page 23 XTR-96 read. • Type set verification = on (or off) into the HyperTerminal session and XTR-96 will reply OK and enable (or disable) the verification module, using the predefined verification prefix on the results file names.
-
Page 24: Setting Up A 'Hyperterminal' Session
Setting up a ‘HyperTerminal’ session • Select Start Menu / Programs / Accessories / Communications / HyperTerminal and Bill Gates will bombard you with questions you don’t want to answer. • Press Cancel at the “Location Information” screen. Bill will shout at you as follows: •... - Page 25 TCPIP/IP (Winsock) • Enter the Host address that was displayed in XTR-96’s System dialog and change the Port number to 201 • Ensure that XTR-96 is running with Winsock enabled. Press OK and the message “XTR-96 Connected” message will be displayed.
-
Page 26: Trouble Shooting
• The installation has gone wrong and you want to revert to a “new” installation. This procedure will delete all of XTR-96 settings to provide a nice clean start to XTR-96. At the Start / Run menu type in regedit and press OK.
Need help?
Do you have a question about the XTR-96 and is the answer not in the manual?
Questions and answers