
Summary of Contents for Globe COMP9256
- Page 1 Care Instructions Portable Hi-Res Movie Projector InstRuCtIons Part no. CoMP9256...
-
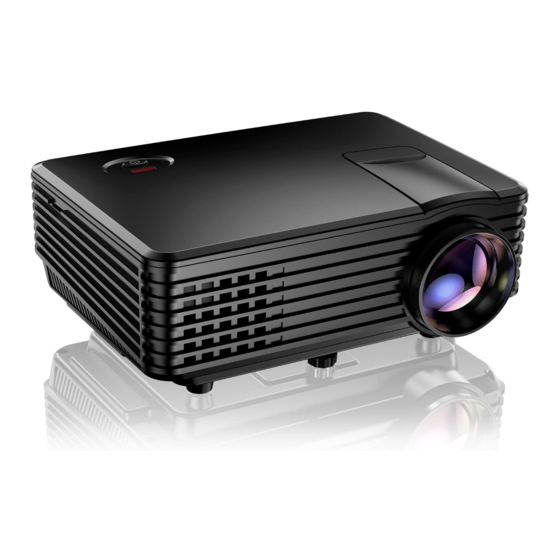
Page 2: Projector - Accessories
Portable Hi-Res Movie Projector Projector - Accessories Projector cable Lens cover USB cable Remote control AC adapter Speaker DC adapter 10 Storage case AV cable... - Page 3 Setting up inStructionS Projector - Parts Identified Projector Power DC-IN HDMI Headphones/ Speaker IR Receiver speaker Remote Power Mute Backward Forward Previous Next Play Stop Audio Language 10 Record 11 Source 12 Electronic Menu On/Off 13 Confirm LED Light 14 Up/Down/ Cable port Left/Right Power cable...
- Page 4 Portable Hi-Res Movie Projector Connection - Projector • D C Adapter – Ensure that the cables are extended and free from any kinks, plug cigarette lighter fitting into a suitable DC power source, connect Male plug to projector • A C Adapter – Ensure that the cable is extended and free from any kinks, plug adapter into a suitable AC power source and then connect Male plug to projector...
- Page 5 Setting up inStructionS Connection - speaker • T o charge use the USB cable, connect to the speaker and then to a suitable USB outlet. Charging time to reach 100% will take approximately 2 hrs • T o connect, check that the input cable is extended and free from any kinks, insert into speaker and then into the outlet on Projector...
-
Page 6: Operation
Portable Hi-Res Movie Projector operation • L ocate the unit a minimum of 2 to 3 metres back from the area that is to be used for projection, ensure that the projector is placed on a stable and level surface • U sing the required power adaptor connect to the selected power source and projector, the indicating LED will illuminate RED and the internal fan will engage confirming that the unit is ready • C onnect the speaker to the projector. Switch the speaker on, the BLUE LED will illuminate • Press POWER Button on Projector or Remote Control, the LED light will illuminate BLUE... - Page 7 Setting up inStructionS • The projector will power up and the GlobeX image will be projected • P ress the INPUT SOURCE button on the remote and select the required input USB / HDMI / VGA / AV INPUT SOURCE HDMI • Insert media device and select the MOVIE icon by pressing “OK” (Insert Image) • T he projector will recognise the readable files and these will appear on the screen, select required file by using on the remote control and pressing to select. • Press Play and movie will commence • Adjust the VOLUME by pressing the Left or Right...
-
Page 8: Focusing The Image
Portable Hi-Res Movie Projector Focusing the Image • T o focus the image, rotate the lens clockwise or anti-clockwise until the image is clear – Be careful not to touch the lens • T he angle of the picture can be altered by either raising or lowering the front height of the projector by adjusting the levelling pad under the unit... - Page 9 Setting up inStructionS • A lternatively by moving the keystone leaver, located on the rear of the projector to the left or right...
-
Page 10: Menu Operation
Portable Hi-Res Movie Projector Menu operation • P ress “MENU” key to enter the main menu, then press ” / ” key to each sub menu • P ress ” / ” key to select the sub-menu, then adjust the parameters as per your need, and then press the key to confirm Function of sub-menu Image Sub-menu: Available adjustment: picture mode, colour temperature, aspect ratio, noise reduction, computer settings. Sound Sub-menu: Available adjustment: sound mode, balance, auto volume, surround sound, SPDIF mode, EQ. Time Sub-menu: Available adjustment: clock, off time, automatic shutdown time, auto sleep. -
Page 11: Specifications
Setting up inStructionS specifications NaTIvE RESOlUTION 800 x 480 lamP laNgUagE English CONTRaST 1,000:1 ImagE SIzE 20-80 inch COlOUR 18000K WEIghT OPERaTION mOdE Remote control OUTPUT Headphone + Speaker SUPPORT RESOlUTION Max 1920 x 1080 INPUT vOlTagE 12V DC BRIghTNESS 800 Lumen SPEakER External... - Page 12 Portable Hi-Res Movie Projector...
Need help?
Do you have a question about the COMP9256 and is the answer not in the manual?
Questions and answers