Advertisement
Available languages
Available languages
Quick Links
Advertisement

Subscribe to Our Youtube Channel
Related Manuals for oneConcept Eden Grow L

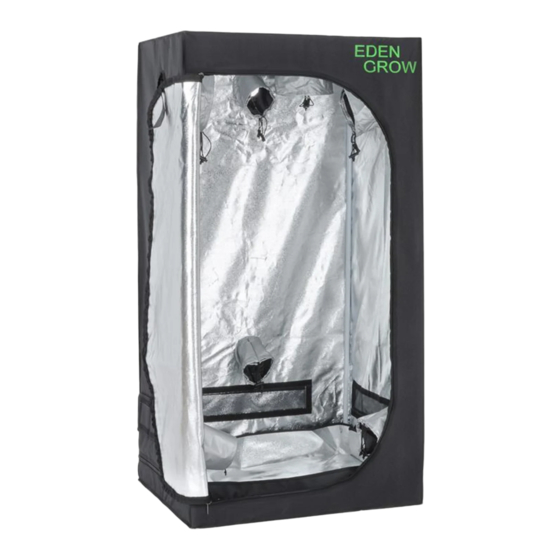
Summary of Contents for oneConcept Eden Grow L
- Page 1 Growbox 10029767 10029768...
- Page 2 Sehr geehrter Kunde, wir gratulieren Ihnen zum Erwerb Ihres Gerätes. Lesen Sie die folgenden Anschluss- und Anwendungshinweise sorgfältig durch und befolgen Sie diese, um möglichen technischen Schäden vorzubeugen. Für Schäden, die durch Missachtung der Sicherheitshinweise und unsachgemäßen Gebrauch entstehen, übernehmen wir keine Haftung. Datenblatt Artikelnummer 10029767...
-
Page 3: Montage
Montage tructions Bauen Sie zuerst den Rahmen auf, der als Basis des Zeltes dient. Die schwarze Kunststoffkappe auf dem Winkelstück muss nach unten zeigen. Stecken Sie die Rohre ganz einfach in die Winkel- stücke. Achten Sie darauf, dass die Rohre richtig in die Winkel gesteckt werden, so dass die Druckknöpfe ein- Grow Tent Assembly Instructions schnappen. - Page 4 Jedes Modell ist mit tiefen und flachen Deckenstangen ausgestattet. Die An- zahl hängt von der Größe des Modells ab. Bitte achten Sie dabei auf die Liste der Bauteile. Viele Variationen sind möglich, die gängigste Variante ist aber eine Befestigung von links nach rechts mit den tiefen Stangen an den Enden und der flachen Stange in der Mitte.
- Page 5 Heften Sie die Spezial-Belüftungsklappen auf das Lufteinlassfenster (C). Dabei haben Sie zwei Möglichkeiten: 1. Flaches Anheften luftdichter Verschluss: Damit wird die Luftzir- kulation durch andere Öffnungen gesteuert. 2. Falten zu einem Dreieck: Falten Sie Spezial-Belüftungsklappen einem Dreieck zusammen. Das re- flektierende Material liegt innen und die Polyesterschicht aus.
-
Page 6: Scope Of Supply
Dear Customer, Congratulations on purchasing this equipment. Please read this manual carefully and take care of the following hints on installation and use to avoid technical damages. Any failure caused by ignoring the items and cautions mentioned in the operation and installation instructions are not covered by our warranty and any liability. -
Page 7: Installation
Installation tructions First assemble the framework which is the basis of the tent. The black plastic covers in the corner angles must point downwards. You can easily stick the tubes into the corner angles. Make sure you stick the tubes firmly into the corner angles until they snap into the press studs. - Page 8 Each type comes with low and flat ceiling tubes. The quantity depends on the size of the item. Please resort to the list of the components. Sev- eral variations are possible. The most common method is connecting the tubes from the left to the right with the low tubes on the ends and the flat tube in the middle.
- Page 9 Attach the special flaps (C) on the air- inlet. You have two options: 1. Flat attachment as an airtight seal: Thus you steer the air circulation through the other openings. 2. Folding a triangle: Fold the special flaps to form a triangle. The reflect- ing surface goes to the inside and the polyester material to the out- side.
Need help?
Do you have a question about the Eden Grow L and is the answer not in the manual?
Questions and answers