Advertisement
Quick Links
Note: The installation screenshots were taken in Windows 2000. For other
OS, the installation procedure will be nearly the same but the screenshots
will differ in appearance somewhat.
Package Contents:
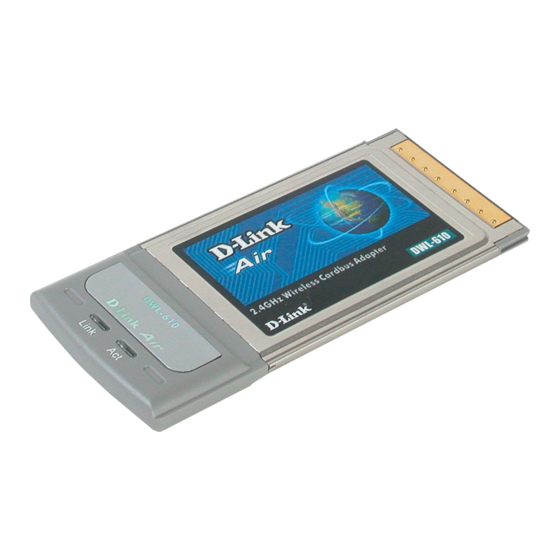
D-Link Air DWL-610 Wireless Cardbus Adapter
Printed Quick Installation Guide
CD with Manual and Drivers
If anything is missing, please contact the reseller
.
System Requirements
A laptop computer with an available 32-bit Cardbus PC Card slot
At least a 300 MHz processor and 32 MB of memory
Cardbus Controller properly installed and working
An 802.11b Access Point (for Infrastructure Mode) or another 802.11b
wireless adapter (for Ad-Hoc mode.)
1
Advertisement

Summary of Contents for D-Link Air DWL-610
- Page 1 OS, the installation procedure will be nearly the same but the screenshots will differ in appearance somewhat. Package Contents: D-Link Air DWL-610 Wireless Cardbus Adapter Printed Quick Installation Guide CD with Manual and Drivers If anything is missing, please contact the reseller...
- Page 2 Installing the DWL-610 Utility Turn on the computer. Insert the D-Link DWL-610 Installation CD into your CD- ROM drive. Click Install Utility. Note: Do not insert the DWL-610 Cardbus Adapter. Wait until the Utility has loaded. The following window will appear.
- Page 3 Again, accept the default folder name or type a new name of your own. Click Next. The Setup Status window will appear, showing various operations being performed. Done. The DWL-610 Utility has been installed. Now, restart your computer for settings to take effect. Click Finish.
- Page 4 Installing the DWL-610 and the Driver When your computer has restarted, insert the DWL-610 Cardbus Adapter into an available slot on your notebook or laptop. And re-insert the Installation CD, which is Auto-Run and will present a “ splash screen.” For the moment, close the splash screen and proceed as follows.
- Page 5 The Installation Wizard now asks where to search for a driver. Check the box for CD- ROM drives. Click Next. When the Wizard finds the driver for the DWL-610, it announces the name and location of the file. Click Next. Next, the Microsoft “...
- Page 6 The Wizard announces that the installation is complete. Click Finish.
-
Page 7: Connecting To A Wireless Network
Connecting to a Wireless Network Once you have the DWL-610 properly installed, you will see the icon shown at right that will appear in your task bar on the bottom of the screen. Note: For first-time use only, you may have to unplug and re-insert your cardbus adapter before this icon appears. - Page 8 The Site Survey displays a list of available wireless networks. Scroll though the list to find a network familiar to you. Be sure to use the horizontal scroll bar to check whether or not WEP has been enabled or disabled. Select a network by clicking on it.
- Page 9 • IP Settings: You can let the computer automatically choose an IP Address and NS Server Address (default), or assign specific values. For simplicity and to make sure your basic setup is working, accept the default settings. Click Click OK in the Configuration window, and you’ll be returned to the Site Survey window.
- Page 10 Click on Link Info. Within a few seconds, information concerning your connection will be displayed. among other data, your Signal Strength and transmit/receive Packet count are shown. That’s it! Your notebook computer is now part of a wireless network. Now, no matter where you are, you can confer with colleagues, share data, and take advantage of all the Internet has to offer .


Need help?
Do you have a question about the Air DWL-610 and is the answer not in the manual?
Questions and answers