Advertisement
Quick Links
049-245
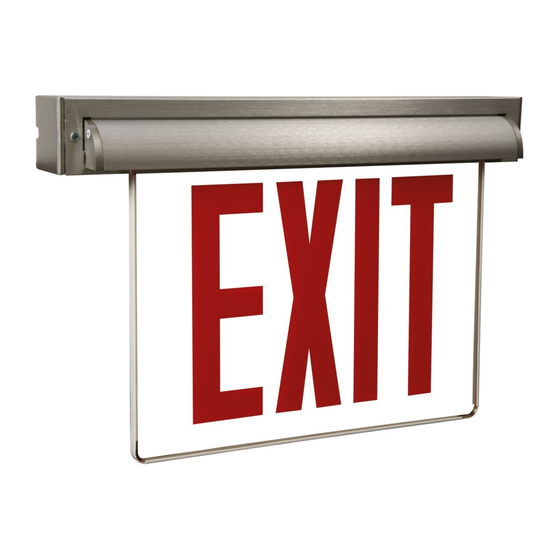
Installation Instructions for the AUX Universal Edge Lit Exit –
Battery Backup with Self Diagnostics
WARNING
Risk of Fire/Electric Shock
If not qualified, consult an electrician.
Important Safeguards
WHEN USING ELECTRICAL EQUIPMENT, BASIC SAFETY PRECAUTIONS SHOULD ALWAYS BE OBSERVED
INCLUDING THE FOLLOWING.
1. READ AND FOLLOW ALL SAFETY INSTRUCTIONS
2. Dry location only. Do not use outdoors.
3. Do not use in hazardous locations, or near gas or electric heaters.
4. Do not let power supply cords touch hot surfaces.
5. Use caution when servicing batteries. Battery acid can cause burns to skin and eyes. If acid is spilled on skin
or in eyes, flush acid with fresh water and contact a physician immediately.
6. Do not use this equipment for other than the intended use.
7. Installation is to be performed only by qualified personnel.
8. Install in accordance with National Electric Code and local regulatory agency requirements.
9. The use of accessory equipment not recommended by the manufacturer may cause an unsafe condition.
10. Equipment should be mounted in locations and at heights where it will not readily be subjected to tampering
by unauthorized personnel.
11. SAVE THESE INSTRUCTIONS
For Recessed Installation
1. Turn off power supply.
2. Determine if the fixture will be mounted in the
ceiling or the wall.
3. Remove the screws securing the trim plate to the
housing (See Figure 1). Place the trim assembly
and screws aside and save them for later
installation. It is not necessary to disconnect the
wire harness connecting the charger driver circuit
board to the LED board. Instead, the trim plate
can be hung from the sliding plastic installation
TRIM PLATE
hook (see figure 2).
HOUSING
FIGURE 1
WARNING
Risk of Electric Shock
Disconnect power at fuse or circuit breaker before
installing or servicing.
TRIM PLATE
HOUSING
HOUSING
TRIM
ASSEMBLY
HANGER
BAR
ASSEMBLY
FIGURE 2
HOUSING
INS #
FIGURE 1
COVER
PLATE
PLASTIC
INSTALLATION
HOOK
FIGURE 3
Advertisement

Summary of Contents for Cooper Lighting AtLite AUX Series
- Page 1 INS # 049-245 Installation Instructions for the AUX Universal Edge Lit Exit – Battery Backup with Self Diagnostics WARNING WARNING Risk of Fire/Electric Shock Risk of Electric Shock If not qualified, consult an electrician. Disconnect power at fuse or circuit breaker before installing or servicing.
- Page 2 ASSEMBLY HOUSING TRIM PLATE FIGURE 1 HOUSING PLASTIC FIGURE 2 FIGURE 1 INSTALLATION HOUSING HOOK TRIM ASSEMBLY TRIM PLATE 4. Determine where supply wires will be brought into the fixture. There are knockouts in each endcap on the side FIGURE 1 of the housing, and a hole between the hanger bars.
-
Page 3: Activating Optional Features
MAINTENANCE: None required. Servicing of any parts should be performed by qualified personnel. Only use replacement parts NOTE: supplied by Cooper Lighting Solutions. Use of unauthorized parts may void the warranty Installation Instructions for the AUX Universal Edge Lit Exit... -
Page 4: Troubleshooting Hints
1. Check AC supply – verify that unit has 24 hour AC supply. 2. Unit is shorted. 3. If following the abo ve trouble shooting hints does not solve your problem, contact your local Cooper Lighting Solutions representative for assistance. SCHEMATIC: PULL JUMPER LABELED “FLASHER” TO ENABLE... - Page 5 Usage Instructions for the Atlite Eagle Eye Self Diagnostics The AtLite Eagle Eye Self Diagnostics is continuously monitoring your emergency fixture, and will signal any failure through the 3 color indicator LED. Initial Operation: When the unit is first powered up, it will go into a 24 hour fast charge, indicated by the indicator LED pulsing green. Once the unit has fully charged, it will perform a self calibration, after which the LED will change to steady green, indicating the unit is fully charged and float charging the battery to maintain readiness.
-
Page 6: Disclaimer Of Warranties And Limitation Of Liability
CONTRACT BETWEEN THE PARTIES. In no event will Cooper Lighting Solutions be responsible to the purchaser or user in contract, in tort (including negligence), strict liability or other-wise for any special, indirect, incidental or consequential damage or loss whatsoever, including but not...
Need help?
Do you have a question about the AtLite AUX Series and is the answer not in the manual?
Questions and answers