Table of Contents
Advertisement
Quick Links
Advertisement
Table of Contents

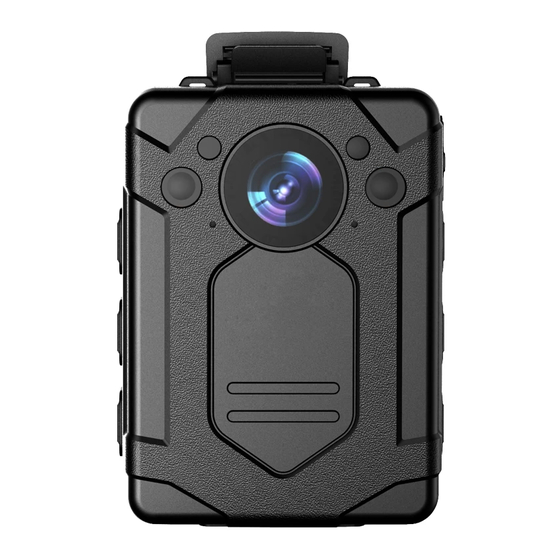
Summary of Contents for Diamante DMT9
- Page 1 Manual...
- Page 2 OVERVIEW 1. Photoresistor 13. Clip Slot 2. IR LED Light 14. Display Screen 3. Microphone 15. Menu/Confirm Button 4. LED Fill Light 16. Up/Left Button 5. Lens 17. Down/Right Button 6. Audio Recording Button 18. Back Button 7. Video Resolution Switch 19.
- Page 3 FUNCTIONALITIES SPECIFICATIONS Description Functionality Specifications Infrared LED can record more details in Image Sensor CMOS IR LED Light low-light environment. 2304x1296p(30 FPS) / 1920x1080P(30 FPS) Video Resolution Lens To record images 1280x720(60 FPS)/ 1280x720(30 FPS) Audio Recording Press this button to start/stop recording Video Format H.264 .MOV Button...
- Page 4 GETTING STARTED GETTING STARTED 1. Power ON/OFF 4. Infrared Light In low-light environment (At night or in the dark), 1) Power ON : Single-press to turn on camera turning on IR can help user to record more details, and from OFF-mode, and enter into Preview Mode. images recorded will be black and white.
- Page 5 GETTING STARTED GETTING STARTED 8. Video Recording 11. Post-recording In SETUP-Video menu, set Post-record with a In Preview Mode, single-press to start recording specified length, the unit will automatically extend video, press the button again to stop recording. recording with the specified length. When using “Press and Hold”...
- Page 6 GETTING STARTED GETTING STARTED 19. Switch Between Video Recording and 000:00:15 17:11:42 Audio Recording 1) When video is being recorded, press to stop recording video and start audio recording, video will be saved. PID:000000 N:8888888 2) When an audio file is being recorded, press 2017/05/04 201927 17:11:24...
- Page 7 GETTING STARTED Q & A Question Analysis Answer 22. Charging Out of battery Charge for 3.5 hours. Camera can’t be powered Mainboard Use Reset button Protection Working Camera was time of Charging time should not be less than not fully camera 3.5 hours.
- Page 8 N O T I C E F O R U S E R 3) The product malfunction caused by the fall and transportation failures after purchase. 4) The product malfunction caused by Not in accordance with the user manual operation. 5) The malfunction and damaged caused by the other barriers (man-made factors or external device).
Need help?
Do you have a question about the DMT9 and is the answer not in the manual?
Questions and answers