Advertisement
Table of Contents
Advertisement
Table of Contents

Subscribe to Our Youtube Channel
Summary of Contents for Flycam FLCM-10-Q
- Page 1 10 Video Camera Stabilizer (FLCM-10-Q) Instruction Manual...
-
Page 2: Table Of Contents
At Flycam, our goal is to ensure 100% Customer Satisfaction in all that we do. We back our sales with a 1 year warranty from the date of purchase and work hard to resolve any problems in the unlikely event one should arise. -
Page 3: Foreword
On behalf of all the people that work so hard to provide you with the most up-to-date, flexible and cost-efficient production gear, we would like to welcome you into the Flycam family. By purchasing your 10 Video Camera Stabilizer with Quick Release, you have just joined a host of designers, engineers, machinists, assembly, customer service and office staff that take great pride in all that they do. -
Page 4: Introduction
Introduction For videographers, it becomes very important that their shot is not shaky. Flycam 10 is a precise camera stabilizer which helps you in getting the stable and smooth gliding movements with absolutely zero shakes. It allows you to make fast moves while following quick actions. -
Page 5: Assembling
Assembling Loosen the 2x allen bolts at the bottom of camera plate, align the holes with the top of the central post & retighten the allen bolts securing the head to the stalk. Remove the head plate by unscrewing the four side knobs to mount the quick release adaptor ... - Page 6 Attach the head plate to the FLYCAM with appropriate fore & aft positioning and tighten the side knobs as shown. Further ‘fine tuning’ will probably be required. Open the lever and remove quick release plate from quick release adapter. Then attach it with your camera with the help of screw driver.
- Page 7 Should you wish to bypass the quick release plate, the camera can be directly attached to the Head Plate by using following assembly sequence: Remove the Head plate from the 3-piece head assembly in preparation to attach it to your camera. You will note a number of mounting holes that can be used to adapt to various cameras.
- Page 8 Attach clamp onto the table, tighten the provided knob to secure. Then attach handle onto the clamp, it helps achieving balance in just seconds and saves your professional time. After mounting the camera onto the FLYCAM C5, put the weights according to the weight of the camera.
-
Page 9: Balancing
Remove the top plate of the Flycam and line up your camera so that its center of gravity is as close to the center of the plate as possible (basically hold the camera in your hand until it feels balanced both left and right as well as forward and back). -
Page 10: Warranty
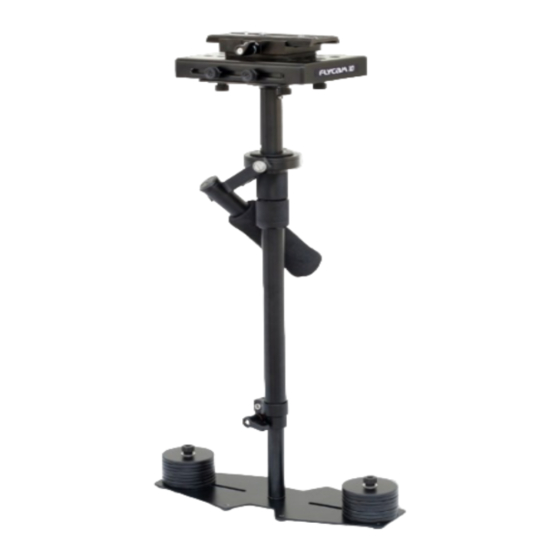
YOUR FLYCAM 10 VIDEO CAMERA STABILIZER WITH QUICK RELEASE ALL DRESSED UP AND READY TO GO (SHOWN WITH OPTIONAL ACCESSORIES) WARRANTY We offer a one year warranty for our products from the date of purchase. We will repair or replace your product, free of charge, in the event of a defect in materials or craftsmanship obtained during normal use or handling based on the user manual.
Need help?
Do you have a question about the FLCM-10-Q and is the answer not in the manual?
Questions and answers