Advertisement
PRELIT LED AURORA 7.5FT TREE (ITEM #FFAR075-1) ASSEMBLY INSTRUCTIONS
PARTS LISTING:
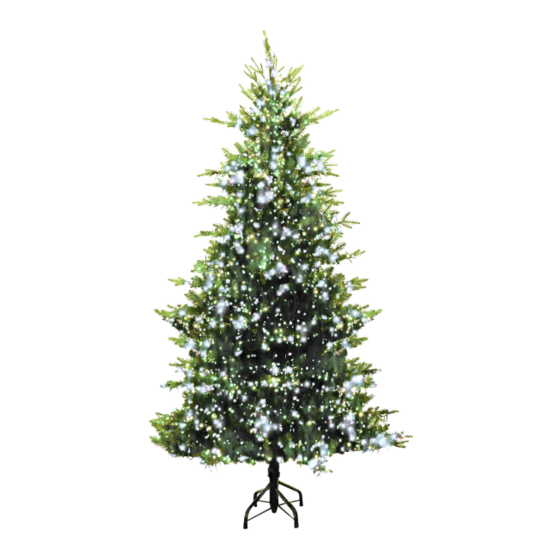
EACH 7.5' PRE-LIT AURORA TREE (Warm White) Contains:
(1) BOTTOM TREE SECTION (A)
(1) MIDDLE TREE SECTION (B)
(1) TOP TREE SECTION (C)
(1) INDOOR TREE STAND
(1) 3-Way Coaxial Power Cord
(1) 1-Prong Power Supply TRANSFORMER
1. Unpack:
Carefully remove the contents from the carton and keep the carton for future storage. Some sections of
the tree may be heavy and assistance may be required. Remove any outer foam wrapping from the tree
and its branches (See Fig. 1A).
2. Basic Assembly Steps:
STEP 1a - Open the carton and take out all the contents. All contents that are listed in the Bill of
Material section on this page should be enclosed. Locate the metal tree stand and assemble it by
separating the legs of the stand to form an "X" shape (See Fig 2A). Insert each of the three screws
into the holes on the stand's middle section, being sure that screws do not extend so far as to
interfere with installation of the tree pole. Place tree stand in desired location.
– ITEM
Fig. 1A
Fig. 2A
Advertisement
Table of Contents

Summary of Contents for Fraser Hill Farm PRELIT LED AURORA
- Page 1 PRELIT LED AURORA 7.5FT TREE (ITEM #FFAR075-1) ASSEMBLY INSTRUCTIONS – ITEM PARTS LISTING: EACH 7.5’ PRE-LIT AURORA TREE (Warm White) Contains: (1) BOTTOM TREE SECTION (A) (1) MIDDLE TREE SECTION (B) (1) TOP TREE SECTION (C) (1) INDOOR TREE STAND...
- Page 2 STEP 1b - Locate Tree Section “A” and remove the protective caps that are on the top and bottom of the pole (they can be replaced when you re-pack your tree). Insert Tree Section “A” into the tree stand. Make sure the pole is firmly inserted into the stand, and then turn all three screws until contact is made with the pole.
- Page 3 ILLUSTRATION OF HOW TO CONNECT EACH TREE SECTION TO THE 3-WAY PLUG (MATCH UP 1-1, 2-2, 3-3) To Activate Lights : There are 8 function operations to CONTROLLER BOX 1-STEADY 2-COMBINATION 3-IN WAVES 4-SEQUENTIAL 5-SLOW GLOW 6-SOFT EFFECT 7-SLOW FADE 8-SOFT EFFECT Pressing the button once will start the lights in STEADY mode.
- Page 4 REALISTIC THE FOLLOWING STEPS WILL HELP MAKE YOUR TREE LOOK MORE REALISTIC REALISTIC Separate the branch tips to form a “V” shape and fluff the needles. Make sure each tip is spread out and no two branches are touching each other. For best access to branches, shape each section prior to adding the next section as described in the initial assembly instructions.
Need help?
Do you have a question about the PRELIT LED AURORA and is the answer not in the manual?
Questions and answers