Advertisement
Quick Links
Advertisement

Subscribe to Our Youtube Channel
Summary of Contents for LVI SmartGuider
- Page 1 User Manual - version ENG 1.1 -...
-
Page 2: Item Checklist
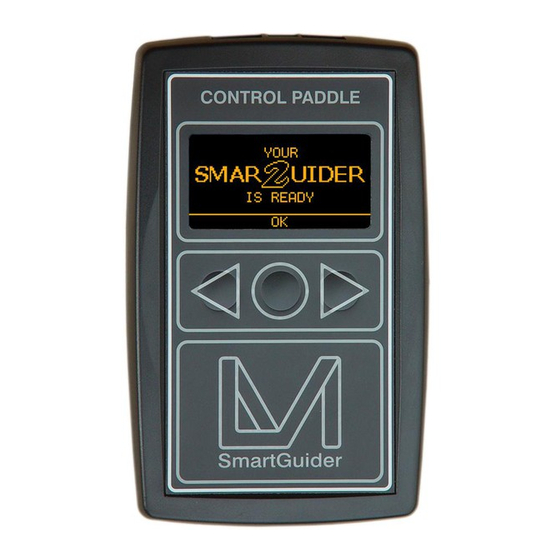
User’s manual 2. Quick Start Guide Thanks to its ease of use, you can hook up your SmartGuider and be ready within minutes. Once your imaging rig has been set up, polar aligned and carefully balanced, here are the main steps to follow: Make all the necessary connections: a. - Page 3 LVI’s web site. Most screens can have up to three different options on their bottom line, which can be activated by pressing the corresponding button on the control paddle (from left to right).
- Page 4 This eyepiece will deliver a perfectly focused and centered star in the camera’s FOV. When you press on FOCUS, the SmartGuider scans the whole frame to look for the previously selected guide star: After a while (the actual duration of the search phase is not always the same), the SmartGuider will inform you of the outcome with a simple message: “STAR...
- Page 5 If the guide star was not found (upper right), the SmartGuider goes automatically back to the MENU BASIC screen: in this case a brighter star has to be chosen. If the star has been found (upper left), we can proceed to the...
- Page 6 (screen on the lower right). Please see note on calibration on page 9. At this point we come to the autoguiding screens: The SmartGuider is standing by (Status: READY, screen on the upper left) before starting the actual autoguiding phase (Status: GUIDING, screen on the upper right) by selecting START.
-
Page 7: Tips And Tricks
See more details at page 10. 4. Tips and Tricks The SmartGuider is very simple and intuitive to use. However there are some phases, namely selection of a suitable guide star, focusing and calibration, which are critical in maximizing the performance of your SmartGuider and therefore deserve special attention. -
Page 8: Error Messages
2. Lenses getting wet (during AUTOGUIDING READY and GUIDING). 3. Too high guiding speed (during MOVING MOTORS…). Case 1 and 2: the SmartGuider warns the user both with a visual message and an audible signal, one beep per second until the star becomes visible again, for up to 30 seconds. - Page 9 4.3 Guiding Speed adjustment The SmartGuider automatically adjusts the exposure time according to the guide star’s brightness: shorter for bright stars, longer for dim ones. This also affects the frequency of corrections to the mount: bright stars allow for continuous...
- Page 10 Paddle unit which must not stay in your hand! Once calibration is over, the parameters are permanently stored into the SmartGuider’s internal memory (EEPROM) for later use, provided that the following precautions are taken into account: 1. Always guide on stars lying in the same side of the sky (with respect to the local meridian) as that where the calibration was last performed;...
- Page 11 SmartGuider and your telescope. If you notice any significant oscillations about the zero position of one or both graphs (overcorrection), the guiding speed should be decreased with the mount drive keypad until the oscillation becomes less important (ideally, almost negligible).
-
Page 12: Technical Specifications
5. Technical Specifications CAMERA Sensor................Mono 1/3" Aptina MT9V032 Sensor resolution............752x480, 6-µm square pixels Exposure time range............Auto, 0.001 - 2 seconds Housing..............Aluminium, with polycarbonate lid Nosepiece........Standard 1.25-inch (31.8mm) with filter thread Connectors....................8-pin RJ45 Size and weight...........D=65mm, H=50mm, Weight: 110g CONTROL PADDLE Case………..................ABS, black color Keypad........Three membrane keys with amber back-illumination Display........2.5-inch amber graphical LCD, 128x64 pixel resolution...


Need help?
Do you have a question about the SmartGuider and is the answer not in the manual?
Questions and answers