Advertisement
Quick Links
Installation Guide
INSTALLER: Once the installation of the pool is complete, it is important
to give this document to the customer in person.
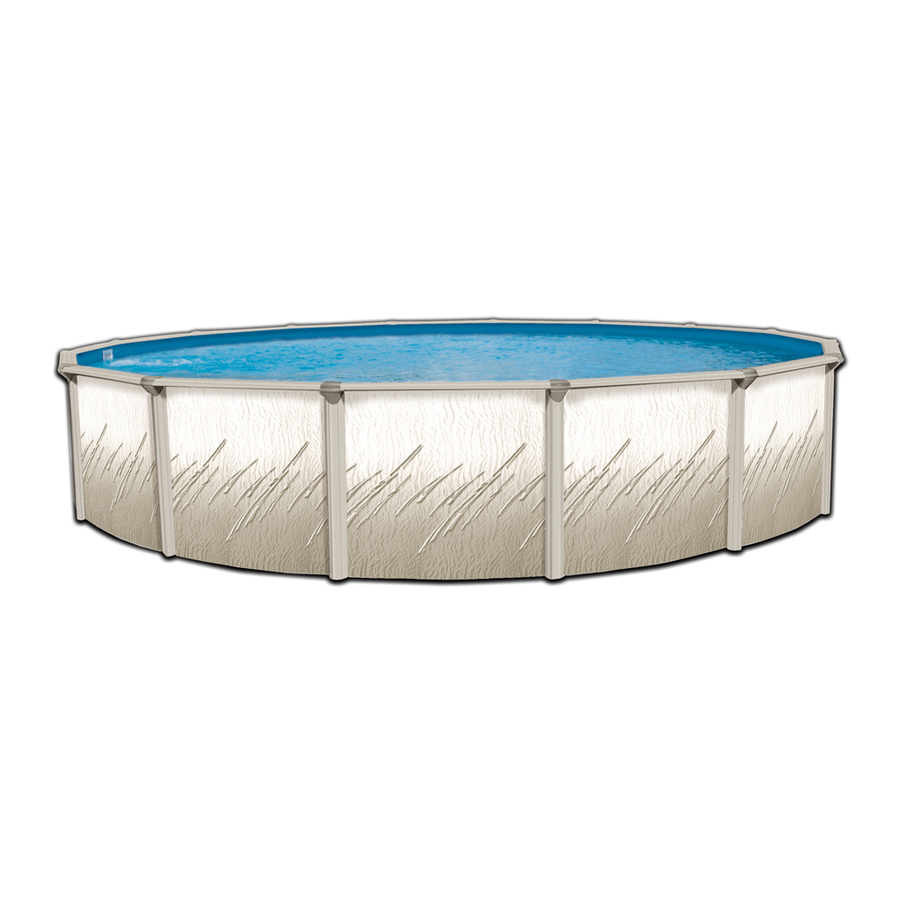
PRETIUM
ABOVE GROUND POOL
:
: For your safety, your pool is not designed for diving and/or
jumping in head first. Please do not dive. Diving may
result in permanent injury or death.
Advertisement

Related Manuals for Pool Warehouse PRETIUM


Summary of Contents for Pool Warehouse PRETIUM
- Page 1 PRETIUM ABOVE GROUND POOL Installation Guide : For your safety, your pool is not designed for diving and/or jumping in head first. Please do not dive. Diving may result in permanent injury or death. INSTALLER: Once the installation of the pool is complete, it is important...
- Page 2 PRETIUM ABOVE GROUND ROUND POOL INSTRUCTIONS ABOV E GROU N D POOL SAFET Y FAILURE TO HEED THESE WARNINGS CAN RESULT IN PERMANENT INJURY, WARN I N G PARALYSIS FROM A BROKEN NECK, ELECTROCUTION OR DROWNING. THIS POOL IS NOT DESIGNED FOR DIVING OR JUMPING!
- Page 3 A. Introduction to Installing your Pool Read all instructions completely before you begin. These instructions explain how to install your pool. Simply follow the step-by-step direc- tions. Start with this part, S 1 and use the other instructions, S 2 to 4 to put ection ection together your entire pool. 1 also has Safety Rules and instructions to help you keep your pool clean and ection in good shape, year after year.
- Page 4 2. Things to Avoid Do not locate your pool near or on any of the following: • Overhanging tree branches. • Overhead wires and clotheslines. • Buried pipes and wires-contact your gas, electric and telephone utilities to find buried pipes and wires before Important: you dig.
- Page 5 Pool Size Length of String Length of plank 5cm x 10cm 12’ (3,66m) 6’-6” (200 cm) 6’-6” (200 cm) 15’ (4,57m) 8’-0” (244 cm) 8’-0” (244 cm) 18’ (5,49m) 9’-6” (290 cm) 9’-6” (290 cm) 21’ (6,40m) 11’-0” (335 cm) 11’-0” (335 cm) 24’ (7,32m) 12’-6” (380 cm) 12’-6”...
- Page 6 d. Remove all the high spots with a shovel, hoe or rake. Be prepared to hire earth moving equipment if you need to level a large area. Remember, your pool must be level within 1” (25 mm) across the diameter of the pool.
- Page 7 4. Patio Stones (Optional) a. Concrete patio stones may be placed at the base of each upright of your pool. This is optional, but makes a better foundation for the pool wall. Patio stones 12” (30 cm) or larger will do. Round patio stones will also work. Choose the number of patio stones you need for your pool from the chart on the next page.
-
Page 8: Winterizing Your Pool
D. Maintaining your Pool After you have finished installing your pool, follow these instructions to keep it clean and in good shape. 1. The Liner Caution: a. Check the liner regularly for leaks. Chlorine can damage b. Minor repairs can be made to the liner with a repair kit. your pool liner and metal parts. - Page 9 6. Pool Accessories Remove all pool accessories from the pool, including the ladder. Leave the skimmer and filter parts attached to the pool wall. Ensure that the skimmer lid is installed and the opening at the bottom of the skimmer is open so that accumulated water can drain immediately. 7. The Filter Disconnect the filter from the pool. Follow the filter directions for winterizing your filter. Important Winterizing Notice Remember: Failure to install the...
- Page 10 Pool Component Installation Manual ection Assembling the Pool Base A. Assemble your Pool Base 1. Lay out the Base Plates and Bottom Rails Note: a. Place the base plates equally spaced around the perimeter of your foun- If you want, in- dation.
- Page 11 Pool Component Installation Manual ection Assembling the Pool Wall & Liner A. Assemble your Pool Wall Hint: This section is for Round and Oval pools (Round pools are shown). Bring the following items onto the pool 1. Set the Pool Wall in place before foundation you start uncoiling...
- Page 12 e. Work around the foundation until the entire pool wall is uncoiled into the bottom rails and the top edge is covered with the omega stabilizer and connectors (and beaded liner retainers if you have a beaded pool liner). 2. Join the Ends of the Pool Wall a.
- Page 13 3. Make sure the Pool Wall is Level a. Use a length of string and a line-level to check across the top edge of the pool wall to see if it is level. Check the wall in several different di- rections.
- Page 14 b. If you are using stabilizer, pack it around the wall to from a cove of about 15cm high and 15cm wide at ground level. Wet the sand to pack it and use a trowel to spread it evenly. c. Wet the sand on the floor of the pool to smooth it. Pack it using a manual compactor.
- Page 15 b. Fasten the liner to the top of the wall with plastic coping. Let the liner hang slack for now. Do not pull the liner tight. c. Start filling the pool with water. As the pool fills, work out all the wrinkles and smooth the liner to the wall.
- Page 16 c. The space between the ends of the omega stabilizer at the tops of the locations where the uprights will be attached, should be about 1/2" (13 mm). d. Replace the two lengths of the omega stabilizer and connectors. e. Repeat steps (a) to (d) un- til you have gone around the entire pool and finished attaching the pool liner in...
- Page 17 Pool Component Installation Manual ection Installing the Top Ledges & Uprights A. Attach your Uprights and Top Ledges 1. Continue filling your Pool a. Continue filling your pool with water. Do not put in more than 12" (30 cm) of water until the top ledges and vertical uprights are all attached. b. Keep working on the top ledges and uprights while the pool fills. •...
- Page 18 Overview of Upright, Top Ledge and Ledge Cover Assembly No Diving or Jumping. Observe all Safety Rules.
- Page 19 3. Install the Top Ledges a. Place a top ledge (key 7) with one end on top of the top plate. The side of the top ledge facing the centre of the pool should be close to the pool liner and pool wall. The side of the top ledge facing the outside of the pool will form a large overhang.
Need help?
Do you have a question about the PRETIUM and is the answer not in the manual?
Questions and answers