Advertisement
Important
safety instruction
During assembly or dis-
assembly of the HPS III-MH
nozzle high temperatures arise.
Risk of burns!
Personal protective
equipment (gloves,
protective goggles)
must be worn during
all work steps.
Page 1/4
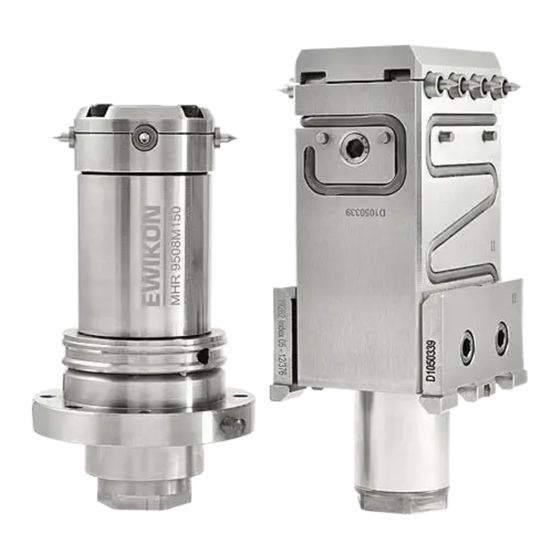
HPS III-MH
Assembly and exchange of tip inserts
General assembly notes / Required tools
1. ATTENTION: Please remove the tip inserts from nozzle body before assembling
or disassembling the HPS III-MH nozzle in the mould!
2. The maximum nozzle temperature is 350 °C (662 °F)
3. Required tools:
HPS III-MHL nozzle, linear version:
• Allen key, wrench size 5 AF
• Torque wrench, adjustment range 16 Nm (11.8 ft·lb)
with insert for wrench size 5 AF
• Threaded screw or threaded rod M4
HPS III-MHR nozzle, radial version
• Allen key, wrench size 3 and 5 AF
• Torque wrench, adjustment range 2 and 11 Nm (1.5 and 8.1 ft·lb)
with insert for wrench size 3 and 5 AF
• Threaded screw or threaded rod M4
Assembly of the nozzle body
1. The nozzle is installed into the mould without tip inserts.
2. Please install the tip inserts according to the "Tip insert assembly" instructions on the
following pages
hot runner nozzle for direct side gating
Advertisement
Table of Contents

Subscribe to Our Youtube Channel
Related Manuals for EWIKON HPS III-MH Series

Summary of Contents for EWIKON HPS III-MH Series
- Page 1 HPS III-MH hot runner nozzle for direct side gating Assembly and exchange of tip inserts General assembly notes / Required tools 1. ATTENTION: Please remove the tip inserts from nozzle body before assembling or disassembling the HPS III-MH nozzle in the mould! 2.
- Page 2 Tip insert assembly for the HPS III-MHL nozzle, linear version 1. Install the tip inserts. Please ensure that they are positioned correctly and that the sealing surfaces between tip insert and nozzle are clean. A screw M4 or a threaded rod can be screwed into the tip insert as an assembly aid.
- Page 3 Tip insert assembly for the HPS III-MHR nozzle, radial version 1. Install the tip inserts. Please ensure that they are positioned correctly and that the sealing surfaces between tip insert and nozzle are clean. A screw M4 or a threaded rod can be screwed into the tip insert as an assembly aid.
- Page 4 EWIKON Heißkanalsysteme GmbH Siegener Straße 35 • 35066 Frankenberg Tel: (+49) 64 51 / 50 10 Fax: (+49) 64 51 / 50 12 02 • E-mail: info@ewikon.com • www.ewikon.com Technical information subject to alteration • EWIKON 06/2019 • Item no. 13826...
Need help?
Do you have a question about the HPS III-MH Series and is the answer not in the manual?
Questions and answers