Table of Contents
Advertisement
Quick Links
Advertisement
Table of Contents

Summary of Contents for AGILE REVEL
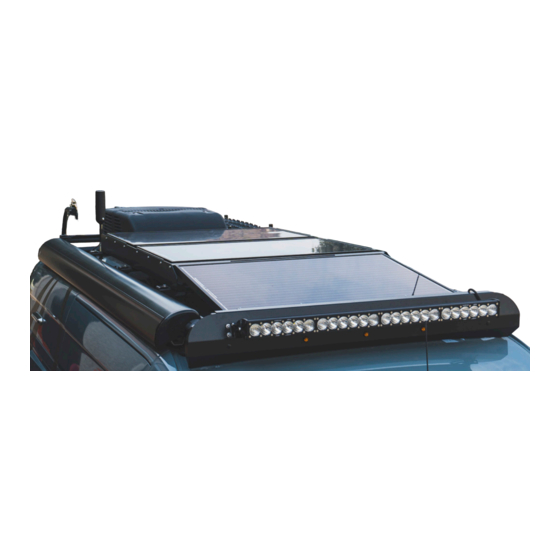
- Page 1 REVEL Solar Panel Add-On Installation Guide Package Includes: • 115-Watt Zamp panel • (5) solar panel brackets • 1x1 square cross bar • (8) Zamp T-nuts • (2) solar panel roof rails • Hardware kit Required Tools: • 1/2” & 7/16” sockets •...
- Page 2 Start by loosening the crossbars and the mounts for any existing roof rack accessories. Remove the front panel. Unplug it and take it off of the rack. Take this time to clean the panels & roof if necessary.
- Page 3 Set this panel aside. If your Revel is equipped with a smaller 100-watt front panel install the square crossbar so that the panel is offset towards the passenger side when installed on the vehicle. This it to keep the satellite...
- Page 4 Install (4) included Zamp t-nuts onto each of the shorter sides of the panel included with this kit. Install a solar panel bracket on both short edges of the panel. Center the brackets on the panel (approximately 3.25” from the edge) and tighten. Install the solar panel mounting hardware into the brackets.
- Page 5 Install the solar panel mounting hardware into the brackets. Set this panel aside. Install the left & right solar panel roof rails onto the Revel roof rack using the existing hardware. The angle cut edge faces forward. Do not tighten the roof rail hardware yet.
- Page 6 Install the new panel in the middle. Install one side at a time. Use the exposed hardware to keep the panel in place while you work on the other side. The first two panels dictate the alignment of the kit on your roof rack. With the first two panels installed you may now tighten the crossbars and roof rail hardware.
- Page 7 Install the rear panel. Verify all roof hardware is tightened. Congratulations your installation is complete.
Need help?
Do you have a question about the REVEL and is the answer not in the manual?
Questions and answers