Advertisement
Quick Links
HawkEye 7200 Quick Start Guide
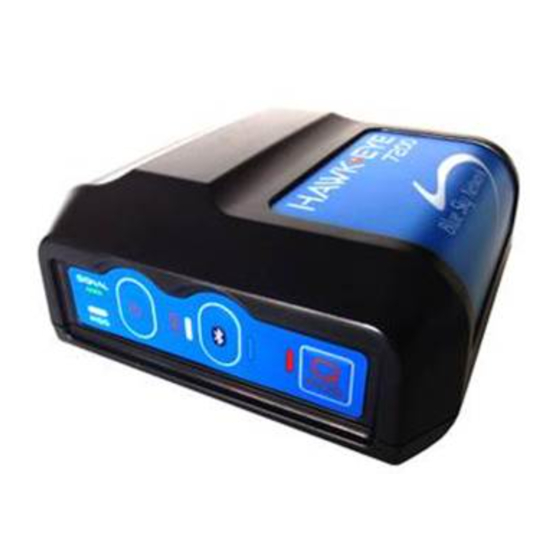
DEVICE DESCRIPTION
CONTROL PANEL
The HE7200 Control Panel contains several
LEDs and Buttons:
1. Signal LED
2. Message LED
3. Power Button
4. Charging LED
5. Bluetooth Button/LED
6. QPOS Button/LED
CHARGING PORT
The HE7200 power port is a 12-pin
connector.
1. HE7200 Charging Port
CHARGE
To charge the HawkEye 7200:
1. Attach the circular 12 pin connector end of the charging cable or auto accessory adapter into the HawkEye
7200 Power Port (1).
2. Plug the charging cable or auto accessory adapter into the appropriate power source (supplying 10 – 28VDC
operating/charging voltage.) The Charging LED is RED when the HawkEye 7200 is charging.
3. The HE7200 will need to be charged for at least 4.5 hours, once the battery is fully charged the Charging
Indicator LED will be GREEN and it is ok to disconnect the charging cable.
ACTIVATE
Your HawkEye 7200 device must be activated prior to use. By default all Blue Sky Network tracking devices are
shipped to customers in an un-activated state. All activation requests must be submitted by the Blue Sky Network
SkyRouter Administrator on file. Please also note that SkyRouter access credentials are not issued until activation
has been processed.
Activation requests can be submitted through our website, the link is shown below:
http://support.skyrouter.com/Support/ActivationForm.php
1
Advertisement

Summary of Contents for Hawkeye Mfg HE7200
- Page 1 The Charging LED is RED when the HawkEye 7200 is charging. 3. The HE7200 will need to be charged for at least 4.5 hours, once the battery is fully charged the Charging Indicator LED will be GREEN and it is ok to disconnect the charging cable.
- Page 3 When you want to turn off the device, press the power button again; the device will attempt to send a Power Off event (if configured) and then all the lights will turn off. LED BEHAVIOR The legend (right) describes behavior patterns of the various LEDs that appear on the HawkEye 7200 unit.
- Page 4 HAWKEYE 7200 PARAMETER EXPLANATION Normal Position Reports Time Based Reporting Time Based Interval Normal position reports will be generated at this interval. Distance Based Reporting Distance Based Interval Normal position reports will be generated when the device has displaced this distance. Altitude Based Reporting Trigger Altitude (ft.) Determine the altitude above which a different GPS reporting interval should be in effect.