Advertisement
Table of Contents
- 1 Section 1 - Required Reading - Important Points and Safety
- 2 Section 2 - Headgear Assembly Components and Installation
- 3 Section 3 - Adjusting Headgear
- 4 Section 4 - Lens Cover Replacement
- 5 Section 5 - Variable Shade, Sensitivity, and Delay Adjustment
- 6 Section 6 - Battery Replacement CR2025 Lithium Batteries
- Download this manual
Advertisement
Table of Contents

Subscribe to Our Youtube Channel
Summary of Contents for RHINO LARGE VIEW
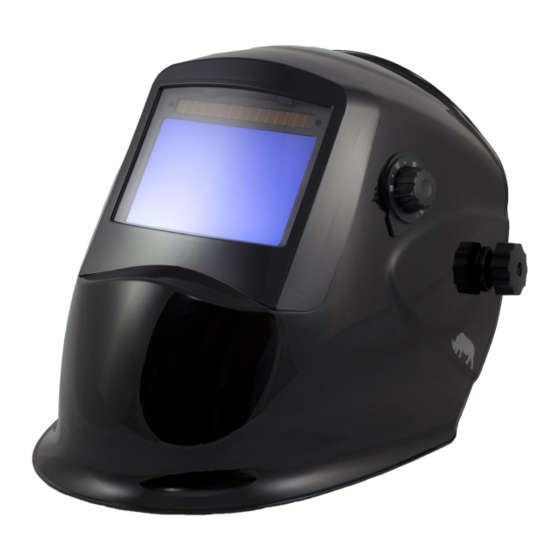
- Page 1 NSTRUCTION ANUAL HINO Auto-Darkening “LARGE VIEW” Welding Helmet...
-
Page 2: Section 1 - Required Reading - Important Points And Safety
1.1 Important Information Section 2 - Headgear Assembly Components and Installation... The lens of the Rhino “Large View” Welding Helmet typically has double the view- Section 3 - Adjusting Headgear..............ing area of a standard helmet. As a result of the increased size, more care needs to be taken with the helmet because the lens is a LCD made of glass, similar to many Section 4 - Lens Cover Replacement............. -
Page 3: Section 2 - Headgear Assembly Components And Installation
Section 2 - Headgear Assembly Components and Installation 1.2 Safety Precautions - Hazards of Arc Welding Do not weld in the overhead position with this helmet. Damage to the helmet and/or lens 2.1 Headgear Assembly Components resulting from overhead welding is NOT covered under warranty. Only qualified users should install, operate, maintain, and repair this unit. - Page 4 2.2 Headgear Assembly Installation 2.2 Headgear Assembly Installation (continued) Step 3 (Not Pictured) Step 1 Insert the “Exterior Headgear Fitting,” #4 into the round hole on the Unscrew and remove the exterior of the helmet that was created in Step 2. “Headgear Knob,”...
-
Page 5: Section 3 - Adjusting Headgear
Section 3 - Adjusting Headgear Section 4 - Lens Cover Replacement 4.1 Exterior and Interior Lens Cover Replacement The exterior lens cover holder can be removed by sliding it off the helmet. Hand #1, place the thumb and middle finger on the bot- tom corners of the lens cover holder. -
Page 6: Section 5 - Variable Shade, Sensitivity, And Delay Adjustment
Section 5 - Variable Shade, Sensitivity, and Delay Adjustment Section 5 - Variable Shade, Sensitivity, and Delay Adjustment 5.1 Variable Shade Knob 5.2 Sensitivity and Delay Adjustment Sensitivity Adjustment (#1) How to adjust sensitivity for different work- Use the control knob on the outside of the helmet to place light conditions: The sensitivity adjustment will adjust the lens shade in the dark state. -
Page 7: Section 6 - Battery Replacement Cr2025 Lithium Batteries
Section 6 - Battery Replacement CR2025 Lithium Batteries (2) 6.1 Battery Replacement This helmet uses two CR2025 Lithium Batteries. They can be replaced as shown in the pictures, note the positive and negative charge directions below. Place the helmet in a bag or box after use.
Need help?
Do you have a question about the LARGE VIEW and is the answer not in the manual?
Questions and answers