Advertisement
Table of Contents
- 1 Attach with Screws.
- 2 Remove Electrical Box Cover.
- 3 Connect Black to Black, White to White, and the Green/Bare Wire under the Green Screw.
- 4 Replace Electrical Box Cover. Make Connection to Breaker Box.
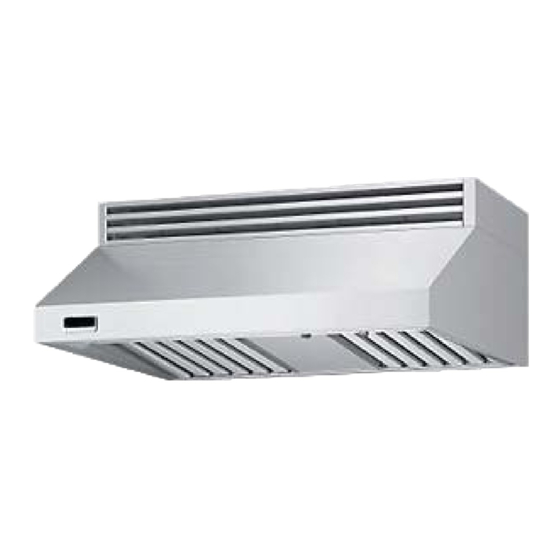
- 5 Assemble Brackets to Baffles and Insert Charcoal Filters.
- 6 Slide Filter Front over Front Lip. Push Filter Rear Up, then Slide Back over Rear Lip.
- 7 Slide Spacer Front over Front Lip. Push Spacer Rear Up, then Slide Back over Rear Lip.
- Download this manual
Installation Guide
VRK Recirculating Kit
To reduce the risk of fi re, electric shock, or injury to persons,
observe the following:
• Use this unit only in the manner intended by the manufacturer.
If you have any questions, contact the manufacturer.
• Before servicing or cleaning unit, switch power off at service
panel and lock service panel to prevent power from being
switched on accidentally. When the service disconnecting
means cannot be locked, securely fasten a prominent warning
device, such as a tag, to the service panel.
AVERTISSEMENT
Pour réduire le risque d'incendie, de choc électrique ou de blessures,
veuillez suivre les conseils suivants :
• Utiliser cet appareil uniquement de la manière prévue par le fabricant.
Si vous avez des questions, veuillez contacter le fabricant.
• Avant de procéder à l'entretien ou le nettoyage de l'unité, mettre l'ap-
pareil hors tension au panneau de service et verrouiller le panneau de
service pour empêcher la mise en marche accidentelle du courant. Lor-
sque le système de coupure ne peut pas être verrouillé, fi xer solidement
un important dispositif d'alerte, comme une étiquette, au panneau de
service.
2
Turn recirculating unit upside down. Place vent hood upside
down on recirculating unit.
(Mettre l'unité de recirculation à l'envers. Placer la
d'aération à l'envers sur l'unité de recirculation.)
WARNING
hotte
(
Guide d'Installation)
( 3 0
6 "
( 1 5
. 2
c m
)
A
1
Remove damper and discard with transition.
(Retirer l'amortisseur et le jeter avec la transition.)
3
Attach with screws and lock washers provided.
(Fixer avec les vis et les rondelles de blocage fournies.)
1
"
1 2
)
c m
. 5
4 "
( 1 0
. 2
c m
"
2 1
)
c m
. 3
( 5 3
)
1 0
( 2 5
"
. 4
c m
)
Advertisement
Table of Contents

Related Manuals for Viking VRK


Summary of Contents for Viking VRK
- Page 1 Installation Guide Guide d’Installation) VRK Recirculating Kit ” ( 3 0 4 ” ( 1 0 6 ” ( 1 5 ( 2 5 ” WARNING ” To reduce the risk of fi re, electric shock, or injury to persons,...
- Page 2 Attach with screws. Remove electrical box cover. (Fixer avec des vis.) (Retirer le couvercle de boîtier électrique.) CAUTION: Secure vent hood. Make sure mounting screws are Flip hood over. Insert 6” of electrical wiring through secured into framing. Use additional mounting screws and the top of vent hood and secure.
- Page 3 Assemble brackets to baffl es and insert charcoal Slide fi lter front over front lip. Push fi lter rear up, fi lters. then slide back over rear lip. (Assembler les supports aux défl ecteurs et insérer les (Faire glisser le fi ltre sur la lèvre avant. Pousser le fi ltre l’ar- fi ltres à...
- Page 4 Viking Range, LLC 111 Front Street Greenwood, Mississippi 38930 É.-U. (662) 455-1200 For product information, call 1-888-845-4641 or visit our web site at vikingrange.com in the US or brigade.ca in Canada Pour des informations de produit, appeler au 1 888 (845-4641) ou consulter notre site Web à...
Need help?
Do you have a question about the VRK and is the answer not in the manual?
Questions and answers