Advertisement
Quick Links
We love that you are rocking JLab Audio!
We take pride in our products and fully stand behind them.
SETUP
Connect USB-C to
1
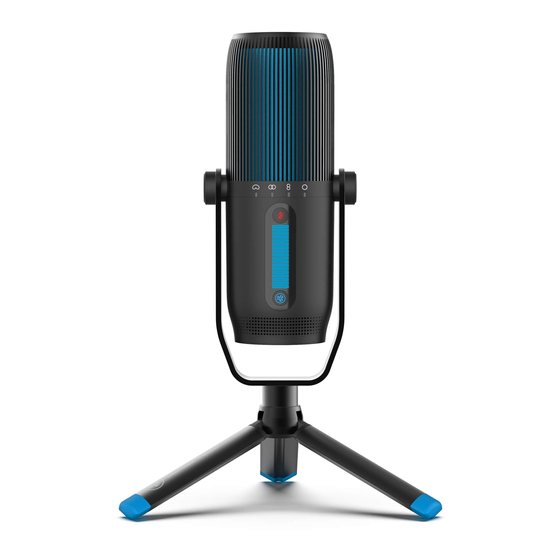
Talk PRO microphone.
2
Enter your PC or Mac settings to make sure connection is established.
3
SETUP TALK PRO with PC
SETUP TALK PRO WITH PC (WINDOWS 7, 8, or 10)
1. From the Start menu, select the Control Panel.
2. From the Control Panel, select the Sound icon.
3. Select the Recording tab and select "JLab Talk PRO".
4. Select the Playback tab and select "JLab Talk PRO".
SETUP TALK PRO WITH MAC (macOS 10.10 or HIGHER)
1. Open System Preferences and select the Sound icon.
2. Select the Input tab and select "JLab Talk PRO".
3. Select Outout tab and select "JLab Talk PRO".
4. From this screen, set the Output volume to desired level.
YOUR WARRANTY
All warranty claims are subject to JLab Audio
authorization and at our sole discretion. Retain your
proof of purchase to ensure warranty coverage.
CONTACT US
support@jlabaudio.com
Reach out to us at
jlabaudio.com/contact
or visit
Connect to your PC
or Mac USB INPUT.
/
MAC
REGISTER TODAY
jlabaudio.com/register
Product updates
|
How-to tips
FAQs & more
Advertisement

Related Manuals for JLab Audio Talk PRO


Summary of Contents for JLab Audio Talk PRO
- Page 1 Enter your PC or Mac settings to make sure connection is established. SETUP TALK PRO with PC SETUP TALK PRO WITH PC (WINDOWS 7, 8, or 10) 1. From the Start menu, select the Control Panel. 2. From the Control Panel, select the Sound icon.
- Page 2 • No additional drivers/software are needed for the Talk PRO. Simply plug in and setup in device settings. • Talk PRO will not work through a power bank/battery pack. It will only work with USB-A input with an operating system.