Table of Contents
Advertisement
Quick Links
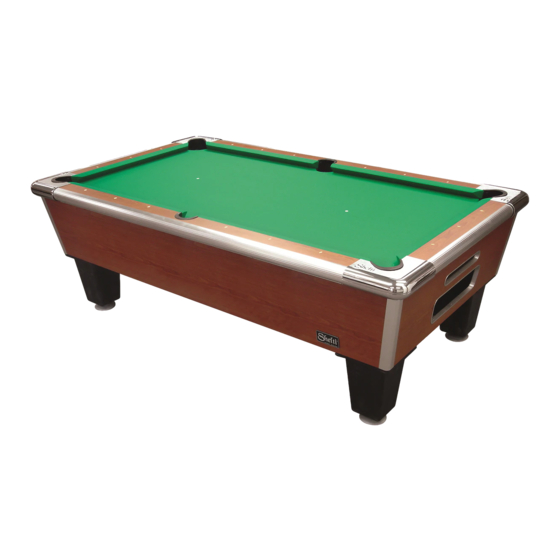
Thank you for purchasing a Shelti product. All of us at Shelti want you to be completely
satisfied with your Home Pool Table, so feel free to contact us for help with the assembly of
your product, Shelti parts, or other information you may require.
Tools Required:
1/2" Wrench
Level
Description
Shelti Pool Table Leg Box
Pool Table Leg Assembly
Leg Bolts - 5/16-18x1 1/2"
Pool Table Warranty Card
8° Home Pool Table Assy. Instructions
Step #2 – Remove The Pool Table From The Box.
1.) Slide the table partially out of the box, slightly tip the
table and remove the bottom of the box and the fillers.
Assembly Instructions
Part Number
LBA-0-HM
PX-LAA-0
301-0020-0
210-0063-0
210-0095-1
Step #1 - Remove The Top Of The Box.
Quantity
1
4
12
1
1
Advertisement
Table of Contents

Summary of Contents for Shelti 8HP-88-AA
- Page 1 Assembly Instructions Thank you for purchasing a Shelti product. All of us at Shelti want you to be completely satisfied with your Home Pool Table, so feel free to contact us for help with the assembly of your product, Shelti parts, or other information you may require.
- Page 2 Step #5 - Complete the warranty card and return the self-mailing Registration Form to Shelti in the event of upgrades and/or product recalls. © Copyright 2006, Shelti , Bay City • Michigan SPECIFICATIONS SUBJECT TO CHANGE WITHOUT NOTICE...
- Page 3 Disassembly Instructions The Shelti home pool table is designed for disassembly in the event that it is not possible to move the assembled pool table into its final location. To disassemble follow the below instructions: Tools Required: Sockets - 1/4”, 3/8”, 7/16”, and 9/16”...
- Page 4 Step #5 - Remove The Four Die Cast Corners. 1.) Remove the four screws that hold the bottom of the corner to the top. 2.) Remove the two 3/8” - 16 x 2-1/2” hex head bolts (9/16” socket) and washers to remove the die cast corner from the top frame assembly.
- Page 5 Ball Box & Ball Rack Assy. Remains Attached To The End Apron. Collector Assy. Remains Attached ToThe Bottom Cue Ball Return Assy. Remains Attached To The End Apron Ball Return Assembly Remains Attached To The Bottom. Step # 7 – Remove The Bottom Carefully flip the pool table cabinet upside down.
- Page 6 Step #8 – Final Disassembly Of The Pool Table Cabinet. 1.) Carefully flip the table right side up. 2.) Remove the 2 bolts in two of the corner hanger blocks. 3.) Remove the 3 bolts in two of the aluminum down corners. 4.) The cabinet will now come apart in two “L”...
Need help?
Do you have a question about the 8HP-88-AA and is the answer not in the manual?
Questions and answers