Table of Contents
Advertisement
Quick Links
Owner's Manual
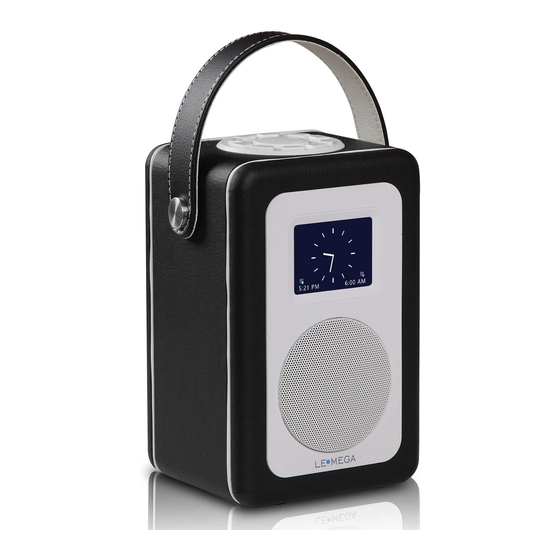
M1+ Portable Radio
DAB/ DAB+/ FM/ Bluetooth / AUX
Table of Contents
...................................................1
1.1 Safety instruction
..........................................1
...
...............
.............................................3
.......................................3
................................................3
............
...................................................7
..........................................9
.......................................9
......
...........................
...
....................................
...... ... ...... ... ... ... ...... ...... ... ... ...9
... ... ...... ... ... ...... ... ... ... ... ... ......10
... ...... ... ... ... ...... ... ...... ... ... ... ...10
4.1
............
........................2
.....................3
...............
.....................6
...
...
.........9
.........
9
Advertisement
Table of Contents
Troubleshooting

Subscribe to Our Youtube Channel
Related Manuals for LEMEGA M1+


Summary of Contents for LEMEGA M1+
-
Page 1: Table Of Contents
Table of Contents ……………………………………………1 1 Introduction Owner’s Manual 1.1 Safety instruction ……………………………………1 … …………… ………… ……………………2 1.2 Features M1+ Portable Radio ………………………………………3 1.3 Carton contents DAB/ DAB+/ FM/ Bluetooth / AUX …………………………………3 1.4 External resources …………………3 1.5 Conventions used in this manual 2 Controls, connectors and display …………………………………………3 2.1 Main controls... -
Page 2: Introduction
… … … …… … … … … … … … … … …14 4.2 FM radio mode 1. Introduction 4.3 Bluetooth mode ……………………………………16 1.1 Safety Instructions ………………………………………16 4.4 Aux in mode Please store this instruction manual for future reference. Alarms snooze and sleep …………………………17 •... -
Page 3: Features
• Do not let objects or liquids enter the product. 1.3 Carton contents After you unpack the box, you will find the following items: • Use proper power sources. Plug the product into a proper Ÿ power source, as described in the operating instructions or as 1 M1+ unit Ÿ... - Page 4 SOURCE: Press to Source to select different modes FM, Aux, and Bluetooth. ALARM: Press to Alarm, the screen will display Alarm 1 and Alarm 2; then Rotate and press the SELECT button to select alarm 1 or alarm 2 to set up. INFO: View more information about the station or track playing.
-
Page 5: Connectors
2.2 Connectors. 6. Battery compartment: open compartment to find the Battery Power switch ON/OFF. As shown below has connectors (from left to right) for the following: 2.3 Display 1. D C power in (9V) The screen shows various menus, dialogues and displays as described below. -
Page 6: Started And Setup
Now playing screens show information about the audio source Some menus, for example the System settings menu, have and track now playing, where available several submenus. Dialogue screens are shown to allow the user to change settings. 3. Started and setup Error/Information screens give specific messages for a few M1+ is easy to use. -
Page 7: Operation
and date manually. To do a full scan Select Menu > Full scan. The date is displayed as DD-MM-YYYY and MM-DD-YYYY. Once a scan is complete, the radio returns to playing the previously-selected station or first station on the station list. 4 Operation To remove stations that are listed but unavailable Select Menu >... - Page 8 Adjustments to your antenna will be manifested in the received signal strength displayed. Note: The division in the signal strength bar indicates the audio quality threshold – if the signal strength, as indicated by the solid rectangles, falls below this threshold the audio quality will deteriorate.
-
Page 9: Fm Radio Mode
RadioText' information. If no information is available, just the Select Menu > DRC > The options available are: DRC high | frequency and a No RadioText message is shown. low | off. To view further information about the broadcast Press Info.. 4.2 FM radio mode Each time you press Info, the next set of information is displayed, cycling through: RDS Radio text programme type,... -
Page 10: Bluetooth Mode
4.3 Bluetooth 2. Connect the external audio source to the Aux In 3.5 mm stereo socket. Bluetooth mode allows M1+ to act as a wireless speaker playing audio content from a connected Bluetooth capable device. 3. Press source until the display shows Auxiliary Input. To enter Bluetooth mode: Press source to choose Bluetooth mode 4. -
Page 11: Alarms
larms 5.1 A Note: Alarms will only function when the M1+ unit is On or in Standby mode. An active alarm is indicated by its icon in the bottom line of the display. Note: if you choose 'Once', you are prompted to enter the Note: Alarms can be switched on or off in standby mode (see required date. -
Page 12: Snooze
gradually building up to the set volume. When an alarm sounds, 6 System settings the icon in the display flashes. The System Settings allow you to tailor the M1+ with a variety of options to suit you. To cancel a sounding alarm and switch the radio to standby Press Standby or Alarm. -
Page 13: Equalizer
the current menu or setting options. With auto-update, the time and date are automatically synchronised with national time signals broadcast over DAB and FM (when available). Back – jumps back to the parent menu of the currently displayed menu or setting. You can also select the display format for the time and date. -
Page 14: Inactive Standby
Timeout - Light On | 10 | 20 | 30 | 45 | 60 | 90 | 120 | 180 sec Message Description On level - High | Mid | Ÿ DAB mode Dim level - High | Mid | Low Ÿ... -
Page 15: Troubleshooting
LEMEGA Technology Co., Ltd Shenzhen City, GD Province, China www.l emegaaudio .com info@lemegaaudio.com For more information about other exciting products from LEMEGA, please visit our website or contact us directly. 26 of 27 27 of 27...
Need help?
Do you have a question about the M1+ and is the answer not in the manual?
Questions and answers