Table of Contents
Advertisement
Quick Links
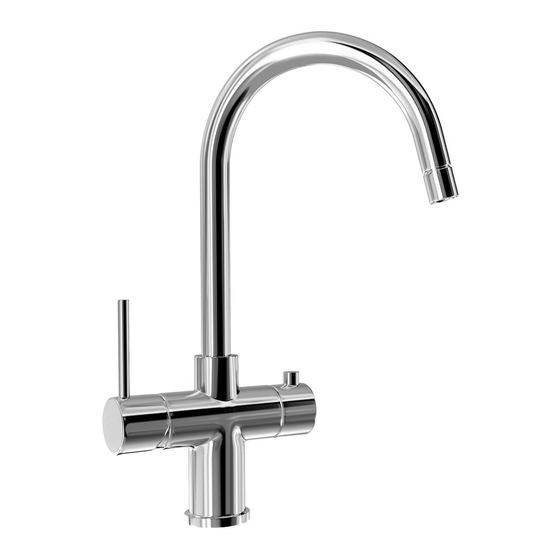
3-in-1 Hot Water Tap
Assembly & Instructions
Introduction
TAP is suitable for dispensing boiling water (100
and cold water and is for domestic kitchen use only The connections of the
mixer section can be connected with the filter valves directly to the hot
and cold water mains. The boiling water hose of TAP should be directly
connected to the heating tank (please see Heating Tank instructions).
In this instruction leaflet are the instructions for the correct and safe use
of TAP. If TAP is not installed according to the following instructions, your
Warranty is rendered invalid. The manufacturer is not liable for damages
resulting from non-compliance with the installation or user instructions.
Installation Instructions
Caution:
Preparation:
i)
Mount the heating tank following the separate heating tank instructions
ii)
Locate TAP on the sink or worktop.
Note: Be sure to place the tap to suit left or right handedness.
TAP provides 100
c water, therefore we recommend you position the
o
spout opposite to the boiling water control to avoid scalding. Bear in mind
position of the sink bowl. You can reverse the hot and cold water
operation by exchanging the position of the hot and cold water hoses
within the tap body.
iii)
If mounting TAP directly on to the worktop, drill a hole
60m from the wall or back of the worktop.
iv)
Slide the plinth(2) and o-ring(3) over the base of the tap.
Mounting
i)
Slide TAP with the flexible hoses attached throughthe drilled taphole in
your sink or worktop.
ii)
Slide the gasket (4) and retaining plate (5) on to the threaded tube.
iii)
Tighten the locking spanner (6) firmly.
iv)
Connect the flexible boiling water hose of the tap to the boiling water
hose of the heating tank. Make sure to fit the gasket (7) between
both hoses.
v)
Connect the hot and cold water hoses with the mains pipe.
Place the gasket between the hose of the tap and the hose of the tank.
Caution:
A spare gasket is supplied with the tank.
Filling and venting the heating tank
i)
Close the boiling water tap.
ii)
Open the mains valve.
iii)
Open the inlet valve of the pressure relief valve.
iv)
Open the boiling water tap.
v)
Wait until water flows from the tap.
vi)
Let the water flow for 3 minutes until clear water flows
from the tap.
vii)
Check for leaks and rectify as necessary.
Continue with installation of heating tank following heating tank
installation instructions.
c) as well as normal hot
o
TAP must only be connected to the Carron Phoenix heating tank.
Package Contents
1 x TAP
(1)
1 x plinth
(2)
1 x seal
(3)
1 x rubber gasket
1 x clamp plate
1 x locking spanner
1 x gasket
(7)
(ii)
(iii)
35mm at least
0
(i)
(a): cold water (10mm compression fitting)
(b): hot water (10mm compression fitting)
(c): boiling water (connection M10 x 1.25 &
gasket)
(iii)
(ii)
(1)
(2)
(3)
(4)
(5)
(4)
(5)
(6)
(6)
(7)
the
(iv)
(iv)
(ii)
(b)
(a)
(c)
(vi)
(i)
(iv)
(c)
Advertisement
Table of Contents

Related Manuals for Carron Phoenix Seraphina


Summary of Contents for Carron Phoenix Seraphina
- Page 1 TAP. If TAP is not installed according to the following instructions, your warranty is rendered invalid. The manufacturer is not liable for damages resulting from non-compliance with the installation or user instructions. Installation Instructions TAP must only be connected to the Carron Phoenix heating tank. Caution: Preparation: (ii) Mount the heating tank following the separate heating tank instructions Locate TAP on the sink or worktop.
- Page 2 Reduced water flow or splashing water Debris or calcium deposits in tap aerator Descale the lime deposits in tap aerator This appliance is guaranteed by Carron Phoenix to be free from material and manufatcturing defects. This warranty is subject to the following terms and conditions: The Carron Phoenix TAP is guaranteed against manufacturing defects and defective materials and workmanship for 5 years.
Need help?
Do you have a question about the Seraphina and is the answer not in the manual?
Questions and answers