Advertisement
QUICK START GUIDE
Supplies for Installation
LD1500 Unit
SeaHawk Leak Detection Cable (SC)
24 VDC or 24 VAC (recommended)
Wall Adapter, part #WA-DC-24-ST
1.
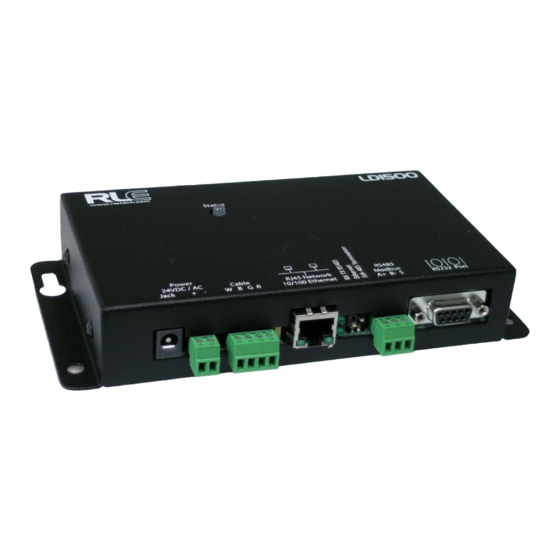
SeaHawk LD1500 Installation
The LD1500 is a panel mounted device. There are four mounting holes on the sides of the unit spaced 6.6 inches
(.167m) apart. Use drywall anchors if securing the unit to drywall.
2.
Connecting the Water Leak Detection Cable
The LD1500 requires a leader cable (included in the leader cable kit: part #LC-KIT). One end of this leader cable
connects into the LD1500. This end of the cable has four stripped, bare wires. The other end features a mating
connector which connects with the SeaHawk Water Leak Detection Cable (SC). The end of the cable is finished with
a removable End-of-Line terminator (EOL).
Connect the 15 foot (4.57m) leader cable to the LD1500. From left to right, with the screws of the terminal block
connector facing up, the wires that screw into the terminal connector should be colored: white, black, green, and
red. If the terminal connector is removed from the end of the cable, make sure the wires are in this same order when
the connector is reapplied.
Once the leader cable is plugged into the terminal blocks, it is ready to be connected to the SC cable. To do this,
unscrew the end terminator (EOL) from the end of the leader cable. Attach the first length of SC cable to the leader
cable. Route the SC cable according to a cable layout diagram; see Section 3-2.1, pg. 6, of the Product User Guide
for detail about the layout diagram. Secure the EOL terminator on the unoccupied end of the SC cable.
Cross Over Cable (blue with yellow ends)
Leader Cable Kit (purchased separately)
TB2
Cable
P1
TB1
Interface
Power
End
Terminator
End Terminator (EOL)
15ft. (4.57m) leader cable
P2
SW1
TB3
RJ45
EIA-485
Sensing Cable
LD1500
W
B
G
R
P4
EIA-232
Craft Port
Leader Cable
(part # LC-Kit)
Advertisement
Table of Contents

Related Manuals for SeaHawk LD1500

Summary of Contents for SeaHawk LD1500
- Page 1 15ft. (4.57m) leader cable SeaHawk LD1500 Installation The LD1500 is a panel mounted device. There are four mounting holes on the sides of the unit spaced 6.6 inches (.167m) apart. Use drywall anchors if securing the unit to drywall. Connecting the Water Leak Detection Cable The LD1500 requires a leader cable (included in the leader cable kit: part #LC-KIT).
- Page 2 Press the Submit Changes button. The unit will save the new IP address and reboot. Once the LD1500 reboots, the system status LED on the front of the unit will stop flashing. You may now use the new LD1500 IP address and reset the computer to its original IP address and Subnet Mask. This may require assistance from your IT Department.
Need help?
Do you have a question about the LD1500 and is the answer not in the manual?
Questions and answers