Table of Contents
Advertisement
Instruction Manual
(warranty included)
Thank you for purchasing this product.
Be sure to read this manual before use and use the product correctly
and safely.
Keep this manual and the warranty carefully.
This product is for cosmetic purposes. Use or sale for medical purposes
is prohibited by law.
This product is to be used on healthy skin. Please consult a doctor before
usage if required and we will bear no responsibility with regards whatsoever
to any trouble arising from using the product on skin areas that have
received, are receiving and/or undergoing medical treatment.
Please Keep Manual in a Safe Place
Advertisement
Table of Contents

Summary of Contents for DATSUMO Labo Home Edition
- Page 1 Please Keep Manual in a Safe Place Instruction Manual (warranty included) Thank you for purchasing this product. Be sure to read this manual before use and use the product correctly and safely. Keep this manual and the warranty carefully. This product is for cosmetic purposes. Use or sale for medical purposes is prohibited by law.
-
Page 2: Table Of Contents
Outline Product Details Small Daily Things Matter / Preparation for Use Recommended Frequency / Skin Trouble / Rare Skin Problems Display Monitor Operating the Product Intensity Level Setting Skin Patch Test How to Use Product Aftercare How to Maintain / Store the Product Safety Precautions In the Event of Malfunction After Service... -
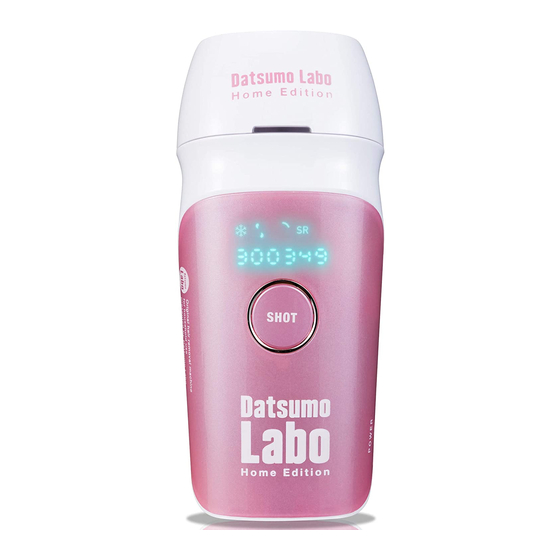
Page 3: Product Details
Product Details Product Body Irradiation Surface (Glass Surface) SHOT Button Vent POWER Button Goggles Display Monitor We recommend wearing goggles if you are uncomfortable with light flashes during the procedure Power Adapter... -
Page 4: Small Daily Things Matter / Preparation For Use
After Sunburn After 2 weeks of day of sunburn or do a skin patch test before proceeding with Do not use this product. home edition hair removal. ・ Skin Color Chart P.7 ・ Skin Patch Test P.8 After Using Home Edition After usage, the skin will be more sensitive than usual. -
Page 5: Recommended Frequency / Skin Trouble
Recommended Frequency Using the product twice a week on one area is a guideline for treatment intervals. However, it can vary depending on the individual's constitution and intended usage on which body area. If you do not feel any results, we recommend increasing the frequency. -
Page 6: Display Monitor
Display Monitor ② Fan Operation ③ Intensity Level COOLMark ④Mode When the product is ⑤Remaining powered on, information No. of Shots will be shown on the display monitor above the SHOT button. Cool Mark Press the SHOT and POWER button simultaneously to ON/OFF the COOL function. COOL function is OFF if the mark is not shown (light is off). -
Page 7: Operating The Product
Operating the Product Please read Page 3 “Preparation for Use” before using this product. This product is intended to only be used on the face (upper lip, chin, side burns), underarm, arm, stomach, bikini area, and leg areas. Please do not use on use on area other than the intended areas. -
Page 8: Intensity Level Setting
Intensity Level Setting When using it for the first time or when using it after a period of rest, please do a skin patch test on the areas of intended use to check if your skin is susceptible to skin irritation from using this product. Please check the “Skin Tone Chart”... -
Page 9: Skin Patch Test
Skin Patch Test Turn on the product (press POWER button) and check if the Intensity Level is set to 1. Align the glass surface perpendicular to the skin and press the SHOT button. ※refer to page 9 for more information. Align the glass surface perpendicular to the skin and press the SHOT button. -
Page 10: How To Use Product
How to Use The glass surface must be cleaned each time before usage. See the “Product Maintenance” section on page 14 for detailed cleaning instructions. From the “Skin Tone Chart” on page 10, select the Intensity Level that suits you (press and hold the POWER button to change the Intensity Level) and use it while carefully observing the skin condition and its response. -
Page 11: Aftercare
Pressing the SHOT button will start the hair removal process. There are 2 types of shot types to be chosen as shown below. Basic Mode: Hair Removal per Shots Place glass surface on skin and by pressing the SHOT button READY LAMP once it will emit one shot. -
Page 12: How To Maintain / Store The Product
How to Maintain / Store the Product Turn off the power, unplug the power cord, and allow the product to cool. *The glass surface will become hot during use. Always allow it to cool it down first before cleaning the glass surface. Use a damp cloth that has been tightly wringed to remove excess water and clean the following parts. -
Page 13: Safety Precautions
Safety Precautions Be sure to follow the precautions stated here as they are important safety issues. We have categorized some precautions into "Warning" and "Caution". This symbol indicate either "Warning" and "Caution" respectively. Specific cautionary notes are as shown in and around the symbol. WARNING A possibility that mishandling might result in serious injury or death Content that people are likely to get injured and property damage is expected... - Page 14 Safety Precautions CAUTION When unplugging the power adapter, do not unplug by pulling the cable. Always unplug from the adapter. → May cause malfunction, short circuit or electric shock. Do not leave the product’s power adapter plugged in when product is not in use.
- Page 15 Safety Precautions CAUTION Do not use this product on the following body areas: 1. Eyes, ears, nipples, areola, navel, vulva, vagina, anus, male genitalia. 2. Silicon injected areas, pacemaker, areas with body implants & catheters, piercing, body piercing. 3. Wrinkles, moles, freckles, protruding arteries, spots, dark pigment areas, scars. 4.
-
Page 16: In The Event Of Malfunction
In the Event of Malfunction How to Check & Confirm Malfunction Issue Press and hold the POWER button on the unit to turn Even if the POWER button on the power. If the power does not turn on after a is pressed, the power will long press, please contact the seller. -
Page 17: After Service
For Any Inquiry Operating Hours 10:00 - 18:00 (Mon-Fri, excluding National Holidays) Mailing Address: Sedona Enterprise Co., Ltd (ATT: Datsumo Labo Home Edition Division) 8F Ebisu Prime Square Tower, Hiroo 1-1-39 Shibuya, Tokyo, Japan 150-0012 ※ Please first contact the store or distributor where the product was purchased. -
Page 19: Free Repair Terms & Conditions
Complimentary Repair Terms & Conditions 1. If the product is used in accordance with the instructions for use but is found faulty during the warranty period, repair is complimentary and free of charge. ※ For complimentary repair, please show the product (original box with machine and power adapter) and warranty card to the store the product was purchased from. -
Page 20: Warranty Card
WARRANTY CARD Product Name / DATSUMOLABO HOME Edition Manufacture Number / Warranty Period/ Valid for 1 year from date of purchase Purchase Date (yyyy/mm/dd)/ ※ This warranty card allows complimentary repair of a faulty product during the above period from the date of purchase if conditions are met.
Need help?
Do you have a question about the Home Edition and is the answer not in the manual?
Questions and answers