Advertisement
Quick Links
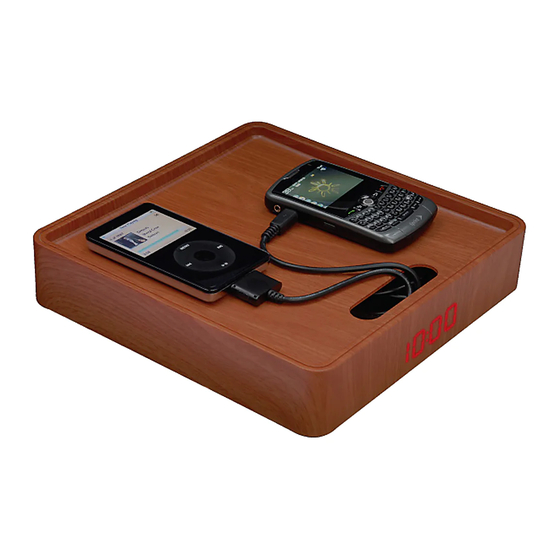
Multi-Charger Pro Universal Charging Station
Connecting the Power Supply
Plug the power supply connector into the Multi-Charger Pro Universal Charging Station. Plug the
power supply into the wall socket. The green LED power indicator will now be lit.
Note: Maximum Input 5V/1A.
Installing the Back-up Battery
1. Remove the Back-up Battery cap.
2. Insert the battery paying attention to the
- and + indicators on the battery.
3. Reinstall the battery cap.
Clock
Turning the Clock On/Off:
Press the power button to turn the Clock On/Off.
You will see the Digital Clock Display turn on.
Adjusting Minutes:
1. Press and hold button for 3 seconds until
minutes FLASH.
2. Press button again to adjust minutes.
LED power indicator
Positive (+)
Side Up
Clock
Back-Up Battery
Adjusting Hours:
1. Press and hold button for 3 seconds until
hour numbers FLASH.
2. Press button again to adjust hours.
Advertisement

Summary of Contents for Magnadyne Multi-Charger Pro
- Page 1 Multi-Charger Pro Universal Charging Station Connecting the Power Supply Plug the power supply connector into the Multi-Charger Pro Universal Charging Station. Plug the power supply into the wall socket. The green LED power indicator will now be lit. Note: Maximum Input 5V/1A.
- Page 2 Multi-Charger Pro Universal Charging Station Step 1 USB Port Locate desired plug or plugs. If your phone’s charging cable uses a standard USB connector, use the USB port provided. *USB cable not provided Step 2 Feed the plugs through the lid.