Advertisement
Quick Links
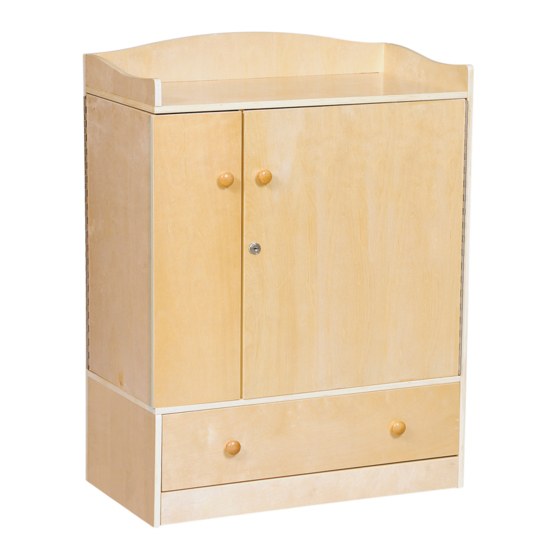
G6446
Audio/Visual Storage Unit
Assembly Instructions
For ages 3 and up.
Adult assembly required.
WARNING
!
Small parts and sharp points may be present
prior to assembly.
(50mm)
1
(31)
0.86"
(22mm)
(4)
2
.5"
(12mm)
(32)
3
(10)
4
(10)
5
1"
(25mm)
(12)
6
(2)
7
(4)
8
G uidecraft • 55 509 Hi ghway 19 West , Wint hr op , M N 5 53 9 6 • ( 8 00 ) 52 4- 35 5 5 • www. gu ide cra ft .co m
Care Instructions
To clean your product, use mild soap and
water on a damp cloth. Do not use window
cleaners or cleaning abrasives as they will
scratch the surface and could damage the
protective coating.
Customer Service
For questions regarding this product, or to
receive replacement or missing parts,
contact Customer Service at (800) 524-3555.
Please have the model number and part
number(s) located in this Assembly
Instruction sheet available for reference.
Hardware and Parts
2"
B
D
A
You will also
need a Phillips-
head screwdriver
(not included).
L
M
C
E
P
G
F
Limited Warranty
All Guidecraft products are warranted to
the original purchaser at the time of
purchase and for a period of one (1)
year thereafter. In order to provide you
with timely assistance, please
thoroughly inspect your product for
missing or defective parts immediately
after opening the carton. To receive
replacement or missing parts under this
warranty, contact Customer Service.
You will also need your sales receipt or
other proof of purchase.
K
N
O
J
I
page 1 of 6
R
Advertisement

Related Manuals for Guidecraft Audio/Visual Storage Unit G6446


Summary of Contents for Guidecraft Audio/Visual Storage Unit G6446
- Page 1 Care Instructions Limited Warranty Audio/Visual Storage Unit To clean your product, use mild soap and All Guidecraft products are warranted to water on a damp cloth. Do not use window the original purchaser at the time of Assembly Instructions cleaners or cleaning abrasives as they will...
- Page 2 page 2 of 6 Hardware Instructions Af ter joining cam pi n (4) Using a philips-head P lace c a m lo c k ( 5 ) and cam lock (5), scr ewdriver, screw i n t he ap p r o p r ia t e t ighten cam lock (5) in cam pi n (4).
- Page 3 page 3 of 6 STEP 6 STEP 5 STEP 7 STEP 8 STEP 9 G uidecraft • 5550 9 H ig hway 19 West, Wint hr op, MN 5 53 96 • ( 8 00 ) 52 4- 35 5 5 • www. gu ide cra ft .com...
- Page 4 page 4 of 6 STEP 10 STEP 11 G uidecraft • 5550 9 H igh way 19 We st, Wint hr op , M N 5 53 9 6 • ( 8 00 ) 52 4- 3 55 5 • www. gu ide cr aft .co m...
- Page 5 page 5 of 6 STEP 12 STEP 13 STEP 14 Gu i decraft • 5550 9 H ig hway 19 West, W int hr o p, M N 55 3 96 • ( 80 0) 5 24 -3 5 55 • www.g uid ecr a ft.c om...
- Page 6 page 6 of 6 STEP 15 STEP 16 Gui dec raft • 5 5509 Hi ghway 19 West , W int hr op, M N 55 39 6 • (8 00 ) 52 4 -3 55 5 • www.gu id ecr af t.co m...
Need help?
Do you have a question about the Audio/Visual Storage Unit G6446 and is the answer not in the manual?
Questions and answers