Advertisement
Quick Links
Advertisement

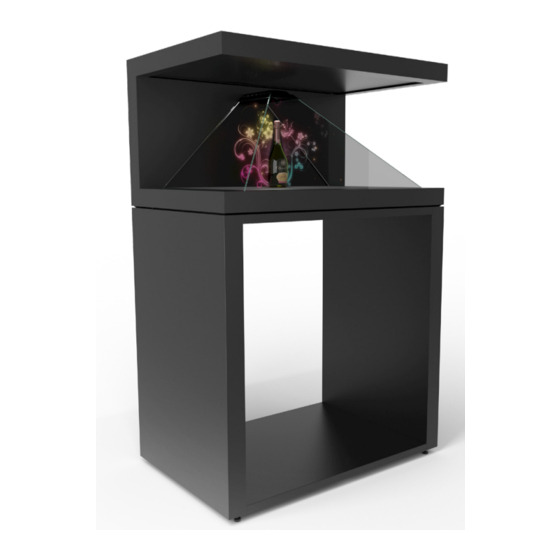
Summary of Contents for Realfiction Dreamox XL3 Basic Stand
- Page 1 Stand assembly guide Version 1.0 Dreamox XL3 Basic Stand Dreamoc XL3 Shelf Option Stand...
- Page 2 When receiving the Dreamoc XL3 Stand Package contents Dreamoc XL3 Basic Stand 1. 2 x Side Panels (Indentical) 2. 2 x Top / Bottom Panels (Indentical) 3. 1 x Power extension cord 4. 1 x Carpet 5. 32 x Ø5, 70 mm Screws 6.
- Page 3 How to assemble the Dreamoc XL3 Stand Note: To avoid damage or scratches we recommend to assemble the stand on top of the carpet that comes with the product. When all the parts have been unboxed, place one of the Side Panels on the carpet as shown below and take out the accessories bag from within the Side Panel.
- Page 4 Use 8 x screws and the Unbrako key to fasten the 2 parts together. TIP: If you have a power drill we recommend to use it to speed-up the workflow. Take the Power extension cord and make sure it runs inside the Side Panel.
- Page 5 Place it on the carpet, in a 90° angle to the Bottom Panel and slide them together. Ensure that the male plug comes out the bottom, and the female plug at the top. Assemble the 2 Panels with screws as described in Step 2. Mount the 4 x Adjustable feet.
- Page 6 FOR SHELF OPTION GO TO STEP 7 ONLY BASIC STAND Assemble the Top Panel with the 2 Side panels. Turn the Dreamoc XL3 Stand, so its stands on its feet. Secure the power extension cable to the Stand with the Black Plastic strip, to avoid it from disappear- ing down inside the Stand.
- Page 7 Install the 2 x Back-Wall parts. Each Back-Wall part has a flat side and an overlap. The overlap must face towards the center. Place the Back-Wall part as shown, and then slide the pins into the holes. If you find it difficult to get the pins into the holes, you can attach the self-adhesive felt pads on the back side of the Back-Wall part to get the perfect height.
- Page 8 Assemble the Top Panel with the 2 Side Panels and tighten it with screws. Mount the 4 Shelf Supports (shelf hangers) in the desired height. Return the Dreamoc XL3 stand to its feet, and place the shelf securely on top of the Supports.
- Page 9 Secure the power extension cable to the Stand with the Black Plastic strip, to avoid it from disappear- ing down inside the Stand. After you have attached it to the stand, you can safely drop the plug into the stand trough the hole. Your Stand is now ready, and you can place your Dreamoc XL3 on top and connect the cable.
- Page 10 Realfiction and Dreamoc are registered trademarks owned by Realfiction ApS. Other marks may be mentioned here in that be- long to other companies. © 2016 Realfcition Aps. All rights reserved. Realfiction Aps | Øster Alle 42, 7th floor | DK-2100 Copenhagen Ø Denmark | Phone: +45 70 20 64 90...


Need help?
Do you have a question about the Dreamox XL3 Basic Stand and is the answer not in the manual?
Questions and answers