Advertisement
Quick Links
Advertisement

Related Manuals for iseeBell WF100


Summary of Contents for iseeBell WF100
- Page 1 VIDEO DOORBELL SETUP & INSTALLATION GUIDE...
- Page 2 Welcome! Thanks for choosing iseeBell product. If you need extra help, iseeBell Support Team is available 24/7. And you can access our online resources anytime at: support.iseebell.com Contact iseeBell Support Team directly at : support@iseebell.com...
-
Page 3: Wall Bracket
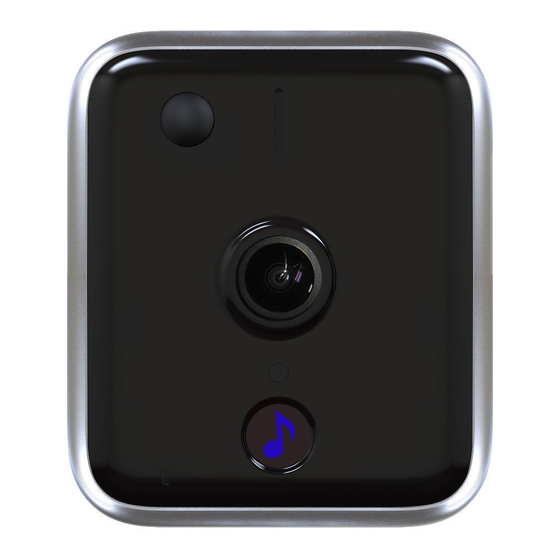
VIDEO DOORBELL Meet the front and back of your iseeBell Front Back Wall Bracket PIR Motion Setup Button Speaker Sensor Power terminals Ultra wide-angle Wiring holes (AC/DC9-24V/1A) HD Camera Unlock terminals Photosensor Call Button Screw Connector Microphone Corner hole Security Screw... - Page 4 • If you’re installing on concrete, brick, or stucco surface, get a power drill ready. • Do not install iseeBell on a metal surface as it may block and/or weaken the Wi-Fi signal. • IseeBell works well with standard U.S. doorbell wires.
- Page 5 Step1 Download the iseeBell App Step 2 Power it up indoors first Download the iseeBell app from the App Store or Google Play . • Connect the wires of the power adaptor to the power terminals on the back of iseeBell Video Doorbell. It doesn’t matter which Open the app and tap “CREATE ACCOUNT”...
- Page 6 • Plug in the Indoor Chime. • Select the plus sign to set up a new device. You will need • After setup, run a test by touching the front button on your iseeBell your Wi-Fi network name and password.
- Page 7 • Disconnect the wires. • Use the Jumper Wire provided to connect to “front” and ”trans” screws. • Put the cover back. This step is required if you have a mechanical chime. For more info, go to support.iseebell.com and search “jumper”.
- Page 8 • Use the bracket and the small level as a template to • On wood or siding, you can screw directly into your wall. position. • Use the Phillips-head end of the iseeBell screwdriver to • Mark the four corner holes. screw in your Wall bracket.
- Page 9 VIDEO DOORBELL INSTALLATION Step 9 Connect wires to iseeBell Step 8 Install Wedge Bracket (Optional) • Connect wires to the power termnials on the back of iseeBell in In a Wedge bracket, you will find: any order. two short screws...
- Page 10 VIDEO DOORBELL INSTALLATION Connect wires to iseeBell (continued) • If you cannot connect the wires to the screws directly, use • Connect the extra wire with the fork end to one power terminal. the accessories we provided. • Hold the extra wire and your doorbell wire ends together, cap them with a wire nut and twist clockwise unitl secure.
- Page 11 Attach your doorbell to the bracket • Use the star-shaped end of your iseeBell screwdriver to tighten the security screws on the bottom of your • Line up the holes in your iseeBell Doorbell with the slots on iseeBell Doorbell. the bracket.
- Page 12 VIDEO DOORBELL Step 12 Connect iseeBell to your lock (optional) If you need to connect your lock to iseeBell Doorbell, follow the wiring diagram and connect required wires to Lock terminal screws.
- Page 13 VIDEO DOORBELL Access Control System Wiring Diagram a. Normally Open (NO), e.g. Electric Strike b. Normally Closed (NC), e.g. Magnetic Lock...
- Page 14 Enjoy your iseeBell Video Doorbell Thanks for helping to make you and your family safer. 2018031800002AN...
Need help?
Do you have a question about the WF100 and is the answer not in the manual?
Questions and answers