Table of Contents
Advertisement
Quick Links
Quick Setup Guide:
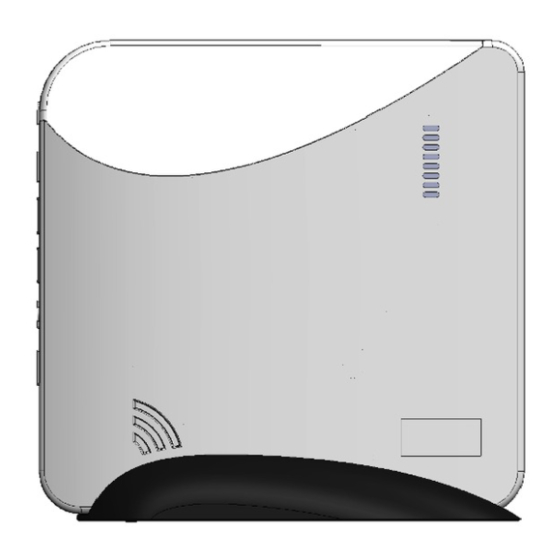
Helix™ Hub
+ sensors, switches and cameras
!
You must complete steps 1–4 before powering up the panel
Your SmartTech Dealer Portal:
cloud.securenettech.com/smarttech/
Sign in using the dealer credentials provided by SecureNet Technologies.
You will now create a new "Customer/End-User" account. These steps can be
used as a checklist. Steps 1–4 are applicable for all panel types.
Create an Account by
1
expanding the "Accounts"
section in the left side bar.
Select "Search Accounts"
to access all accounts.
Select "Add Account" in the
top right corner of the main
"Accounts" list panel.
From the "Add Account" screen,
Assign an Account ID and enter
the basic account information. To
assign an account, choose one of
two options:
Auto Assign - Assigns the next
available Account ID within
your dedicated account range.
Manually Enter ID - Enter
the preferred Account ID by
entering the account number
in the "Account ID" field.
Set the Panel Type to "Resolution" for the Helix Panel
All fields marked with an asterisk (*) are required. All details should be of the
property and master account contact. Site Phone may be set as a mobile.
Assign a Service Plan listed that corresponds with the panel gateway
2
type you are installing (GSM, IP or WIFI)
Note: If there is a combination of 2 gateways installed on the panel, select
the service plan based on the cellular communication (GSM)
Select the Service Plan based on the services to be provided:
Managed Alarm Transport (includes alarm signal forwarding only)
Interactive/Direct Alarm Transport (includes alarm signal forwarding, remote
arm/disarm, notifications, zone status, event history, panel offline supervision)
Complete Interactive (includes all direct alarm transport features, plus Z-Wave
device support, scenes, event schedules, system sabotage protection)
Direct Alarm Transport + Video
Complete Interactive + Video
Stand Alone Video (Up to 4 cameras, 250 event storage & notifications)
Stand Alone Video Plus (Up to 8 cameras, 500 event storage & notifications)
Once you've chosen the service plan, select "Next".
If all required fields are complete you will see a
"Complete" confirmation message. Press "Finish"
to add the account.
In the "Account Summary" page. Select "Go Live!"
to start services. This will activate the service
functionality and start billing.
Note: If you are creating the account in advance or
wish to start services at a later date, do not select
"GO LIVE" at this point. You can later select "GO LIVE"
at any point to begin services.
3
Add a Gateway by selecting "System" in the left side bar. On the "System"
page, select "Add Gateway" to bring up the "Add Gateway" panel.
Set the Panel Type to "Resolution" for the Helix Panel
Enter the MAC Address (also
known as the Vendor ID).
Enter only letters & numbers
listed. Do not use any dots,
dashes, or spacing. Press "Done"
to add the gateway.
Create a Master Contact by selecting "Contacts" in the left side bar.
4
From the "Contacts" page, select "Add Contact" and complete the form.
All fields marked with an asterisk (*) are required.
Assign a unique username and
passcode which will be used for the
customer to access both the end-
user website and mobile application.
The username must be between 3–32
characters long and can include
alpha, numeric or the '@' (at), '_'
(underscore), '.'(period) characters.
The passcode must be between
6–16 characters and can contain
only alpha or numeric characters.
In the "Alarm User" section, set "User
ID" to "Master" and enter the panel
master code. If you are installing a
new panel, the default master panel
access code will be "1234".
Select "Save" to create the master contact. Following the initial activation of
the system, the contact information and panel codes can be edited from the
"Contacts" page in both the dealer portal and end-user customer web portals.
If your Helix panel is already configured with the correct expansion
!
cards, you can skip ahead to step 6 and power up your panel.
Helix expansion cards may be purchased separately from the Helix Panel. Up
to 3 expansion cards can be added. Expansion cards for slots 1& 2 include
GSM and Wi-Fi. For slot 3, options include Z-Wave, Translator or a Z-Wave/
Translator combination.
To install Expansion Cards in slot 1, 2 or 3, ensure the power source is
5
disconnected. Remove the panel cover, and disconnect the battery.
Place the expansion card's plastic posts into the slot's 4 post openings. Ensure
the posts are aligned, then snap the bottom and top posts into place.
Post openings
WiFi/Bluetooth
Pair Button
Slot 1 Slot 2
Ethernet Port
Slot 3
Power Port
Battery Pack
When installing a cellular expansion card, place the antenna wire behind the
Ethernet port. The antenna wire should be on the top side of the antenna when
installed.
Cellular Card
Antenna Wire
Ethernet Port
Antenna
Prior to closing the Helix, reconnect the Helix backup battery. Ensure the LED
lights on each newly installed expansion card are visible and blinking. To replace
Helix panel's cover place it into the bottom tabs first, then click in the top tab last.
Determine the best location, then power up the Helix. If using
6
IP/Ethernet, place the Helix near the network router. For cellular or
Wi-Fi, place the Helix where a good connection can be made.
Plug the power cord into the back of Helix, then insert the power supply into
an AC outlet. Secure the power supply to the outlet with the locking screw to
prevent accidental removal. (Canadian users: do not secure screw). The Helix
must be inserted into bottom outlet socket. Do not plug into a power strip.
If using IP/Ethernet, connect the Helix to the home router using the Ethernet
cord. If an optional Wi-Fi card is installed, use the WPS buttons on the Helix
and the home router to connect to the Wi-Fi network. This step is not required
if using GSM.
Note: The physical installation and powering of Helix is also outlined on the
back of the Helix box.
Instructions continued on reverse.
1608_Helix Quick Setup Guide_v02_virGinMedia | updated auGuSt 17, 2016 2:13 pM
433Mhz CryptiX
Receiver
Bluetooth LE
Peripheral Bus
Transceiver
Advertisement
Table of Contents

Related Manuals for SECURENET Helix

Summary of Contents for SECURENET Helix
- Page 1 To replace the preferred Account ID by (underscore), ‘.’(period) characters. Helix panel’s cover place it into the bottom tabs first, then click in the top tab last. entering the account number in the “Account ID” field.
- Page 2 Strength Indicator) Level is sufficient. Your Helix Security System is now setup. You are now able to control Note: Z-Wave devices can also be enrolled via the end-user web portal. the system and add devices or cameras via the end-user mobile app Navigate to the “Device Control”...
Need help?
Do you have a question about the Helix and is the answer not in the manual?
Questions and answers