Advertisement
Quick Links
Advertisement

Subscribe to Our Youtube Channel
Summary of Contents for Rogers Water Leak Sensor
- Page 1 Water Leak Sensor Set-Up Guide...
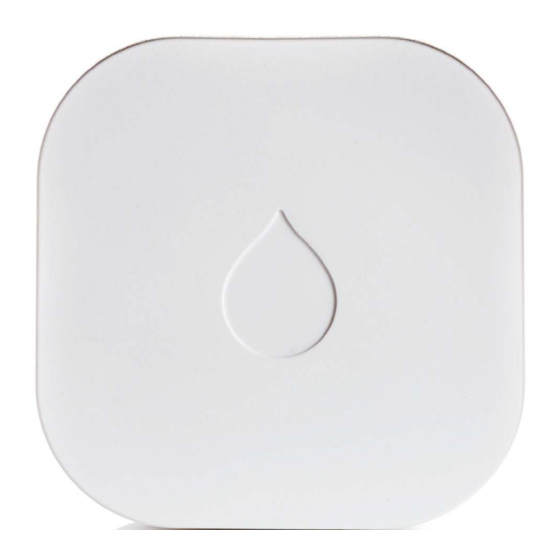
- Page 2 Thanks for choosing Rogers Smart Home Monitoring! Once you've set-up your Water Leak Sensor, you will be able to stay ahead of water leaks and prevent costly damage, by having a text notification sent to your smartphone the instant any water is detected.
-
Page 3: Helpful Hints
If you encounter a problem setting up your device, or wish to book a Rogers technician to come set it up, please call Rogers Technical Support at 1-888-764-3771 or visit www.rogers.com/install. - Page 4 If you encounter a problem setting up your device, or wish to book a Rogers technician to come set it up, please call Rogers Technical Support at...
- Page 5 Pairing the Water Leak Sensor with your smartphone Before you begin: Login to your Rogers Smart Home Monitoring app. (Can’t remember your login info? Visit rogers.com to retrieve your username or password). These steps should be followed once you have completed the activation of your Smart Home Monitoring Basic Kit.
- Page 6 Login to your Rogers Smart Home Monitoring app. (Can’t remember your login info? Visit rogers.com to retrieve your username or password). On My Home screen, tap Settings, then Manage Devices then Devices. Water Sensors. Smart Home Monitoring | Water Leak Sensor | Smartphone Set-Up...
- Page 7 Prepare your Water Leak Sensor to be paired following the simple instructions on your screen. For more detailed instructions, you can tap More. Smart Home Monitoring | Water Leak Sensor | Smartphone Set-Up...
- Page 8 Once pairing is complete, the Sensor icon will change to the Zone icon and a blue check mark will appear to the right. Please note the Hub may take between 1 to 3 minutes to detect the Water Leak Sensor. Continue to complete pairing.
- Page 9 Water Leak Sensor. The naming box shows the default name of Water Leak Sensor. Tap on this box to customize its name (e.g. Laundry Room). When you’re done, tap Save. Smart Home Monitoring | Water Leak Sensor | Smartphone Set-Up...
- Page 10 How to reset this device: If you are trying to add your Water Leak Sensor to your Smart Home Monitoring system and you are unable to pair it in the first few attempts, or if you see an error while pairing, try the following steps to reset the Water Leak Sensor and then pair it again.
- Page 11 How to remove this device from your system: Should you need at any point in the future to remove a Water Leak Sensor from your Rogers Smart Home Monitoring system, follow the steps below: Log in to your Rogers Smart Home Monitoring mobile app.
- Page 12 Pairing the Water Leak Sensor with your Touchpad On the Touchpad, select the Home Settings app from the Screen. When prompted for your Master code, enter Technician Code: 4381. Smart Home Monitoring | Water Leak Sensor | Touchpad Set-Up...
- Page 13 On the Tech ID page enter 4381 and click Done. Select Sensors & Zones. Smart Home Monitoring | Water Leak Sensor | Touchpad Set-Up...
- Page 14 Select Add a Sensor/Zone. Remove the device top battery cover as shown on the left Insert CR2 Battery paying special attention to the battery polarity Smart Home Monitoring | Water Leak Sensor | Touchpad Set-Up...
- Page 15 The sensor is now in pairing mode. Click Next on the Locating Wireless Sensors screen. The Touchpad will now look for a sensor for up to 10 minutes. Smart Home Monitoring | Water Leak Sensor | Touchpad Set-Up...
- Page 16 Now trip the sensor by bringing the probes into contact with moisture. The icon will update with Zone # and a checkmark as shown on the left. Once sensor pairing is successful, click Done. Smart Home Monitoring | Water Leak Sensor | Touchpad Set-Up...
- Page 17 Modify the zone function as desired. Zone functions for the Water Leak Sensor are listed on the left. When on this screen, a function must be selected to close the prompt. Smart Home Monitoring | Water Leak Sensor | Touchpad Set-Up...
- Page 18 A list of the sensors will appear again now with your new sensor with its updated name. You may click on it again to modify it. Otherwise, complete the process by clicking on Return to Menu. Smart Home Monitoring | Water Leak Sensor | Touchpad Set-Up...
-
Page 19: Troubleshooting
In addition to the limitations of liability set out at Section 9 of the Terms, to the maximum extent permitted by applicable law, the Rogers Parties will not be liable to you or to any third party for any direct, indirect, special, consequential, incidental, economic or punitive damages (including... - Page 20 How to reset this device: If you are trying to add your Water Leak Sensor to your Smart Home Monitoring system and you are unable to pair it in the first few attempts, or if you see an error while pairing, try the following steps to reset the Water Leak Sensor and then pair it again.

Need help?
Do you have a question about the Water Leak Sensor and is the answer not in the manual?
Questions and answers