Advertisement
Available languages
Available languages
Quick Links
Replacement Guide
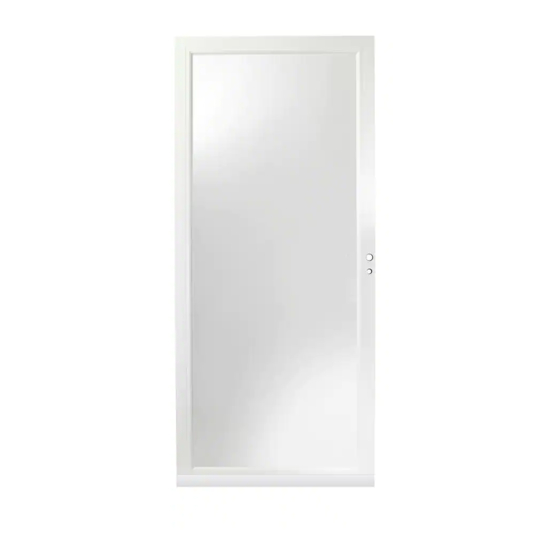
For Center Mullion on Andersen ® 3000 Series
Self-Storing Door with Retractable Insect Screen
READ ENTIRE GUIDE BEFORE BEGINNING INSTALLATION. Please handle your components with care to avoid damage and/or scratches.
pLEASE NOTE: Proper assembly, installation and maintenance are essential if the benefits of your Andersen
please read and follow this guide completely. If your abilities do not match this procedure's requirements, contact an experienced contractor.
You may direct any questions to the Solution Center at 1-800-933-3626, Monday through Friday, 7 a.m. to 7 p.m. Central Time, and Saturday
and Sunday, 8 a.m. to 5 p.m. Central Time.
pARTS LIST
CEnTEr muLLion
QTY: 1
RECOMMENDED TOOLS
Improper use of hand or power tools could result in injury and/or product damage. Follow equipment manufacturer's instruc-
tions for safe operation. Always wear safety glasses.
• Safety Glasses
• Phillips head screwdriver
1. LOwER vENTILATING wINDOw:
A.
Lower the ventilating window a few inches so the bottom
of ventilating window is below center mullion.
EMCO Enterprises, Inc. is a wholly owned subsidiary of Andersen Corporation. EMCO manufactures Andersen® and EMCO®
doors. EMCO supports the limited warranties covering Andersen® storm and screen doors. "Andersen", "EMCO" and all other
marks where denoted are trademarks of Andersen Corporation. ©2007 Andersen Corporation. All rights reserved.
I Mp O RTAN T
w a r n i n g
STEP 1
product are to be fully attained. Therefore,
®
#8 X 3/8"
PHiLLiPS FLaT
HEaD SCrEw
QTY: 2
CEnTEr muLLion
EMCO Enterprises, Inc.
PO Box 853
Des Moines, IA 50306-0853
Revised 01-2007 6354
Part Number 616146
boTTom oF
VEnTiLaTing
winDow
Door
FramE
inTErior ViEw
Advertisement

Summary of Contents for Andersen Windows & Doors 3000 Series
- Page 1 Replacement Guide For Center Mullion on Andersen ® 3000 Series Self-Storing Door with Retractable Insect Screen I Mp O RTAN T READ ENTIRE GUIDE BEFORE BEGINNING INSTALLATION. Please handle your components with care to avoid damage and/or scratches. pLEASE NOTE: Proper assembly, installation and maintenance are essential if the benefits of your Andersen product are to be fully attained.
- Page 2 2. REMOvE CENTER MULLION SCREwS: Using a Phillips head screwdriver, remove the two (2) STEP 2 screws from each end of the center mullion. Properly dispose of screws. #8X3/8” SCrEw CEnTEr muLLion Door inTErior ViEw FramE 3. pARTIALLY REMOvE INSECT SCREEN TRACk RETAINERS: Starting at the bottom, partially remove STEP 3 STEP 3...
- Page 3 5. INSTALL REpLACEMENT CENTER MULLION: STEP 5a-b Gently move the left insect screen track retainer out of the way. Slide the center CEnTEr muLLion mullion “U” channel over the glass. The PuSH bulb seal should be towards the exterior. CEnTEr Push the end of the center mullion flush to muLLion “u”...
-
Page 4: Herramientas Recomendadas
Guía de reemplazo Para la columna divisora central de la puerta de cierre automático Andersen ® Serie 3000 con malla mosquitera retráctil I M P O R TA NT E LEA LA GUÍA COMPLETA ANTES DE COMENZAR LA INSTALACIÓN. Manipule los componentes con cuidado para evitar daños y/o rayaduras. TENGA EN CUENTA: El montaje, la instalación y el mantenimiento correctos son esenciales si desea obtener todos los beneficios de su producto Andersen . - Page 5 2. RETIRE LOS TORNILLOS DE LA COLUMNA DIvISORA CENTRAL: Con un destornillador Phillips, retire los dos (2) tornillos PaSO 2 de los extremos de la columna divisora central. Deseche apropiadamente los tornillos. tOrniLLO #8X3/8” cOLumna diviSOra centraL Puerta viSta interiOr marcO 3.
- Page 6 5. COLOqUE LA COLUMNA DIvISORA CENTRAL DE REEMPLAZO: PaSO 5a-B Deslice suavemente el sujetador izquierdo de la guía de la malla mosquitera. cOLumna diviSOra Deslice el canal en “U” de la columna centraL emPuje divisoria central sobre el vidrio. El burlete canaL en “u”...
- Page 7 Guide de pièces de rechange Pour meneau central sur des portes à autorangement Série Andersen ® 3000 dotées de moustiquaires escamotables I M P O R TAN T : LISEZ LE GUIDE AU COMPLET AVANT DE COMMENCER L’INSTALLATION. Manipulez vos composants avec soin afin d’éviter de les endommager et (ou) de les égratigner.
- Page 8 2. RETRAIT DES VIS DU MENEAU CENTRAL : À l’aide d’un tournevis à lame Phillips, retirez les deux vis ÉTAPE 2 de chacune des extrémités du meneau central. Mettez au rebut les vis, comme il se doit. VIS N° 8 x 3/8 PO MENEAu cENTRAL cADRE...
- Page 9 5. INSTALLATION DU MENEAU CENTRAL DE REMPLACEMENT : ÉTAPE 5A/B Déplacez doucement le dispositif de retenue du rail de la moustiquaire de gauche. Faites POuSSER MENEAu glisser le profilé en U du meneau central par cENTRAL dessus la vitre. Le joint en bulbe devrait donner PROFILÉ...
Need help?
Do you have a question about the 3000 Series and is the answer not in the manual?
Questions and answers
How do you get the windows out of the Andersen retraceable storm door 3000 series i need to clean off all the dirt and water spots