Advertisement
Quick Links
Extended Dragon Pergola Inst
8/7/11
(fig.4)
915mm
642mm 642mm 642mm
915mm
D
z
z
z
z
z
C
FIX THE 14 U CLIPS TO THE TOP
z
OF THE RAFTERS AS SHOWN
z
z
z
z
z
D
ASSEMBLY (cont.)
STEP 7
Fix the 'U' Clips (z) to the top of
the assembly as shown in fig.4.
STEP 8
Take one of the Centre Blocks
(J) and fix three of the Short
Curved Beams (E) as fig.5.
STEP 9
Repeat for the second centre
block.
E
STEP 10
Raise the two assemblies in
turn and position as shown in
Fig.6.
STEP 11
Fix the Joist (G) to the centre
blocks using screws (y) as
shown in fig.7.
E
STEP 12
Set the position of the curved
beams in the 'U' clips so that
they sit evenly on the frame.
STEP 13
Fix the four Longer Curved
Beams (F) to the centre blocks
so that they locate in each of
the four corners of the frame.
STEP 14
Now fix the four remaining
short curved beams to the joist
to locate as shown in fig.8.
STEP 15
Finally, fix the Round Finials
(H) to the tops of the centre
blocks.
AFTERCARE
To ensure longevity of your structure it is recommended that it is treated with a wood preservative on a yearly basis.
10:47
Page 1
J
w
w
w
E
(fig.5)
z
E
E
C
z
z
z
z
z
x
x
z
x
(fig.6)
(fig.7)
J
E
y
E
J
y
J
(fig.8)
E
FIX JOIST TO EACH
CENTRE PIECE
E
WITH TWO SCREWS
F
(TOP AND BOTTOM)
H
F
E
E
G
E
E
F
G
F
E
J
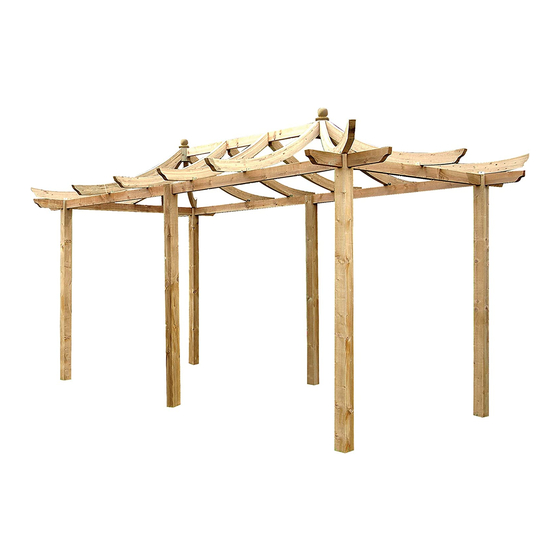
EXTENDED DRAGON
EXTENDED DRAGON PERGOLA
(PKITDRGNAE)
x
y
G
y
PLAN
ALL PRODUCTS ARE
MEASURED TO THE
HIGHEST AND WIDEST
POINT AND ALL SIZES
F
ARE APPROXIMATE
TOP
VIEW
E
E
F
PERGOLA
ASSEMBLY INSTRUCTIONS
1.83 m
3.89 m
3.89 m
SIDE VIEW
GRANGE FENCING LIMITED
Halesfield 21, Telford TF7 4PA
Tel: 01952 588088 Fax: 01952 581522
Email: sales@grangefen.co.uk Web: www.grangefen.co.uk
OUT OF HOURS MESSAGE SERVICE: 01952 588088
JULY 2011 - ISSUE 2
Advertisement

Related Manuals for Grange EXTENDED DRAGON PERGOLA

Summary of Contents for Grange EXTENDED DRAGON PERGOLA
- Page 1 Extended Dragon Pergola Inst 8/7/11 10:47 Page 1 EXTENDED DRAGON (fig.4) 915mm 642mm 642mm 642mm 915mm (fig.5) PERGOLA FIX THE 14 U CLIPS TO THE TOP OF THE RAFTERS AS SHOWN ASSEMBLY INSTRUCTIONS EXTENDED DRAGON PERGOLA (PKITDRGNAE) ASSEMBLY (cont.) STEP 7 Fix the ‘U’...
- Page 2 Extended Dragon Pergola Inst 8/7/11 10:47 Page 2 Thank you for choosing this garden structure from Grange Fencing Ltd. In order to gain the most benefit from it please read the following instructions carefully. 1.83 m TOOLS REQUIRED (Not Supplied)
Need help?
Do you have a question about the EXTENDED DRAGON PERGOLA and is the answer not in the manual?
Questions and answers