Table of Contents
Advertisement
Quick Links
DANVER
MOBILE KITCHEN CART
AND COCINA
Assembly INSTRUCTIONS
LIMITED 5 YEAR WARRANTY
Danver warrants this product to be free from defects in material and workmanship and
agrees to remedy any such defect. This warranty covers five years from date of original
purchase. This is solely limited to the repair or replacement of defective furniture
components and no assembly labor is included.
This warranty does not apply to any product which has been improperly assembled,
subjected to misuse or abuse or which has been altered or repaired in any way.
Liability for consequential damages is excluded to the extent exclusion is permitted by
law. This warranty gives you specific legal rights. Additional warranty rights may be
provided by law in some areas.
To obtain warranty services, purchaser must present original bill of sale. Components
repaired or replaced are warranted though the remainder of the original warranty period
only. The defective components will be repaired or replaced without charge, subject to
the terms and conditions described above.
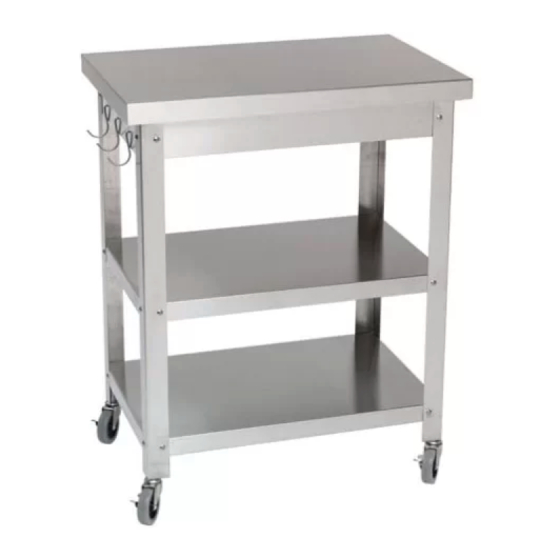
*The top shown in these assembly instructions is shown as a butcher block. Danver does not provide tops other than stainless steel, but any cart can
be ordered without a top so that you may install a custom top of your choice . #10 screws not provided for topless carts.
** C0322 model only
***Holes for screws are small to maintain proper screw bite into backer material
PARTS LIST
Description
A. Top*
B. Front/Back Skirt
C. Towel Bar Skirt**
D. Utensil Hanger Skirt
E. Legs
F. Shelves
G. Towel Bar**
H. Casters
I. Utensil Hanger Hook
J. Small Screw & Nut
K. Large Screw & Washer
(Located in handle)
L. #10 Screw***
Qty.
1
2
1
1
4
2
1
4
3
24
2
10
F
Advertisement
Table of Contents

Summary of Contents for Danver MOBILE KITCHEN CART AND COCINA
- Page 1 *The top shown in these assembly instructions is shown as a butcher block. Danver does not provide tops other than stainless steel, but any cart can be ordered without a top so that you may install a custom top of your choice . #10 screws not provided for topless carts.
- Page 2 ASSEMBLY Step 1) – Top & Skirt • Pre-drill hole if needed, 1/8” dia. x 1” deep maximum. Only drill the hole for the optional drawer (if needed). • Items needed: Top (A), Front & Back skirts (B), Handle bar Fig-1 skirt (C), Tool hanger skirt (D) and #10 screws (L).
- Page 3 Drawer STEP 3) Optional Drawer • Follow this step only if you have the optional add-on drawer. Items needed: Drawer and 4-#10 screws (L). • Attach the drawer pull to the front of the drawer with the screws provided with the drawer pull. •...
- Page 4 STEP 5) Middle Shelf • Items needed: 1- Shelf (F) and 6-Small screws and nuts (J). • Place the cart onto one side. (Fig. 10) • Place one Shelf in the middle of the legs with the open side facing the caster end of the legs.
- Page 5 STEP 8) Utensil Hangers • Items needed: 3-Utensil hangers ( I ). • Move the caster lock into the lock position. Carefully flip the cart onto the casters. Unlock the casters. • Align and hang the small loop of the Utensil hanger hook with the oblong opening in the Utensil hanger skirt.
- Page 6 IMPORTANT INFORMATION • DO NOT climb on unit. • DO NOT step or sit on shelves or drawers. • Read and follow all assembly instructions. • Check the parts list to make sure all parts are included and in good condition. •...
Need help?
Do you have a question about the MOBILE KITCHEN CART AND COCINA and is the answer not in the manual?
Questions and answers