Sign In
Upload
Download
Table of Contents
Contents
Add to my manuals
Delete from my manuals
Share
URL of this page:
HTML Link:
Bookmark this page
Add
Manual will be automatically added to "My Manuals"
Print this page
×
Bookmark added
×
Added to my manuals
Manuals
Brands
Wijas Manuals
Water Heater
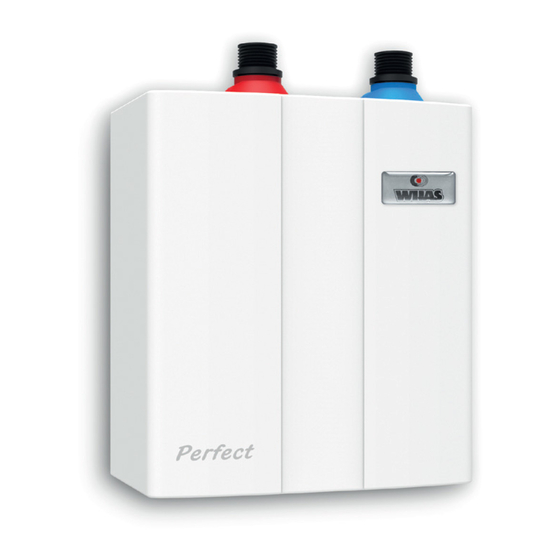
PERFECT 3500
Assembly and operation manual
Wijas PERFECT 3500 Assembly And Operation Manual
Pressurized flow through water heater
Hide thumbs
1
2
3
4
5
6
7
8
9
10
11
12
page
of
12
Go
/
12
Contents
Table of Contents
Bookmarks
Advertisement
Table of Contents
1
Safety Regulations
2
Wiring System
3
Water System
4
Water Filter Cleaning
5
Technical Data
6
Specification
Download this manual
ASSEMBLY AND OPERATION
MANUAL
Pressurized flow through water heater
PERFECT 3500, 4000, 4500, 5000, 5500
Table of
Contents
Previous
Page
Next
Page
1
2
3
4
5
Advertisement
Table of Contents
Need help?
Do you have a question about the PERFECT 3500 and is the answer not in the manual?
Ask a question
Questions and answers
Related Manuals for Wijas PERFECT 3500
Water Heater Wijas PERFECT MIX Series Installation And Operating Instructions Manual
Instantaneous water heaters (9 pages)
Water Heater Wijas PERFECT 350 ELECTRONIC Assembly And Operation Manual
Water flow heaters (9 pages)
Water Heater Wijas PERFECT 7000 Assembly And Operation Manual
Pressurized water flow heater (12 pages)
Water Heater Wijas PERFECT 8000 Assembly And Operation Manual
Pressurized water flow heater (12 pages)
Water Heater Wijas PERFECT 9000 Assembly And Operation Manual
Pressurized water flow heater (12 pages)
Water Heater Wijas PERFECT 4000 Assembly And Operation Manual
Pressurized flow through water heater (12 pages)
Water Heater Wijas PERFECT 4500 Assembly And Operation Manual
Pressurized flow through water heater (12 pages)
Water Heater Wijas SMART 3.5 Installation And Operating Intructions
Pressurized instantaneous water heaters (13 pages)
Water Heater Wijas Type POW-LCD MULTI Installation And Operation Manual
Flow water heaters (12 pages)
Water Heater Wijas POW-LCD 12 Installation And Operation Manual
Flow water heater (12 pages)
Water Heater Wijas POW 12 Instructions For Assembly And Operation Manual
Flow pressure water heaters (12 pages)
Water Heater Wijas POW 12H Instructions For Assembly And Operation Manual
Flow pressure water heaters (12 pages)
This manual is also suitable for:
Perfect 4000
Perfect 4500
Perfect 5000
Perfect 5500
Table of Contents
Print
Rename the bookmark
Delete bookmark?
Delete from my manuals?
Login
Sign In
OR
Sign in with Facebook
Sign in with Google
Upload manual
Upload from disk
Upload from URL


Need help?
Do you have a question about the PERFECT 3500 and is the answer not in the manual?
Questions and answers