Table of Contents
Advertisement
Solstice Pod Demo Guide
The Solstice Pod connects to a meeting-room display and leverages existing WiFi/Ethernet networks to facilitate wireless
content sharing and collaboration. This document provides technology managers with instructions for evaluating one or
more Pods.
Looking for Something Else?
•
Quickly deploy a single Pod: For more information on how to quickly deploy a single Pod, see our
Guide.
•
Using Solstice: If you are looking for information on how to use Solstice to share content and collaborate, please go
to our
Solstice User Guide.
•
Deploying on a Managed Network: For information on how to deploy Solstice on a managed IT network, see our
Network Deployment
•
Security Guidelines: For information on deploying Solstice in a security-conscious environment, please refer to the
Solstice Pod Baseline Security Standard (BSS)
•
Pod Admin Guide: For a detailed list of configuration options and other reference information, see our
Reference
Guide.
Table of Contents
Step 4: Connect to the Pod
Guide.
pg 1 | Pod Demo Guide | www.mersive.com | © Copyright 2019 Mersive
document.
Solstice Pod Demo Guide
Updated March 25
Pod Quickstart
Pod Admin
th
, 2019
Advertisement
Table of Contents

Summary of Contents for Solstice Pod
-
Page 1: Table Of Contents
Quickly deploy a single Pod: For more information on how to quickly deploy a single Pod, see our Pod Quickstart Guide. • Using Solstice: If you are looking for information on how to use Solstice to share content and collaborate, please go to our Solstice User Guide. •... - Page 2 The Solstice Display The term Solstice display is used to refer to any flat panel or projector display connected to a Solstice Pod or Solstice Display Software host PC, allowing users to connect and share content wirelessly to the display.
- Page 3 MacOS, Android, and iOS devices (such as laptops, tablets, and phones) that you want to use to connect and share media to the Solstice display. These user devices must be on the same network as the Solstice host in order to connect. First time...
-
Page 4: Demo The Solstice Pod
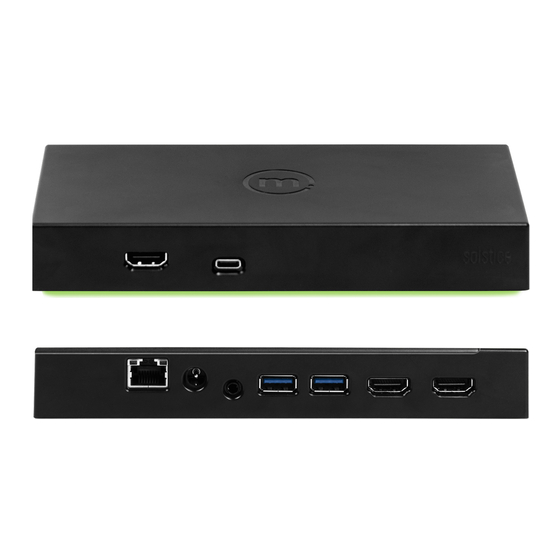
Pod’s touch features, connect a USB cable from the Pod to the USB port on the display. A green LED bar will illuminate on the front of the Pod once it receives power. The Pod will take a few minutes to boot up and display the default welcome screen. -
Page 5: Step 3: Install The Free Solstice User App
Step 3: Install the Free Solstice User App Once your Pod and display are powered on, it’s time to install the free Solstice App. The Solstice App is what allows end users to connect to a Solstice display and share and control content. The Solstice user App is installed on Windows, MacOS, Android, and iOS devices (such as laptops, tablets, and phones) that you want to use to connect and share media to the Solstice display. - Page 6 Step 4: Connect the Solstice User App to the Pod Now that you have the user app, let’s connect to the Pod. First, your device must always be on the same network as the Pod to connect. For example, if your Pod is in the default WAP mode, your device must be connected to the “SolsticePod”...
-
Page 7: Step 5: Share Content From Your Solstice App
Sharing using a wired source via HDMI input When you connect to a Pod, you’ll be presented with the Share panel. The Share panel allows you to share various content sources to the display. From PC-based devices, you can share desktops, application windows, images, and videos. From mobile devices, you can share the device screen, images, and videos stored on the device, and even images and videos captured live from the device’s camera. -
Page 8: Step 6: Control Your Posts
Also share multiple images or videos saved locally on your device using the Media File sharing option. Lastly, connect a laptop PC to the Pod using an HDMI cable. The HDMI cable should be plugged into both the HDMI input port on the front of the Solstice Pod as well as into the laptop PC sharing content. -
Page 9: Step 8: Try Out Solstice Ink
Step 8: Try out Solstice Ink Available in the mobile version of the Solstice App (for iOS and Android devices), Solstice Ink allows users to highlight and temporarily mark up content on the Solstice display from anywhere in the room by simply pointing and drawing with their smartphones.
Need help?
Do you have a question about the Pod and is the answer not in the manual?
Questions and answers