Advertisement
Advertisement
Table of Contents

Related Manuals for Home2O HF01-LKQ-WH


Summary of Contents for Home2O HF01-LKQ-WH
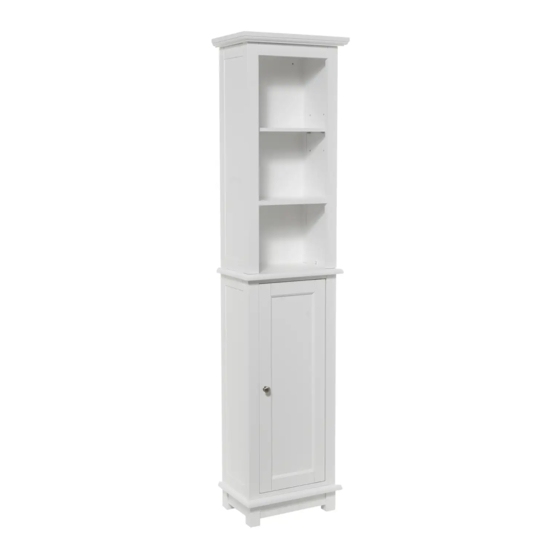
- Page 1 MODEL #HF01-LKQ-WH #HF01-LKQ-ES BATHROOM LINEN TOWER Questions, problems, missing parts? Before returning to your retailer, call our customer service department at 1-877-319-3757, 8 a.m. - 5 p.m., CST, Monday - Friday. READ AND SAVE THESE INSTRUCTIONS www.homewerksww.com 06-01-2018...
- Page 2 TABLE OF CONTENTS Package and Hardware Contents ........................................... 2 Safety Information ............................................... 3 Preparation ................................................... 3 Assembly Instructions ..............................................3 Warranty ..................................................6 PACKAGE AND HARDWARE CONTENTS PART DESCRIPTION QUANTITY PART DESCRIPTION QUANTITY Left lower side Left upper side Right lower side Right upper side Lower front Upper front...
- Page 3 SAFETY INFORMATION Please read and understand this entire manual before attempting to assemble, operate or install the product. WARNING • Do not load this unit with more than 30 lbs. • Safely discard all packing material. • Keep small parts away from children. •...
- Page 4 ASSEMBLY INSTRUCTIONS Attach middle panel (F) to the assembled unit and twist the locking nut clockwise to secure in place. Attach left upper side (H) to upper back panel (K) by inserting the tabs on the left upper side (H) into the slots on the upper back panel (K) and push down until the left upper side (H) slides into place.
- Page 5 ASSEMBLY INSTRUCTIONS Attach the assembled upper unit to the assembled lower unit and twist the locking nut clockwise to secure in place. Put shelf (M) into unit. Insert shelf support (AA) into unit. Put movable shelf (G) into unit. Hardware Used Shelf support x 12 INSTALLATION TO WALL...
- Page 6 CARE AND MAINENTANCE Wipe with a soft, dry cloth as needed. Do not use abrasive cleaners. LIMITED 1-YEAR WARRANTY The manufacturer warrants this product to be free from defects in workmanship and material present at time of shipment from the factory for a limited lifetime from the date of purchase.
Need help?
Do you have a question about the HF01-LKQ-WH and is the answer not in the manual?
Questions and answers