Advertisement
PACKAGE CONTENTS/
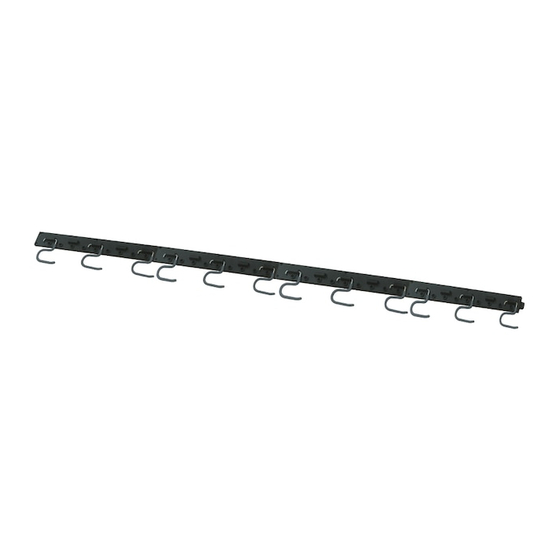
A
HARDWARE CONTENTS/
Note: Hardware shown actual size.
AA
SAFETY INFORMATION/
WARNING: Read and understand all instructions before beginning installation. Failure to follow all instructions may result in serious personal injury.
• Do not mount to hollow dry wall. Mount only to wall studs or concrete.
• Do not mount to ceiling.
• Wear safety glasses during assembly.
• Holds 15 lbs. per hook when the rail is securely mounted to wall studs or concrete. If only mounted to hollow dry wall with anchors, the holding weight
reduces to 8 lbs. per hook. The holding weight of each plastic peg is 6 lbs.
PREPARATION/
Before beginning installation of product, make sure all parts are present. Compare parts with package contents list and hardware contents list. If any part is
missing or damaged, do not attempt to assemble, install or operate the product.
Estimated Installation Time: 15minutes/
Tools Required for Assembly (not included): Power drill 7/32 in. bit, Phillips drill bit or Phillips screwdriver, pencil, stud finder, tape measure and a level.
AB14521
RIEL AJUSTABLE PARA ALMACENAMIENTO
Rail
End Cap
Riel
Tapa de
B
x4
extremo
x4
Screw
Tornillo
BB
x16
ITEM/ARTÍCULO #0267963
ADJUSTABLE STORAGE RAIL
MODEL/MODELO #55445
S-hook
Gancho en S
C
x12
Anchor
Ancla de expansión
x16
Peg
Soporte
D
horizontal
x16
Advertisement
Table of Contents

Summary of Contents for Blue Hawk 55445
- Page 1 ITEM/ARTÍCULO #0267963 ADJUSTABLE STORAGE RAIL RIEL AJUSTABLE PARA ALMACENAMIENTO MODEL/MODELO #55445 PACKAGE CONTENTS/ Rail End Cap S-hook Riel Tapa de Gancho en S Soporte extremo horizontal HARDWARE CONTENTS/ Note: Hardware shown actual size. Screw Anchor Tornillo Ancla de expansión SAFETY INFORMATION/ WARNING: Read and understand all instructions before beginning installation.
- Page 2 MOUNTING INSTRUCTIONS MOUNTING RAILS SEPARATELY 1.Locate wall studs with a stud finder and mark the locations with a pencil. 2.Place the rail (A) at desired height aligning it with the studs. Place the side with 2 screw holes to the left. Loosely mount the left end of the rail with one screw (AA). Level the rail (A), cover the opposite end with end cap (B) and screw (AA) this end in fully.
Need help?
Do you have a question about the 55445 and is the answer not in the manual?
Questions and answers