Advertisement
Table of Contents
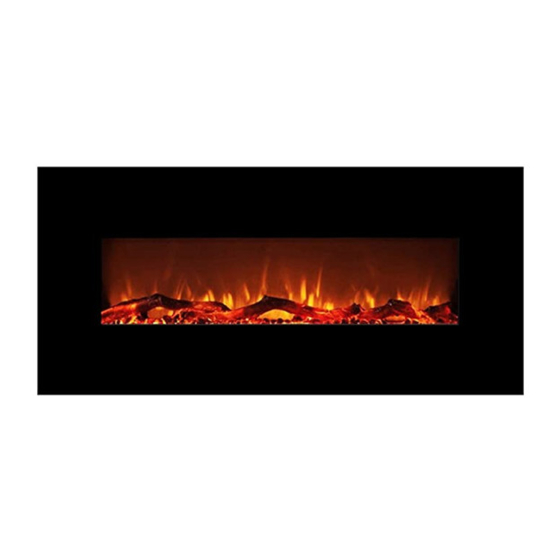
Wall Mounted Option
Read and understand this entire owner's manual, including all safety information, before plugging in
WARNING
or using this product. Failure to do so could result in fire, electric shock, or serious personal injury.
Keep this owner's manual in a safe place for future reference. If you sell or give this product away,
CAUTION
make sure this manual accompanies this product.
Pictures within this owner's manual are for reference only. Please refer to the actual product for
NOTICE
appearance.
120V AC; 60 HZ; MAXIMUM POWER 1500 WATTS
ALL ELECTRIC. NO WOOD OR CHARCOAL. NO GAS. NO VENTING REQUIRED.
OWNER'S MANUAL
BENSON
FLAT PANEL ELECTRIC FIREPLACE HEATER
MODEL# EFW-TJ22B, EFW-TJ34A
Wall Mounted
Using the wall bracket kit.
Free Standing
Using foot bracket kit.
Advertisement
Table of Contents

Related Manuals for Flame & Shade BENSON


Summary of Contents for Flame & Shade BENSON
- Page 1 OWNER’S MANUAL BENSON FLAT PANEL ELECTRIC FIREPLACE HEATER MODEL# EFW-TJ22B, EFW-TJ34A Wall Mounted Using the wall bracket kit. Wall Mounted Option Free Standing Using foot bracket kit. Read and understand this entire owner’s manual, including all safety information, before plugging in WARNING or using this product.
-
Page 2: Important Safety Instructions
IMPORTANT SAFETY INSTRUCTIONS! WARNING Read these instructions carefully before using this heater! • • This heater is hot when the heat mode is in use. To avoid burns, DO NOT let bare skin touch hot surface. If provided, always use handles when moving this heater. Keep combustible materials, such as furniture, pillows, bedding, papers, clothes, and curtains at least 3 feet (0.9m) from the front of the heater, and keep them away from the sides and rear. - Page 3 WARNING • For residential use only! NOT for commercial use! Any commercial or public use of this heater voids all warranties , and could cause injury. • This product is not intended to be a primary heat source. It is for supplemental heat only. •...
-
Page 4: Tools Needed
PREPARATION This product includes GLASS! ALWAYS use extreme caution when handling NOTICE glass. Failure to do so could result in personal injury or property damage. Make sure all parts are dry, and the power cord and plug are not damaged. NOTICE See IMPORTANT SAFETY INFORMATION on pages 2 and 3. - Page 5 INSTALLATION FOR WALL MOUNTING OPTION ALWAYS make sure the unit is unplugged before beginning assembly! NEVER move or clean the heater, or change the bulb, while it is plugged in. STEP 1: Find a suitbale safe location. Minimum clearance Minimum 39.5" on each side: 20".
- Page 6 AVIOID INJURY and DAMAGE! Wood Screws(B) should be screwed directly NOTICE into wall studs when possible. STEP 4: Align the holes in the Wall Bracket(E) with the pilot holes and Drywall Anchors(C) . Thread three Wood Screws(B) and Metal Washer s (L) through the holes in the wall bracket and directly into the wall studs and Drywall Anchors(C).
- Page 7 ASSEMBLY FOR FREE STANDING OPTION WE RECOMMEND THAT TWO CAPABLE ADULTS PERFORM THIS NOTICE PROCEDURE. STEP 1: With the help of a capable adult, carefully lay the fireplace on a protected work surface on its back. Secure the Foot Bracket(I) to the bottom of the fireplace with two M6x16mm Bolts(J).
- Page 8 OPTIONAL MEDIA BED INSTALLATION The fireplace comes with the Faux Log Bed(G) in place, and can be used as NOTICE is. To switch to Acrylic Rocks(H), follow these steps with two capable adults. This step involves GLASS! ALWAYS use extreme caution when handling NOTICE glass.
- Page 9 STEP 3 : Set the Shelf Insert(K) onto the ledge in the opening at the front of the fireplace. STEP 4 : Arrange the Acrylic Rocks(H) on the Shelf Insert(K) in the desired position. STEP 5 : Set the front glass panel back onto the firebox . STEP 6 : Align the tabs of the glass panel with the holes on the top edge of the fireplace.
-
Page 10: Operation
OPERATION Read and understand this entire owner’s manual, including all safety information, before plugging in or using this product. Failure to do so could result in electric shock, fire, serious injury, or death. This heater is not intended to be a primary heat source. It is designed to provide NOTICE supplemental heat, and should not be left running to continuously for more than eight hours. -
Page 11: Control Panel Functions
CONTROL PANEL FUNCTIONS When this heat function is used for the first time, a slight odor may be present. NOTICE This is normal and should not occur again unless the heater is not used for an extended period of time. CONTROLS FUNCTION Power Indicator When power is ON, red light will glow. -
Page 12: Remote Control Functions
REMOTE CONTROL FUNCTIONS MAIN POWER ON THE FIREPLACE CONTROL PANEL MUST BE IN THE NOTICE ON POSITION TO USE REMOTE CONTROL. DO NOT press the buttons too quickly. Give the unit time to respond to each NOTICE command. REMOTE CONTROL BUTTONS FUNCTION Press once to turn the power ON. -
Page 13: Remote Control Battery Installation
REMOTE CONTROL BATTERY INSTALLATION STEP 1: Push down gently and slide back to remove the Remote Control(F) battery compartment cover. STEP 2: Insert the 2 AAA Batteries(M) into the battery compartment, ensuring the polarity (+/-) matches the terminals as indicated in the battery compartment. STEP 3: Replace the battery compartment cover. -
Page 14: Maintenance
Maintenance Risk of electric shock! DO NOT OPEN any panels other than the bulb replacement plate! No user-serviceable parts inside! ALWAYS turn the heater OFF and unplug the power cord from the outlet before cleaning, performing maintenance, or moving this fireplace. Failure to do so could result in electric shock, fire, or personal injury. -
Page 15: Troubleshooting Guide
TROUBLESHOOTING GUIDE PROBLEM SOLUTION 1. Make sure the power cord is plugged into a working 120V AC electrical outlet. 2. Check for a tripped circuit breaker, or a blown fuse. There is no power to the unit. 3. If the unit had been working, but then turned off by itself, the temperature limiting control must be reset. -
Page 16: Faq - Frequently Asked Questions
CSA RATING LABEL & POWER CORD LABEL CSA Rating Label Power Cord Warning Label FAQ - FREQUENTLY ASKED QUESTIONS Question Answer What is the best way to You can email us anytime at fsesales@taijicrafts.com. contact Customer Service? No. This heater is not intended to be a primary heat source. It is Can I leave the heater designed to provide supplemental heat, and should not be left running overnight? - Page 17 LIMITED LIABILITY LIMITED LIABILITY This product is not intended to be used as a primary heat source. Read and understand all assembly and operating instructions, and all safety information and warnings before use. This product is not intended to be used as a primary heat source. Read and understand all assembly and operating instructions, and all safety information and warnings before use.
Need help?
Do you have a question about the BENSON and is the answer not in the manual?
Questions and answers