Advertisement
Quick Links
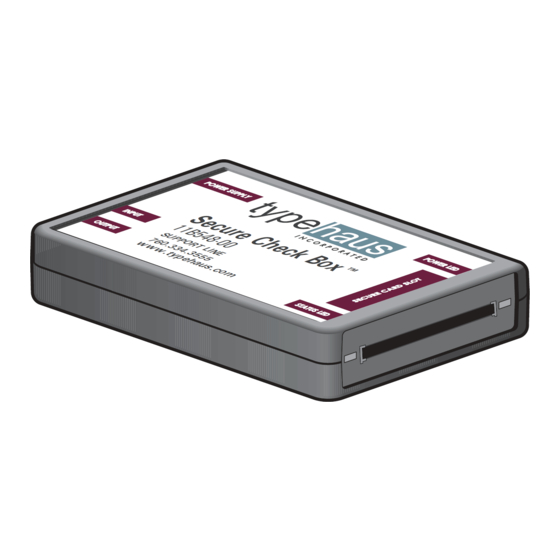
Secure Check Box
1
Preparing for Success
Before installing the CheckBox™, follow
the printer manufacturer's instructions
for installing the printer on the network.
Confirm that the system that will be used
for printing can print to the printer before
the CheckBox is installed.
Each printer model is unique. The printer
manufacturer's instructions, web site,
and customer support always provide the
best printer installation assistance prior to
installing the CheckBox.
The CheckBox requires that PCL5/5e
commands be used for printing. Depending
upon how your application works, be
sure the application is configured to use
PCL5/5e when printing.
Every application has its own unique
configuration settings. Applications can
also vary depending upon the type of
computer on which they are running.
TM
2
Installing the CheckBox
Be sure to install and test the printer on the
network before proceeding.
Power on the laser printer and wait for
ready/online status.
7
Insert the round power supply connector
into the CheckBox "Power Supply" port.
The CheckBox Power LED will light green
(possibly after blinking orange), then the
Status LED will light green.
Installation Guide
Ethernet Connected Laser Check Printing Device
3
Detach the Ethernet network cable from
the printer and attach it to the "Input from
Host" port on the CheckBox.
WARNING
Use only the included
power supply. Using
another power supply
will void the warranty.
8
Insert the CheckBox's memory card to
enable printing of the secured resources.
4
Attach the supplied 3 foot Ethernet cable
to the printer's Ethernet port (the same
port from which the network cable was
detached in the previous step).
5
Attach the other end of the supplied 3 foot
Ethernet cable to the "Output to Printer"
port on the CheckBox.
6
Plug the supplied 5 volt power supply into
a 110 volt outlet. It is preferable, but not
required, to plug it into the same power
strip as the printer.
See WARNING box on
this page.
TypeHaus | 760.334.3555 | www.typehaus.com
Advertisement

Summary of Contents for TypeHaus Secure Check Box
- Page 1 Insert the CheckBox’s memory card to into the CheckBox “Power Supply” port. enable printing of the secured resources. The CheckBox Power LED will light green (possibly after blinking orange), then the Status LED will light green. TypeHaus | 760.334.3555 | www.typehaus.com...
- Page 2 You are now ready to the print using the custom resources contained in the secure memory card of your CheckBox. TypeHaus Reorder Part Number: 11B548-00 TypeHaus, Inc. 2262 Rutherford Rd., Ste. 103 Carlsbad, CA 92008 760.334.3555 www.typehaus.com © 2018 TypeHaus, Inc. All rights reserved. (50027-180927A)
Need help?
Do you have a question about the Secure Check Box and is the answer not in the manual?
Questions and answers