Table of Contents
Advertisement
Quick Links
Advertisement
Table of Contents

Summary of Contents for SES PLIOMARK-PRINT EOS5
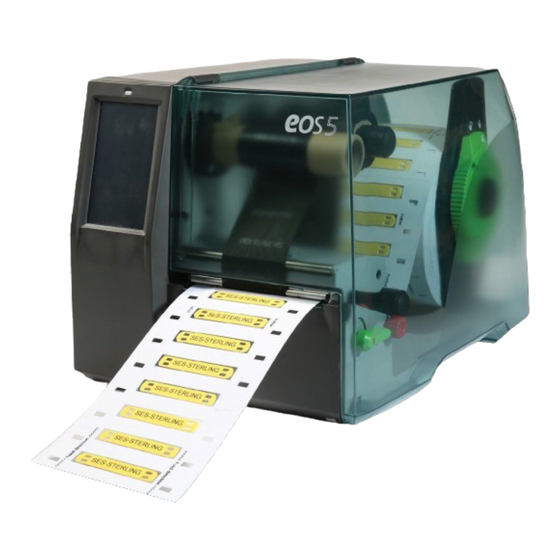
- Page 1 PLIOMARK-PRINT EOS5 Operating instructions ✽...
-
Page 2: Table Of Contents
SUMMARY PLIOMARK PRINT EOS5 1. Installation of the printer ..........2 2. Installation of the printer, the product to be printed and the ribbon . -
Page 3: Pliomark Print Eos5
PLIOMARK PRINT EOS5 1. Installation of the printer. 1. Make sure your computer has the latest Microsoft updates. Click the Windows key and type in the update. Up- date and restart your computer if necessary. This is VERY important because security is prioritised in Windows. Sometimes an un-updated computer can cause problems with printing, so be sure to ALWAYS update and re- start your computer if you have printing problems. - Page 4 PLIOMARK PRINT EOS5 7. Right click on your printer and select "Printer Properties". 8. In the "Printer settings" tab, tick the box "Always use driver settings" and press "OK". 9. Right click on your printer and select "Print Options". ✽...
- Page 5 PLIOMARK PRINT EOS5 10. Set the default settings "Speed" and "Darkness". Speed 50mm/s and Darkness 7 are the settings that work well for most products to be printed. Then click "OK". This step is performed to facilitate later the print settings in the PLIOMARK PRINT software. You have now completed the basic printer settings and can proceed to the next step in the guide.
-
Page 6: Installation Of The Printer, The Product To Be Printed And The Ribbon
PLIOMARK PRINT EOS5 2. Installation of the printer, the product to be printed and the ribbon. 1. The printer is equipped with a label detection sensor. If the product to be printed has a recurring perforation, place the sensor over the perforation. This can be placed in different places depending on the product to be prin- ted. - Page 7 5. There are specific ribbons available depending on the products to be printed. You will find below the recommen- ded ribbons for each product. For a complete list and the latest information on ribbons and products, visit www.ses-sterling.com or consult our catalogue. The tapes are available in different colours and widths. FTI-Y...
-
Page 8: Pliomark Print Software
3. Installation of the PLIOMARK PRINT Software Use with the EOS 5 printer or a LASER desktop printer 1. Go to www.ses-sterling.com, Products / Software and media to download the PLIOMARK PRINT software. 2. Choose the software version (free or full). -
Page 9: Use Of The Software
PLIOMARK PRINT SOFWARE 4. Use of the software 1. Choose the product you wish to print and click on "OK". You can sort by "marking type", "printer type" and "product family" to easily find the product you need to print. 2. - Page 10 PLIOMARK PRINT SOFWARE 3. Now set the printer settings for this product to be printed. Each product to be printed can save its own print settings, allowing you to quickly start printing when the product to be printed is selected. 4.
- Page 11 8. Press the "Save" button to save your complete project. This saves all your work, including the label template and the text you have entered in the table. 9. If you have any questions, please contact the SES-STERLING support service. ✽...
-
Page 12: Creating A New Project
PLIOMARK PRINT SOFWARE 5. Creating a new project 1. Create a new project and choose a label (Home tab) 2. Select the source of information (number of lines, location of texts...) and the layout on the label. ✽... - Page 13 PLIOMARK PRINT SOFWARE Different compositions are possible Text 1 line Text 2 lines Several text zones on 1 line Several text zones with separator (delimiter, choice of characters) 3. When you have finished composing, close the Template guide. ✽...
- Page 14 PLIOMARK PRINT SOFWARE Different types of data can be set in the upper banner. Select the text box in the label window to activate the upper banner. - Identical text entry on all labels. - Entering text from the table window or an Excel file (see chapter 6). - Entering a date (can be set in the Format tab).
-
Page 15: Text From An Excel File
PLIOMARK PRINT SOFWARE 6. Text from an Excel file 1. Import an Excel file (Table tab) 2. Select the Excel file you wish to print. Only the .xls format is compatible. 3. Select the worksheet if the file contains multiple tabs. 4. -
Page 16: Barcode And Qr Code
PLIOMARK PRINT SOFWARE 7. Barcode and QR Code 1. Create a new project and choose a label (Home tab) 2. Close the pattern wizard without checking a box. 3. Select Barcode (Home tab) and draw an area in the label window, select the barcode, and then adjust the mo- dule and height. -
Page 17: Creating A Sequence
PLIOMARK PRINT SOFWARE 8. Creating a sequence 1. Create a new project and choose a label (Home tab), and tick the corresponding boxes (see chapter 5) 2. Select the area of the table window to activate the menu 3. Select the Sequence function (Table tab) 4. -
Page 18: Image Insertion
PLIOMARK PRINT SOFWARE 9. Image insertion 1. Create a new project and choose a label (Home tab) 2. Check the Insert Image box ✽... - Page 19 PLIOMARK PRINT SOFWARE 3. Double click in the label window area 4. Select an image from the image library provided with the software (preview not available) or any other image on the PC (imported, downloaded from the internet...). For example: : ✽...
Need help?
Do you have a question about the PLIOMARK-PRINT EOS5 and is the answer not in the manual?
Questions and answers