Advertisement
Quick Links
January 2016
900975-001
Rev 00
Purpose
How to replace the touch screen glass on a Virtuo
Expected time
30 minutes
Audience
•
TouchTunes Virtuo Operators
•
TouchTunes field service and customer support
Overview
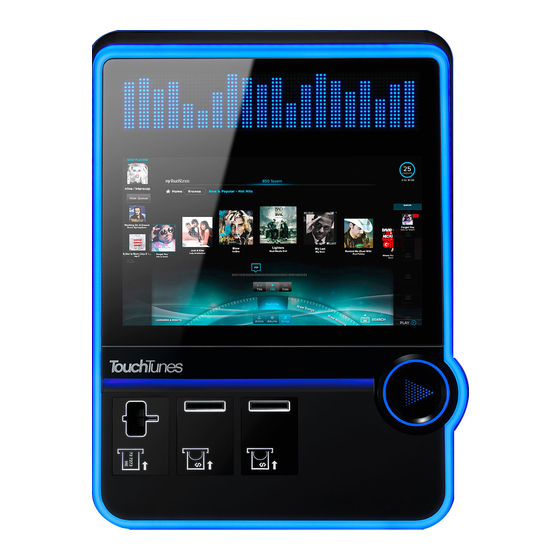
This document explains how to replace a touch screen glass, part number 600254-001, on a Virtuo or Virtuo II that is using
a 27" display.
Note:
This touchscreen glass can only be used with the 27" display. It is not compatible with 26" displays.
Topics
•
Required tools and equipment
•
Replacing the glass
•
Contacting TouchTunes Technical Support
Required tools and equipment
•
Phillips #2 screwdriver
•
Cable ties and cable cutters for cable dressing
•
Protective gloves for handling the glass
•
Vacuum cleaner to clean out any broken glass particles from the monitor
•
Anti-static wrist strap and grounding mat
•
Torque-limiting nut driver and metric 7 mm socket. Do not use a standard ratchet, which can lead to over-torquing. A
regular nut driver (with 7mm socket) can be used, as long as you avoid over-torquing when tightening the nuts.
FRU Installation Notes
Virtuo Monitor Glass Replacement
This document is for these
components or categories
Software
Electrical
Mechanical
Packaging
Advertisement

Summary of Contents for TouchTunes Virtuo
- Page 1 • TouchTunes field service and customer support Overview This document explains how to replace a touch screen glass, part number 600254-001, on a Virtuo or Virtuo II that is using a 27” display. Note: This touchscreen glass can only be used with the 27” display. It is not compatible with 26” displays.
-
Page 2: Replacing The Glass
1. Power down the Virtuo by setting the rocker switch on the power strip inside the Virtuo to the OFF (O) position. - Page 3 4. The touch screen is secured to the inside of the door with 10 nuts fastened to studs on the rear of the unit, and is removed by lifting it away from the exterior of the Virtuo. Using a torque-limiting nut driver, remove the nuts that secure the touchscreen glass and monitor to the Virtuo front door, starting with the two nuts that also hold the camera in place.
- Page 4 5. With one hand positioned on the bottom rear of the monitor and the other supporting the glass and monitor from the front, gently push the unit forward and lift it out and away from the Virtuo door. 6. Lay the touchscreen glass and monitor face-down on a flat surface that is preferably covered with a soft cloth or other...
- Page 5 Virtuo Monitor Glass Replacement Replacing the glass 7. Remove the 4 screws that hold the back cover of the monitor in place. These are on the top and bottom of the cover. 8. Remove the 4 screws that hold the monitor to the touchscreen glass. These are on either side of the monitor and glass.
- Page 6 Virtuo Monitor Glass Replacement Replacing the glass Note: We recommend that you wear a pair of protective gloves when performing the next steps, to prevent the monitor and interior of the replacement glass from collecting any debris. 15. Using a vacuum cleaner, remove any glass residue from the monitor and safely dispose of the glass and associated debris.
- Page 7 24. Fasten the monitor to the touchscreen glass using the four (4) screws you removed earlier. 25. Bring the reassembled touchscreen glass and monitor over to the Virtuo. 26. With one hand positioned on the rear of the monitor and the other supporting its front on the exterior, gently insert the unit into the Virtuo.
- Page 8 Virtuo Monitor Glass Replacement Replacing the glass 27. Re-fasten the nuts (finger-tight) to their studs except for the two nuts for mounting the camera. 28. Fasten the camera assembly to the monitor with the two remaining nuts (finger tight), make sure the USB cable is routed toward the right, and realign the camera with the opening in the black backing of the touchscreen glass.
- Page 9 32. Power on the Virtuo. 33. Recalibrate the touchscreen: once Virtuo is fully booted and showing the Home Screen, press and hold the MNGR button on the I/O board until the calibration screen is shown, then follow the on-screen prompts to complete calibration.
Need help?
Do you have a question about the Virtuo and is the answer not in the manual?
Questions and answers