Advertisement
Quick Links
Dear respectable customers,
Thank you very much for your purchase of aircraft products
manufactured by TOZO company! The built-in barometer in the
aircraft can accurately hover on the xed height, in order to you can
be safe and correct use of this product, be sure to carefully read this
speci cation, and to retain the convenience for future reference!
Note:
1.The motors , circuit board and battery may heat up with use. Take 10-minutes cool-down
between flights and recharge to ensure your parts last as lond as possible.
2.When out of control, just press both L2 and R2 button for emergency stop to prevent
more damage.
3. No need TF card for Q1012. The photos and video will be stored on the phone through APP (scan
the QR code on manual page 13).
www.tozostore.com
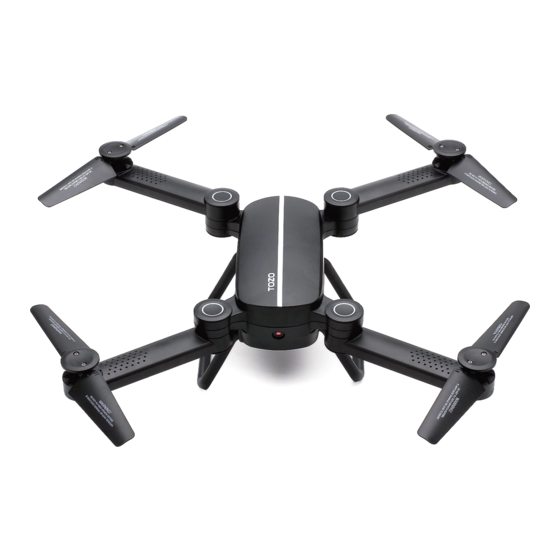
Q1012
Advertisement

Related Manuals for TOZO Q1012

Summary of Contents for TOZO Q1012
- Page 1 2.When out of control, just press both L2 and R2 button for emergency stop to prevent more damage. 3. No need TF card for Q1012. The photos and video will be stored on the phone through APP (scan the QR code on manual page 13).
- Page 2 Unfold the aircraft 1. When you receive the aircraft, the state of being acquiescent is the folding state, at this time unfold the aircraft arms respectively rotate to outside about 120 degrees ( as shown in Figure 2), when you hear a sound of click, the rotation has been in place.
- Page 3 Know your aircraft A Blade B Blade Front Battery cabin power switch B Blade A Blade ●When ying, please take the aircraft head toward to the front, so that you will be better to control the aircraft. ●The central axis location of the blade are marked "A"...
-
Page 4: Flight Notes
LCD display Accelerator/Left and Front rear left right rotatory rocker and right rocker Advance ne tuning Left rotation ne tunning Right y ne tuning Retreat ne tunning Right rotation ne tuning power switch TIP: Camera key and Recording key may not have function on some of the ying models. - Page 5 5.There are many built-in precision electronic parts in the aircraft, must to avoid the wet or water vapor into the interior and lead to the failure and caused by unexpected accident. 6.The aircraft must be far away from heat source, prevent sunlight to avoid deformation of high temperature even meltdown damage.
- Page 6 2. Charging notes ●After the ight, the surface temperature of the battery will rise, please place the aircraft for a few minutes, charging after cooling. ●If no use for a long time, should be placed the aircraft and battery in a cool and dry place, away from the heat source. ●When the battery is expanded, destroyed or severe fevered etc.
- Page 7 Method B: Take two 1.5V AA batteries (batteries not enclosed) in accordance with the direction to install inside the battery of the remote control, close the batteries cover. Note: do not install backwards the battery, do not mix the new and old batteries or di erent types of batteries. Bind Frequency and adjust the acceleration 1.
- Page 8 When the remote control without any operation in ve minutes will be automatically sleep o . 3. After the success of frequency, pull the left and right rocker of the remote controller together toward to the inside below for 45 degrees angle, after the remote controller sends out a “di”...
- Page 9 Take o ----Method 2 After the adjustment of the aircraft,hold on “L2” button for a second,after the remote controller sends out a “di” sound, the aircraft will take o to a certain height then susbend in the sky. Press hold on a second for automatically fiy 3.
-
Page 10: Emergency Stop
Emergency stop When you are in a state of emergency press the “L2” and “R2” button to immediately stop the ight. Press both buttons together to stop ight High ,middle and low speed modes and lighting control High,intermediate, Light on/o switch low toggle key 1. - Page 11 When the accelerator rocker push up the aircraft ies higher on the upside, when pull down the aircraft is going down. Note: when the rst ight, please slowly push the accelerator rocker to prevent the rapid rise of the aircraft caused by out of control.
- Page 12 When the aircraft automatically rotates to the left side press the right button, until amend to a balanced state, and rotates to right press the left button. 2. The use of ne-tuning keys for the front and back directions When the aircraft automatically ies to the front press the back button, until amend to a balanced state, when ies to the back press the front button.
- Page 13 Quick guide for take o . The use of WIFI image real-time transmission (Take photo and video through APP) (No need TF card , photos and videos stored on the phone directly) 1. By mobile scanning the two-dimensional code as below or landing the corresponding website to download the APP suitable for the mobile phone system then install it.
- Page 14 Android https://play.google.com/store/apps https://itunes.apple.com/app /details?id=com.lewei.jiestar /id1133794696 2. After installing APP, open the mobile phone"WIFI" function, and search the WIFI name of the aircraft, nd the wift named: WIFIUFO-xxxxxx click the connection, after successfully connecting return to the menu of the mobile phone, open APP and you can see the transmissive pictures from the aircraft, if there is no pictures, turn o APP and reconnect the aircraft WIFI, then open APP again to see.
- Page 15 Installation and use of mobile phone holder 1. when the aircraft bind frequency to the remote control, connect the mobile phone and the aircraft WIFI, (note that it must rst be bind frequency to the remote control then connect the mobile phone and the aircraft WIFI) 2.
- Page 16 Press down the rocker controller as shown in the above gure then loose the remote control will be enter into the rolling model prompted by the continued buzzing voice, push the right rocker to the end of any direction of four(up,down,left and right)directions then loose, the aircraft will do 360 degree roll to the corresponding direction .
-
Page 17: Speci Cations
direction before take-o ight (if you want to cancel the headless mode, press down the left rocker down hold about a second, there will be "Di Di" tone promts the successful cancel) 3. When into the headless mode press down the right rocker of remote control hold about a second, the return mode is launched, the aircraft will toward to the rear direction before take-o... - Page 18 B Blade covers foot frame A blade motor USB cable B blade motor lithium battery X8 remote controller The parts could purchase at www.tozostore.com or search <q1012 part> at amazon. For any assistance, please feel free to contact email: tozoservice@outlook.com...
Need help?
Do you have a question about the Q1012 and is the answer not in the manual?
Questions and answers