Advertisement
Quick Links
Advertisement

Related Manuals for Littlebits Arduino Coding Kit

Summary of Contents for Littlebits Arduino Coding Kit
- Page 1 ARDUINO ® CODING KIT INVENTION GUIDE...
- Page 3 ARDUINO ® CODING KIT INVENTION GUIDE littleBits Basics 02–03 30 Second Quick Start 04–07 08–20 INDEX ™ POWER p1 power 09–10 INPUT i3 button i6 dimmer 11–12 OUTPUT o9 bargraph o11 servo 13–15 WIRE w7 fork w6 Arduino ® 16–20...
- Page 4 Input Bits accept input INPUT (PINK): from you or the environment and send OPEN HARDWARE SYMBOL signals that affect the Bits that follow. & LITTLEBITS LOGO BIT FEET BOTTOM Output Bits do some- OUTPUT (GREEN): thing – light up, buzz, move…...
-
Page 5: Input Bits
MAGNET MAGIC! ORDER IS IMPORTANT Bits snap together with magnets. The always come first and POWER BITS magnets are always right – you can’t only affect the INPUT BITS OUTPUT snap them together the wrong way. that come after them. BITS ARROWS SHOULD POINT IN THE SAME DIRECTION WITH NO OUTPUT BIT AFTER IT, THE INPUT BIT HAS... - Page 6 30 SECOND QUICK START BUILD AND PLAY WITH THIS CIRCUIT FIRST. POWER: TWISTING THE DIMMER RAISES AND LOWERS THE SIGNAL GOING THROUGH YOUR CIRCUIT.
- Page 7 THE PRE-LOADED CODE ON THE ARDUINO REPEATEDLY RAISES AND LOWERS THE SIGNAL GOING TO THE BARGRAPH. TRY BOTH MODES: LEARN MORE ABOUT THESE MODES AT LITTLEBITS.CC/ARDUINO i12 temp. sensor: Fahrenheit mode ADJUSTING THE DIMMER TELLS THE CODE HOW FAST i13 light...
- Page 8 FIND INVENTIONS & TUTORIALS AT LiTTLEBiTS.CC/ARDUiNO LITTLEBITS.CC/ARDUINO...
- Page 9 FIND THESE INVENTIONS ONLINE ONLINE INVENTION 1 ONLINE INVENTION 2 ONLINE INVENTION 3 Play Pong DIY DRAWING MACHINE. DIY COMPUTER MOUSE. ANALOG PONG. Use two dimmers to draw Control your mouse on your computer screen on your computer screen, (computer, not pet) with using two input Bits.
- Page 10 SAMPLE CIRCUIT HOW IT WORKS The power Bit converts the 9 volts of electricity in the o9 BARGRAPH battery to the 5 volts that littleBits circuits run on. ™ The power Bit also sends a p1 POWER signal through your circuit.
- Page 11 MEET THE BIT i3 BUTTON The button Bit is a classic: big, round, and springy for comfortable pressing! Push it to turn something on and release it to turn it off. SAMPLE CIRCUIT SAMPLE CIRCUIT HOW IT WORKS The button is like a door. When you press it, the door opens, letting the signal i3 BUTTON...
- Page 12 i6 DIMMER MEET THE BIT Twist this dimmer back and forth to control your circuit. As you twist the knob clockwise, more signal goes to the Bits that follow, brightening lights, speeding up motors, or raising the volume on buzzers. SAMPLE CIRCUIT SAMPLE CIRCUIT HOW IT WORKS...
- Page 13 o9 BARGRAPH MEET THE BIT The bargraph shows you how much signal the Bit is receiving with a display of five light-emitting diodes (LEDs) in different colors. Try it with a dimmer to make your own adjustable lamp. SAMPLE CIRCUIT HOW IT WORKS The bargraph uses five LEDs to turn electricity into light.
- Page 14 o11 SERVO MEET THE BIT The servo is a motor that can swing back and forth or be turned to a specific position. There are a few accessories you can use with the servo (like the mechanical arm). You can find out how to use those on pages 16–18.
- Page 19 w7 FORK ® MEET THE BIT The fork gives you more options for connecting your Bits; it lets you connect a single Bit to as many as three others. If you place an input before the fork, it will control all three outputs at once, such as light, sound, and motion.
- Page 20 ARDUINO BIT MEET THE BIT ® The Arduino Bit brings the power of programing to your littleBits circuits, allowing you to create complex sequences of actions and explore new levels of logic and timing. It also connects your Bits to programs like Processing and Minecraft.
- Page 21 If you leave If you’re having trouble using your Arduino it connected, you can also use it to send Bit, check out littleBits.cc/troubleshoot/ack messages back to your littleBits circuit and your computer. REAL WORLD ANALOGIES COMPUTER...
- Page 22 MEET THE ACCESSORY The servo hub lets you easily attach materials to your servo motor and add more complex movements to your littleBits inventions. HOW IT WORKS The servo hub can be removed by gently pulling it off the servo motor. This...
- Page 23 a23 MECHANICAL ARM MEET THE ACCESSORY The mechanical arm attaches to both the servo hub and the DC motor (not included) shaft, offering lots of leverage for pushing, pulling, and throwing. HOW IT WORKS To attach the mechanical arm to the servo hub, use two of the #6 screws USE A PHILLIPS-HEAD...
- Page 24 MEET THE ACCESSORY The servo mount lets you attach your servo to a mounting board (includ- ed) or a pair of littleBits shoes (not included.) It’s a great way to keep the servo steady so the arm can go wild.
- Page 25 It also provides structure, which is helpful for building out inventions, like a vehicle. HOW IT WORKS Snap together your littleBits circuit and press the feet of your Bits into the holes of the mounting board. PRESS DOWN ON...
-
Page 26: Micro Usb Cable
MICRO USB CABLE MEET THE ACCESSORY Use the micro USB cable to connect the Arduino Bit to your computer. HOW IT WORKS The micro USB cable sends The large plug connects signal information between to your computer the Arduino Bit and the computer. - Page 27 INVENTION NOTES...
- Page 28 INVENTION NOTES...
- Page 29 INVENTION NOTES...
- Page 30 Electronics, Inc. hot. interference that may cause • Discontinue use of any modules undesired operation. © 2016 littleBits Electronics, Inc. that malfunction, become damaged These limits are designed to All rights reserved. or broken. provide reasonable protection...
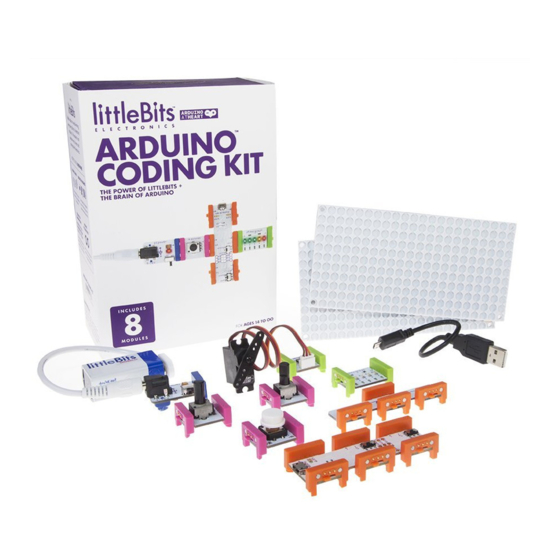
- Page 32 BUTTON DIMMER DIMMER FORK ARDUINO ® BARGRAPH SERVO ACCESSORIES ARDUINO ® 9V battery & cable CODING KIT servo hub mechanical arm servo mount POWER mounting boards (×2) micro USB cable #6 screws (×4)
Need help?
Do you have a question about the Arduino Coding Kit and is the answer not in the manual?
Questions and answers