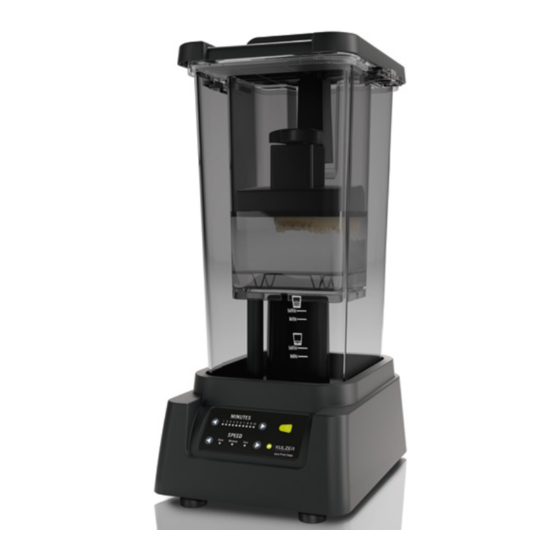
Summary of Contents for Kulzer CARA Print Clean
- Page 1 Application Guide DIGITAL DISCOVER years cara cara Print Clean Application Guide Version 06.2019 Giving a hand to oral health.
-
Page 2: Table Of Contents
Contents 1. Short overview of the cleaning process 2. Installation 3. Cleaning with cara Print Clean 4. Cleaning process for dima Print Stone (model material) 4.1. Manual pre-cleaning 4.2. Cleaning process 5. Cleaning process for dima Print Gingiva Mask 6. Cleaning process for all other dima Print materials... -
Page 3: Short Overview Of The Cleaning Process
1. Pre-clean blowing: blow off residual monomer with compressed air 2. Pre-rinsing: Pre-cleaning by rinsing with isopropanol 3. First cleaning cycle: with cara Print Clean (3 min.) in isopropanol 4. Mid-process blowing: blow off with compressed air 5. Second cleaning cycle: with cara Print Clean (2 min.) in fresh isopropanol 6. -
Page 4: Installation
2. Installation In the box Lid & Short Build Table Hanger Object height: up to 170 mm ■ Placing plug at lower position ■ Long Build Table Hanger (install alternatively) Object height: max. 70 mm ■ Placing plug at upper position ■... - Page 5 Pour 1.3 liters of isopropanol in the outer container (to the upper “MAX” line) (to the lower “MAX” line) Plug in your cara Print Clean Plug in your cara Print Clean For a detailed description of the cleaning process for objects directly attached to the build table or...
-
Page 6: Cleaning With Cara Print Clean
3. Cleaning with cara Print Clean We generally recommend using two cara Print Clean devices. One is dedicated to pre-cleaning and the second to post-cleaning with fresh isopropanol. Attach the building platform (with printed objects still attached) to the cara Print Clean hanger. -
Page 7: Cleaning Process For Dima Print Stone (Model Material)
4. Cleaning process for dima Print Stone (model material) 4.1. Manual pre-cleaning SAFETY WARNING: ALWAYS USE PROTECTIVE NITRILE GLOVES, PROTECTIVE EYEWEAR AND APPROPRIATE PROTECTIVE CLOTHING WHEN WORKING WITH MONOMERIC LIQUIDS AND ISOPROPANOL. DO NOT INHALE THE VAPORS AND AVOID SKIN CONTACT. After your objects are successfully printed, remove the building platform from the printer and let any extra material drain off onto a paper towel or similar. -
Page 8: Cleaning Process
“Fast”, and start it by pressing the start button: After the first cleaning cycle, remove the entire assembly from cara Print Clean and remove the building platform from the hanger. The pre-cleaned model (and any dies) should be blown... - Page 9 This second cleaning cycle is only two minutes long. Set the speed to “Fast”, and start it by pressing the start button: Due to the form of printed models, which generally contain hollow spaces, it is necessary to flip the model 180° with forceps to allow any trapped air to escape. As soon as the raising liquid level has covered the model completely, flip the model so that the teeth face down.
-
Page 10: Cleaning Process For Dima Print Gingiva Mask
5. Cleaning process for dima Print Gingiva Mask Here, the cleaning process is similar to the process for models (see chapter 4). The only difference is that the printed object does not need to be flipped during the second cleaning cycle. Remove residual monomer liquid with compressed air: Rinsing with isopropanol: First cleaning step for 3 min with objects attached... -
Page 11: Cleaning Process For All Other Dima Print Materials
4. Pre-rinse with isopropanol 5. Cleaning cycle 1 (3 min.) 6. Carefully blow with compressed air, leave on building platform and move to second cara Print Clean with fresh isopropanol 7. Cleaning cycle 2 (2 min.) 8. Blow dry 9. Remove objects from building platform and proceed with the recommended post-curing... - Page 12 Notes Contact in Germany Kulzer GmbH Leipziger Straße 2 63450 Hanau, Germany cara-service@kulzer-dental.com kulzer.com/cara-print © 2019 Kulzer GmbH. All Rights Reserved.


Need help?
Do you have a question about the CARA Print Clean and is the answer not in the manual?
Questions and answers