Advertisement
Available languages
Available languages
Table of Contents
- 1 Mounting the Wheels
- 2 Adjusting Height with Slide Grip
- 3 Tensioning the Projection Screen
- 4 Securing the Tripod Screen for Stability
- 5 Operating the Blocking Head Lever and Inner Tube
- 6 Rolling out and Hooking the Projection Screen
- 7 Locking the Wheels to Prevent Screen Turning
- 8 Taking down the Screen after Use
- Download this manual
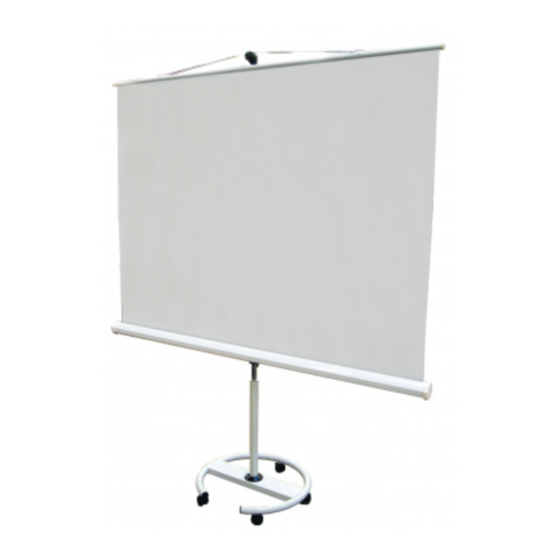
STATIV BASIC MOBIL
Montage-/ Bedienungsanleitung
Mounting/ Operating instructions
Montážní návod/ Návod k obsluze
Gefährlich für Kinder !
Nur von Erwachsenen zu bedienen !
Hazardous to children !
Operation by adults only !
Nebezpečné pro děti !
Obsluha jen dospělou osobou !
Wichtig
Attention
Varování
Produkt nicht kippen !
Do not tip for product !
Nenaklápět výrobek !
Advertisement
Table of Contents

Summary of Contents for JT Motors STATIV BASIC MOBIL Series
- Page 1 STATIV BASIC MOBIL Montage-/ Bedienungsanleitung Mounting/ Operating instructions Montážní návod/ Návod k obsluze Wichtig Attention Varování Gefährlich für Kinder ! Produkt nicht kippen ! Nur von Erwachsenen zu bedienen ! Hazardous to children ! Do not tip for product ! Operation by adults only ! Nebezpečné...
- Page 2 Höhenverstellung am Schiebegriff (8) vornehmen, dabei gleichzeitig den Druckknopf (9) drücken. Schrauben Sie die Räder ein. Durch Linksdrehen des Spannkopfes (10) Bildwandfläche gegebenenfalls nachspannen. Zum Spannen ist 1/2 Umdrehung erforderlich. Drücken Sie ein Die Drehung der Bildwand zu bremsen Sie die Räder (B). Hinweis: Aus Standsicherheitsgründen ist die Lichtbildwand ausschließlich auf einem waagerechten Untergrund aufzustellen.
- Page 3 Adjust for height using the slide grip (8) pressing the button (9) at the same time. Screw the wheels into the circular stand. Turn tensioner (10) at end of screen case anti-clockwise to tension screen of required. An half turn should be sufficient.
- Page 4 Nastavte žádaný formát posunutím madla (8) za současného stisknutí tlačítka (9). Přišroubujte 5 koleček do děr v kruhové základně. Otáčejte napínák (10) na konci tubusu proti směru hodinových ručiček tak, abyste řádně napnuli projekční plochu. SILNĚ STLAČTE Nasaďte spojovací víčko na trubku "A"...
Need help?
Do you have a question about the STATIV BASIC MOBIL Series and is the answer not in the manual?
Questions and answers