Advertisement
Advertisement
Table of Contents

Related Manuals for BCP SKY5484


Summary of Contents for BCP SKY5484
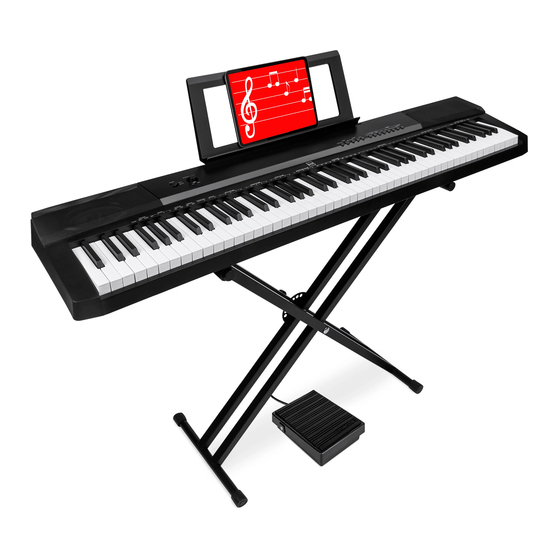
- Page 1 INSTRUCTION MANUAL 88-Key Digital Piano SKY5484 Ver. 1...
-
Page 2: Fcc Compliance Statement
NOTICE • Dedicated power adapter shall be used, and in case of adaptor damage, replace it immediately • The keyboard can only be disassembled by professionals, and no change can be made to the internal structure. In case of any functional abnormality during performance, stop performing immediately and send the keyboard to professionals for maintenance. -
Page 3: Main Diagram
MAIN DIAGRAM FRONT PANEL CONTROLS Speaker GM Timbre Upper Volume Power Switch Click Metronome Volume Master Volume Record Metronome Function Touch Tempo Sustain Demo Demo Song Metronome Vibrato GM Timbre Select Lesson Transpose Udisk Music Player Split Octave Timbre Split Volume Percussion Lower Volume REAR PANEL CONTROLS... - Page 4 PREPARATION AC/DC Power Adapter Dedicated AC/DC power adapter for the piano should be used. Connect the output end of the power adapter to the power interface on the rear panel of the piano, and the other end to the power socket. (Please note that the input voltage of the adapter should be in line with the utility power voltage.) Use of Headphones Two professional 6.5 mm dual-track headphones ports are provided on the piano.
- Page 5 BASIC PERFORMANCE METHOD Press the [POWER] button, the [PIANO] button light will turn on, and then you may operate the piano as required. Master Volume Adjustment Turn the [MASTER VOLUME] knob clockwise to increase master volume, and counterclockwise to decrease master volume. The master volume controls all volumes simultaneously. Key Tone The click function is enabled by default.
- Page 6 METRONOME Metronome Press the [METRONOME] button to activate the metronome. Press the [METRONOME] button again to deactivate the metronome. The piano contains 10 tempos. Press the [FUNCTION+] button + the [METRONOME] 1/4~12/8 keys for metronome setting. 1 /4 1 2/8 Tempo The tempo defaults at 120, which is adjustable between the range of “30”...
- Page 7 EFFECT CHANGE Timbre Change Sustain: Prolong the lasting time of a pitch. Press the [FUNCTION+] button + the [SUSTAIN - ON] key to enable the sustain e ect. Press the [FUNCTION+] button + the [SUSTAIN - OFF] key to disable the sustain e ect. Vibrato: Add a pulsating change to the pitch.
- Page 8 EFFECT CHANGE Transpose The transpose control function of the piano is adjustable from “-6” to “+6”, and the default setting is 0. Press the [FUNCTION+] button + the [TRANSPOSE -/+] keys for transposing within ±6. The transpose function saves the trouble of raising and lowering the key when playing on the keyboard.
-
Page 9: Lesson Mode
EFFECT CHANGE Dual Timbre Press any two timbre buttons simultaneously to enable the dual timbre function, in this case, the two selected timbre will be overlaid. Grand Electrical Church String Percussion Guitar Bass piano piano organ TIMBER+ When overlay of other timbres are required, press the [GM TIMBRE] button + the [DEMO SONG/GM TIMBRE] key to select other timbres, and then press the [GM TIMBRE] and other [TIMBRE] buttons simultaneously. -
Page 10: Record Mode
LESSON MODE Octave Control Under the lesson mode, you can perform octave adjustment from “-2” to “+2”, and the default setting is 0. Press the [FUNCTION+] button + the [OCTAVE] “-” / “+” keys for octave adjustment within ±2. For example, when adjusting octave to “-2”, the left zone will change to A0-C4 while the right zone will change to C0#-C4. - Page 11 APPENDIX TIMBRE TABLE 000 Acoustic Grand Piano 047 Timpani 094 Pad 7 (halo) 001 Bright Acoustic Piano 048 String Ensemble 1 095 Pad 8 (sweep) 002 Electric Grand Piano 049 String Ensemble 2 096 FX 1 (rain) 003 Honky-tonk Piano 050 Synth Strings 1 097 FX 2 (soundtrack) 004 Rhodes Piano...
-
Page 12: Help Center
HELP CENTER Question about your product? We're here to help. Visit us at: help.bestchoiceproducts.com CHAT Chat Support Product Inquiry Orders FAQ Product Assembly Returns & Refunds PRODUCT WARRANTY INFORMATION All items can be returned for any reason within 60 days of the receipt and will receive a full refund as long as the item is returned in its original product packaging and all accessories from its original shipment are included.
Need help?
Do you have a question about the SKY5484 and is the answer not in the manual?
Questions and answers
Replace 12v power supply cord
To replace the 12V power supply cord for the BCP SKY5484 keyboard:
1. Use a Compatible Adapter: Ensure the replacement adapter matches the required specifications—12V DC output.
2. Unplug the Old Adapter: Disconnect the damaged adapter from the power source and the keyboard.
3. Plug in the New Adapter: Connect the replacement adapter securely to the keyboard and then to a power outlet.
4. Check for Proper Functioning: Turn on the keyboard to confirm it is receiving power correctly.
If the adapter is damaged, replace it immediately with a compatible model like the Onerbl AC-DC Adapter listed for the BCP SKY5484.
This answer is automatically generated