Advertisement
Quick Links
Advertisement

Related Manuals for OMG RhinoBond RB7


Summary of Contents for OMG RhinoBond RB7
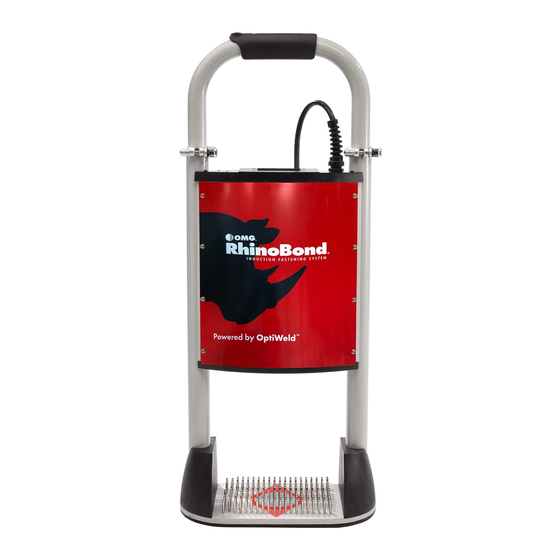
- Page 1 Non-penetrating fastening system for commercial roofing Now with advanced OptiWeld Technology for optimum plate bonding and performance! IMPORTANT! Save this manual and read it in full 153 BOWLES ROAD, AGAWAM, MA 01001 USA before use. 800 . 633 . 3800 413 . 789 . 0252 RHINOBOND.COM...
-
Page 2: Table Of Contents
For RhinoBond Tool Service: 800 . 633 . 3800 ROOFTOP SAFETY In addition to the safety instructions in this manual, OMG Roofing Products recommends that all roof top workers follow the safety guidelines outlined in the OSHA booklet called "Protecting Roofing Workers" available at www.osha.gov/Publications/OSHA3755.pdf... - Page 3 Only fasteners, washers and tubes provided by OMG Roofing Products are approved for use with the RhinoBond System. DO NOT activate tool over metal objects in/on the floor.
-
Page 4: Power Requirements
• Activating the tool over metal objects not intended to be heated by induction (i.e. safety shoes, jewelry, keys, power cords, etc.) • Operating the tool on vertical or high sloped (> 10%) surfaces. • Operating the tool in conjunction with plates or components not authorized by OMG Roofing Products. • Operating the tool from an unstable power source. - Page 5 SAFE START UP & SHUT DOWN Unstable generator power during start-up increases the risk of damage to RhinoBond Tools. WARNING Failure to follow these instructions may cause damage to your RhinoBond tool. NEVER start generator with tool plugged in. ALWAYS start generator first, then plug in tool. WHEN NOT IN USE, unplug the tool. Start portable generator and allow to warm up for 2 minutes.
-
Page 6: Tool Operation
TOOL OPERATION GET COMFORTABLE! You are likely going to be using the RhinoBond Tool for several hours at a time. Make sure that the tool is set for your height and comfort level. WAR NING Adjust the handle height of the RhinoBond tool by loosening the clamps on both Pulling too hard on the handle sides of the handle. -
Page 7: Automatic Calibration
AUTOMATIC CALIBRATION The new RhinoBond Tool features “OptiWeld” automatic calibration for optimum welding. When set in OptiWeld mode, the “Mode” button displays OptiWeld. Membrane type and thickness and fine adjust set-tings are also displayed. Pressing the “Mode” button allows users to toggle between “OptiWeld” and “Manual” operating mode. Pressing the “Membrane”... - Page 8 AUTOMATIC CALIBRATION TEST WELDS Before initiating work on the roof, we highly recommend that you complete a few test welds to ensure that the tool is functioning properly. To check the quality of the calibration, place three (3) plates on insulation about 10-inches (25 cm) apart. Cover the plates with a piece of membrane from the project, weld each plate, and apply a magnetic heat sink to each.
-
Page 9: Manual Calibration
MANUAL CALIBRATION We recommend using the tool in OptiWeld mode, but recognize that you will want to adjust the weld settings from time to time, so we’ve made it easy to do that. Here’s how: From the “Device Ready” screen, press the “Mode” button, and select the “Manual” option. Select the “Manual”... - Page 10 MANUAL CALIBRATION TEST WELDS When calibrating the RhinoBond Tool manually, it’s important to set -- and test -- the tool at several Energy Levels to determine which setting provides the best weld. To calibrate the tool, place at least five (5) plates on insulation about 10-inches (25 cm) apart, and cover the plates with a piece of membrane from the project.
-
Page 11: Menu Settings
MENU SETTINGS & HELP The main “Menu” provides access to “Settings,” the “Tool Log,” and “Help” buttons. Press the “Settings” button to change the “Language,” “Display,” and/or “Sound,” settings. Press the “Language” button to change the screen language. Select desired language for the tool. Once selected, the screen will return to the “Device Ready”... - Page 12 Press the “Home” button to return to the “Device Ready” screen. Press the back arrow (<) to return to the previous screen. From the main “Menu,” press the “Help” button to access OMG Roofing Products contact information, troubleshooting tips, and a description of error messages.
- Page 13 From the main “Menu,” press the “Help” button to review the “Troubleshooting” tips, and error message descriptions. Press any of the error message buttons to get more information and recommendations. Press the back arrow (<) to return to the previous screen. Trigger RhinoBond Owner’s Manual Page 13...
-
Page 14: Ec Declaration Of Conformity
® Date of first use: January, 2015. Signed: ____________________________________ Date: ___________________________ Name: Chris Mader Position: Codes Engineer, OMG Roofing Products Authorized responsible person to compile the technical file, established in Europe: Mrs. Dianne Cowley Laicon Consulting Services Ltd 300 Pennistone Road... - Page 15 NOTES RhinoBond Owner’s Manual Page 15...
- Page 16 OMG Roofing Products 153 Bowles Road, Agawam, MA 01001 USA 800 . 633 . 3800 413 . 789 . 0252 www.rhinobond.com...
Need help?
Do you have a question about the RhinoBond RB7 and is the answer not in the manual?
Questions and answers
Welder will not proceed to next stage after English is selected