Table of Contents
Advertisement
Quick Links
KOILMATIC Quick Setup Instructions
This Quick Setup Guide is not intended to replace the manual. The manual contains important safety and job preparation information and
should be reviewed thoroughly before operating the PBS Koilmatic
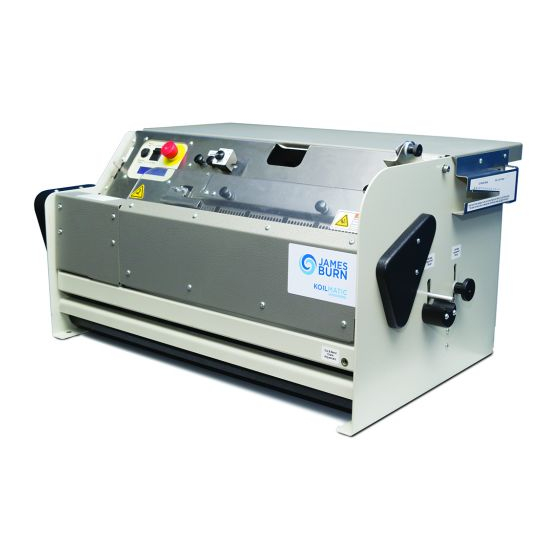
1) Select coil size using coil sizing gauge
- The diameter of coil to be used depends on the thickness of the book
that's to be bound. Place your pre-punched document in the coil sizing
gauge located on the right side of the Koilmatic (Image 1). You'll also
find a coil sizing chart in your manual that can help you determine the
correct size of coil for your binding job.
2) Install spine formers
- The spine formers are located inside the front panel of the machine.
They are designed to shape the book to match the curve of the coil. The
spine formers correspond with the coil diameter being used, as
determined in Step 1. To install the spine formers, grasp the platen by
the book clamp and lift up until the platen latches into the second
position. Install the first spine former into the slot on the far left. Install the
second spine former into one of the other two slots – using the middle
slot for an 8.5"/A5 edge or the outside slot for an 11"/A4 binding edge
(Image 2).
3) Adjust carriage position using coil sample
- The carriage adjustment gauge is located on the right side of the
machine. Loosen the knob and use it to lift the carriage. Place a piece
of the selected coil diameter in the carriage adjustment gauge and
then lower the carriage until the pin of the gauge is just touching the
coil. Then tighten the adjustment knob to lock the carriage in place.
(Image 3)
4) Select sidelay angle
- The sidelay is the angled block on the front of the machine. It is
designed to angle the positioned book to match the angle of the coil.
To change the setting, loosen the thumbscrew (Item "A") on the
sidelay and rotate the block to the side that corresponds to the
selected coil diameter. The example shown in Image 4 displays the
sidelay set for coil diameters 10, 11 or 12mm.
5) Adjust sidelay position
- Place a pre-punched back cover from the pending binding job into position on the selected spine formers that
have been installed in the machine. This back cover will act as your setup guide. When you're sure this back
cover is lying flat on the platen and in the bottom of the spine formers, loosen the thumbscrew on the sidelay
(Item "A") as well as the two thumbscrews to the left of the sidelay (Items "B"). The sidelay can now be
manually moved left or right. Adjust it accordingly so that a bit of platen tooth is visible on either edge behind
each punched hole.
Image 2
Image 3
B
B
Image 4
Image 1
A
Advertisement
Table of Contents

Summary of Contents for James Burn Koilmatic
- Page 1 - The diameter of coil to be used depends on the thickness of the book that's to be bound. Place your pre-punched document in the coil sizing gauge located on the right side of the Koilmatic (Image 1). You’ll also find a coil sizing chart in your manual that can help you determine the correct size of coil for your binding job.
- Page 2 This will allow you to slide them from side to side. The left side cut and bend head will only need to be moved slightly between jobs. The Koilmatic has convenient For A5 / 8.5”...
Need help?
Do you have a question about the Koilmatic and is the answer not in the manual?
Questions and answers