Advertisement
Quick Links
12
Installing
We've designed Wondrwall to be as compatible with as many
homes as possible. The only pre-requisites are:
y Your existing light switches must have a neutral line in place.
If you are unsure, consult a qualified electrician.
y You must have a wireless router with internet access
available in the home.
y You must have a traditional 'wired' thermostat in place,
which can be replaced with our thermostat (this usually only
takes around 15 minutes).
The system will work if installed with just the base kit, but with
limited functionality. Our recommendation is replacing the
standard light switches throughout the home to experience the full
power of Wondrwall.
The following pages explain how to install each component and pair
it with your home wireless network.
13
Advertisement

Summary of Contents for Wondrwall Smart Switch
- Page 1 Installing We’ve designed Wondrwall to be as compatible with as many homes as possible. The only pre-requisites are: y Your existing light switches must have a neutral line in place. If you are unsure, consult a qualified electrician. y You must have a wireless router with internet access available in the home.
-
Page 2: Light Switch
1. Switch off the mains power supply that supplies the light switch. Remove the old light switch. 2. Pull the side of the Wondrwall light switch cover towards you to unclip it from the base (A). Inputs 3. - Page 3 1.5 m (5 feet) off the floor. Site it away from any heating or cooling sources such as direct sunlight, 7. You can now pair the light switch with other Wondrwall hot water pipes or fireplaces. lamps, outside doors or windows, components (see page 30).
- Page 4 Remove 3 mm (1/8”) of insulation from each wire and twist the wires to give a sturdy end. 5. Remove the cover from the Wondrwall thermostat. Hold onto the ribbon loop on the back of the thermostat and pull the cover forwards.
- Page 5 You can now pair the thermostat with other Wondrwall components (see page 34). Things to be aware of when installing the thermostat: 1. If you have separate power for RH and RC, you need to remove the factory installed jumper between RH and RC.
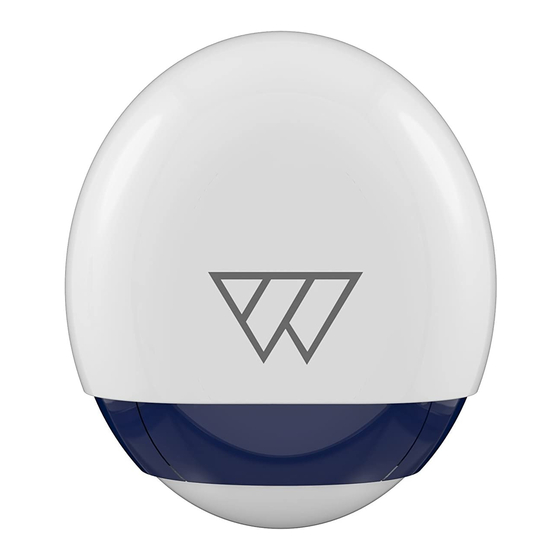
- Page 6 Siren The siren has a waterproof case and is designed to be mounted on an exterior wall of your property. Mount the siren as high as possible so its siren and strobe light will attract attention when an alarm is activated. Three wall plugs and screws are supplied to mount it to the wall.
- Page 7 5. Switch the battery switch to ON (C). 6. Test that the siren operates correctly. To do this, arm the alarm from the Wondrwall app, then move in front of a motion sensor. 7. Use a Philips screwdriver to screw the siren base to the wall.
- Page 8 Bluetooth is included in every switch to allow them to pair to any other Bluetooth device opening a huge range of possibilities. To set up the Wondrwall network, you must first pair the primary light switch to your wireless router and network, using the Wondrwall App which is available on the App Store and on Google Play.
- Page 9 Pair the primary light switch The primary light switch will be the main hub of the Wondrwall network. Select the light switch in the middle of your home, nearest to your wireless router. 1. Open the Wondrwall app and display the Devices screen (A).
- Page 10 5. When the key fob has successfully paired, click Add another device to repeat this procedure with the second key fob. 6. Click Finish on the Success screen (F) to end the installation or Add another device to continue pairing the rest of your Wondrwall devices.
- Page 11 5. Follow the on-screen instructions to configure up the thermostat (E). 6. When the thermostat has successfully paired, either click Finish on the Success screen (F) to end the installation or Add another device to continue pairing the rest of your Wondrwall devices.
- Page 12 (E). 5. When the thermostat has successfully paired, either click Finish on the Success screen (F) to end the installation or Add another device to continue pairing the rest of your Wondrwall devices. 6. Replace the cover (page 24).
Need help?
Do you have a question about the Smart Switch and is the answer not in the manual?
Questions and answers